


JohnF
-
Posts
101 -
Joined
-
Last visited
Content Type
Profiles
Forums
Blogs
Store
Articles
Gallery
Posts posted by JohnF
-
-
Looking for information on how many leafs were in my front and rear springs. I dont have the original ones anymore. Also are the lengths the same for 55-71 ? Someone gave me decent used ones but the rear are 10 leafs, fronts are 8. I kind of remember my originals were 10 front and 9 rear but not sure
1967 CJ5 with V6 dauntless engine
-
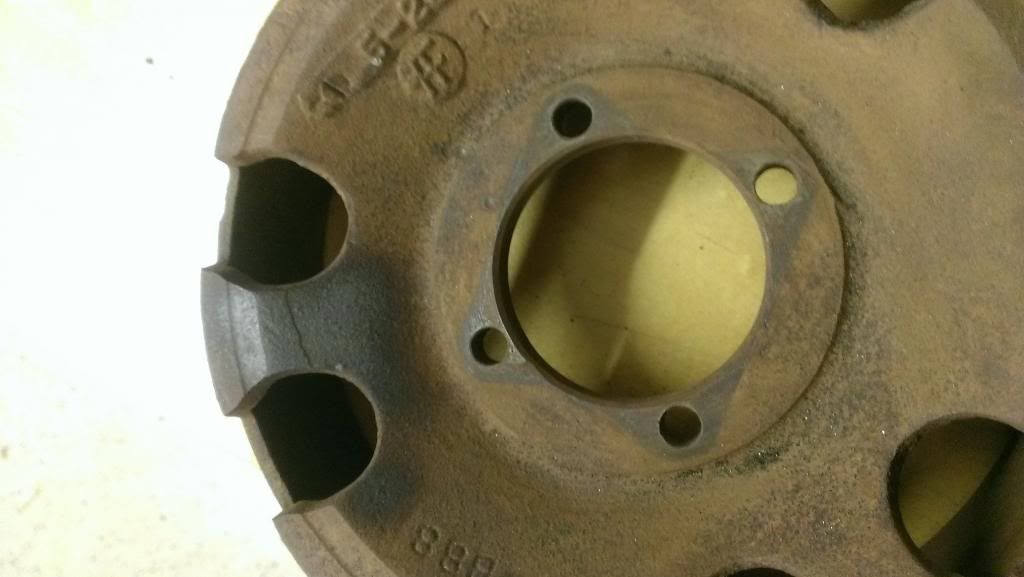
My E brake drum looked like it was in perfect condition until I hit it with the blaster and found a crack...more money to spend
-
Love my blast cabinet

-
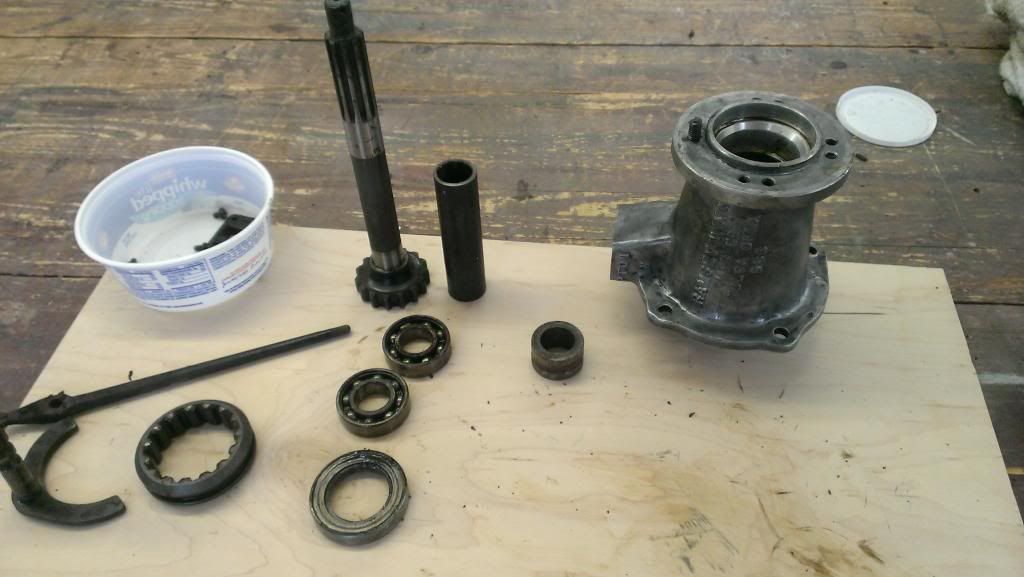
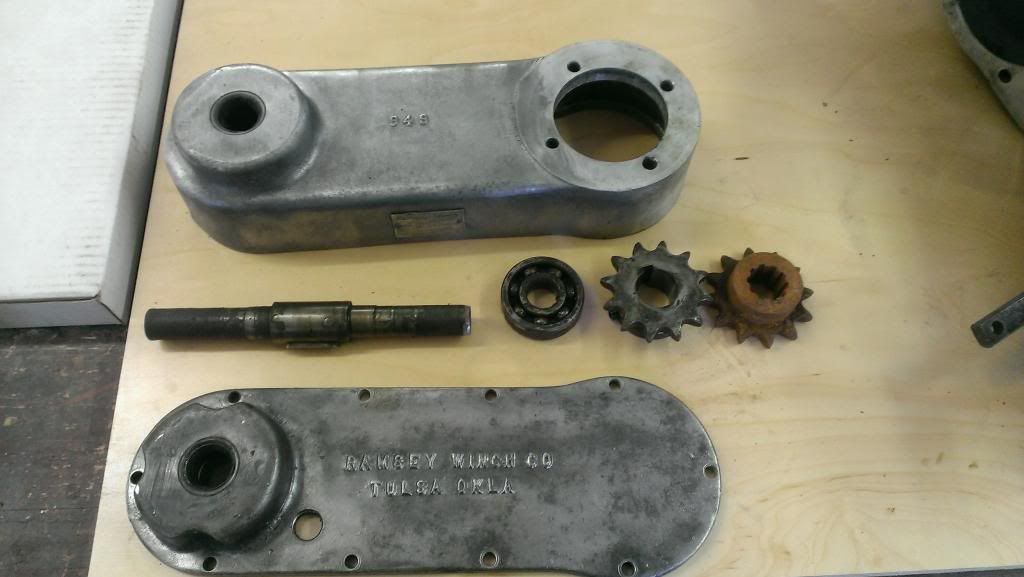
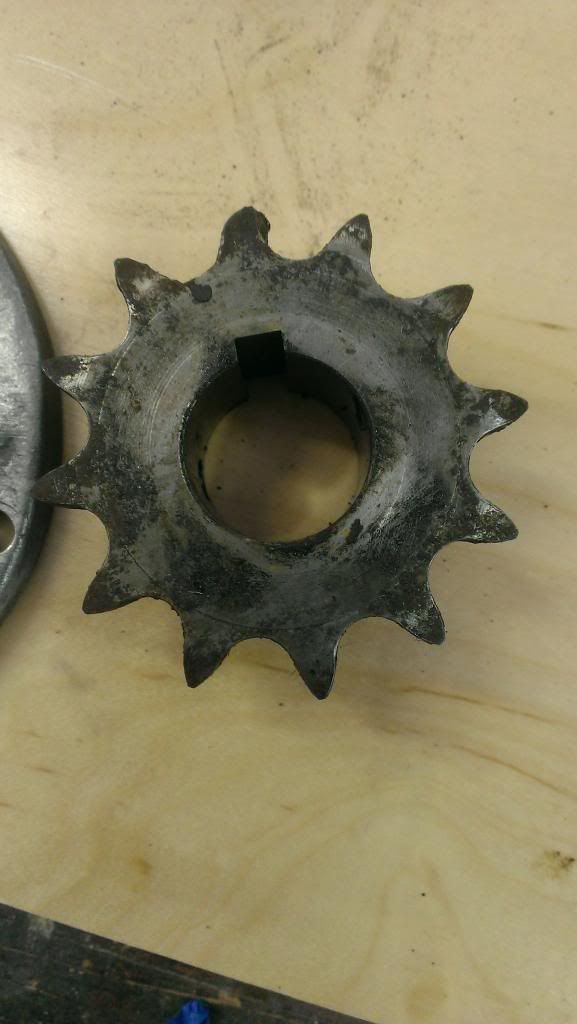
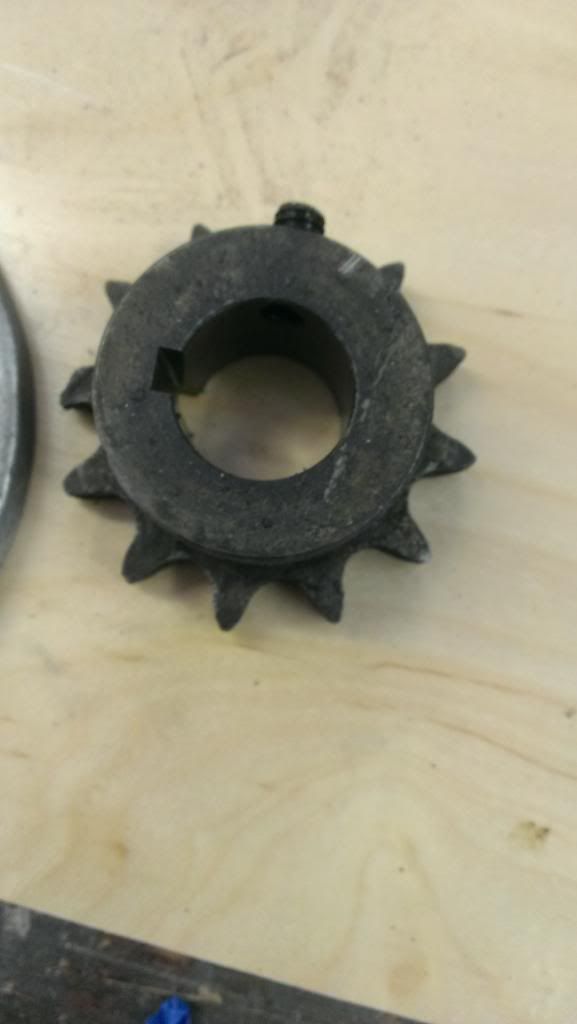
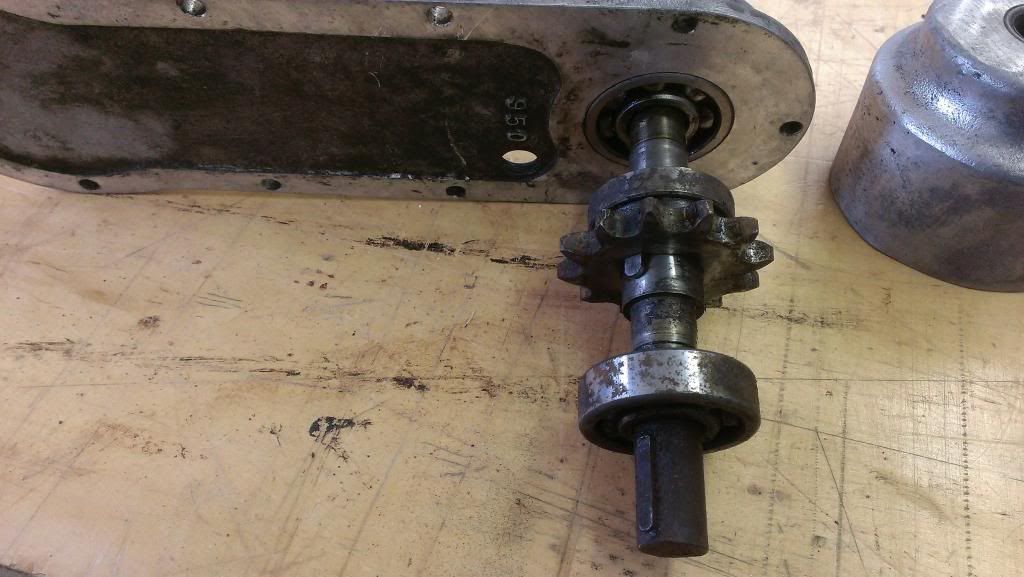
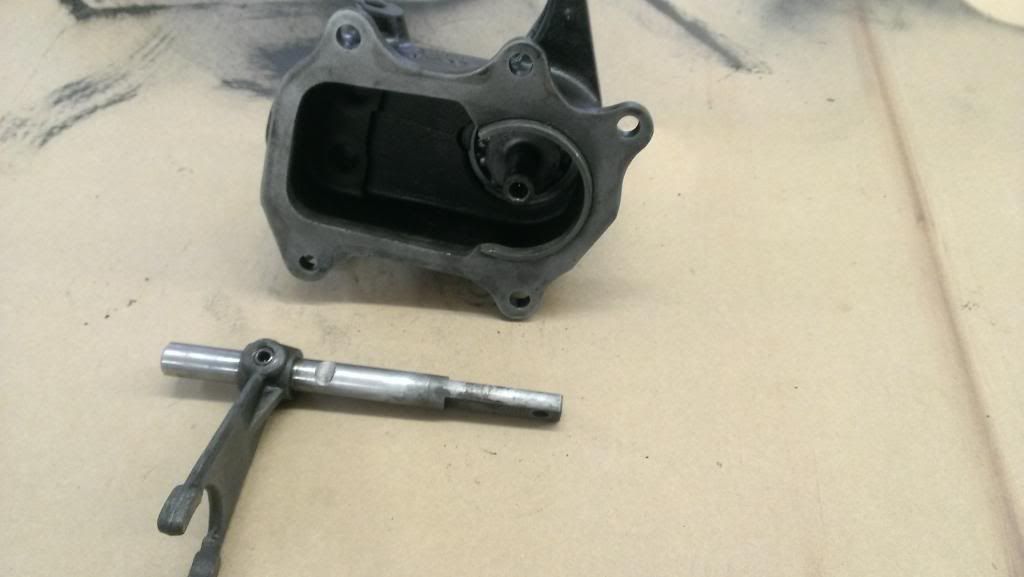
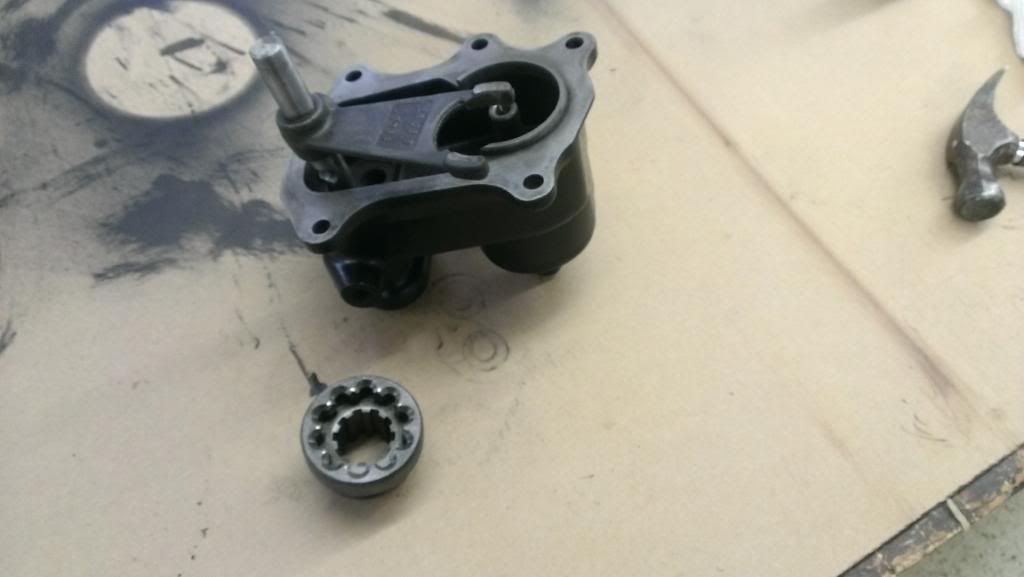
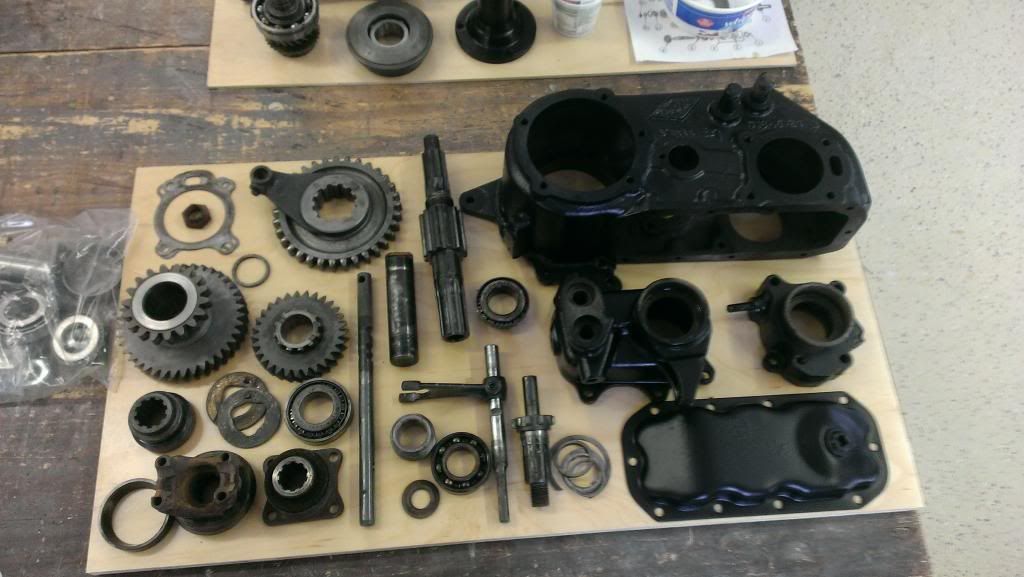
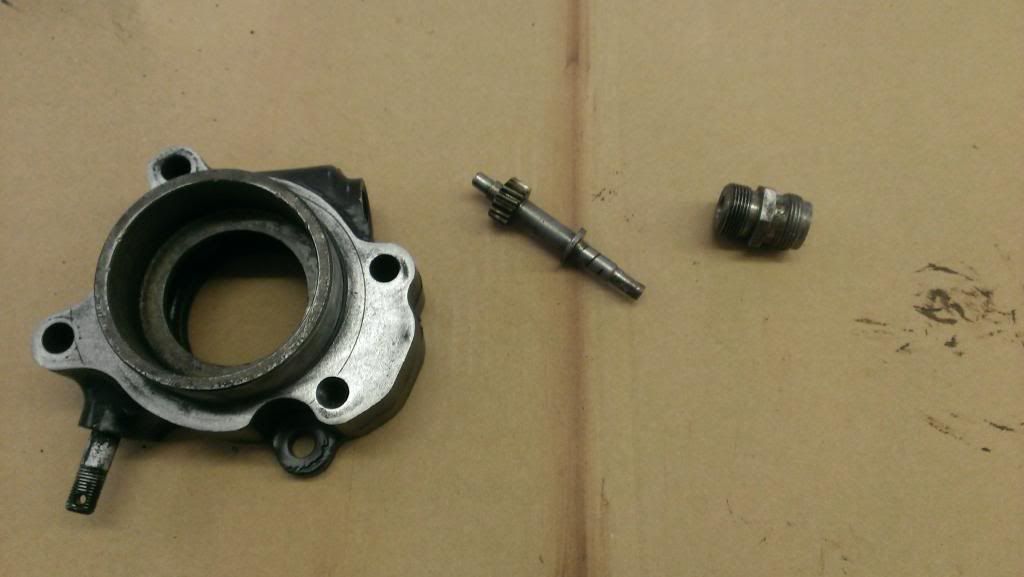
I went and disassembled everything. Looks like I need both oil seals and sprocket. I see I can get a weld a sprocket and hub but there are different pitches to the sprockets and different chain number's. Any idea what to get ?
-
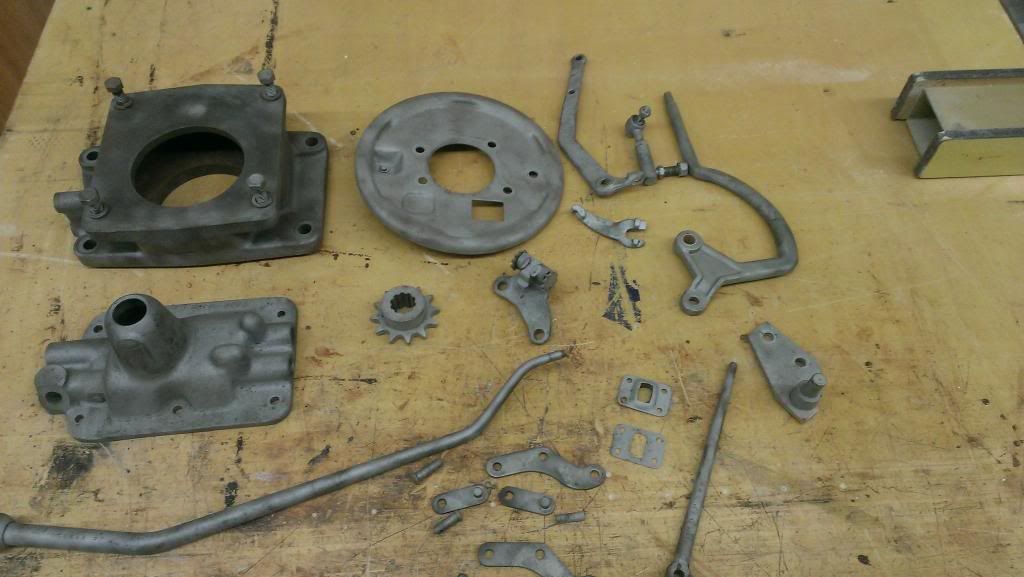
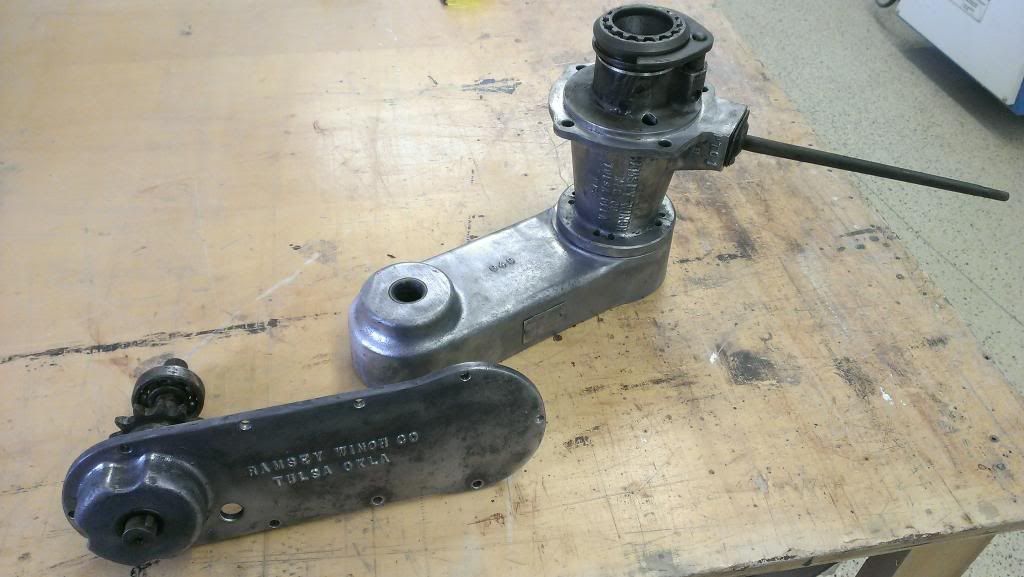
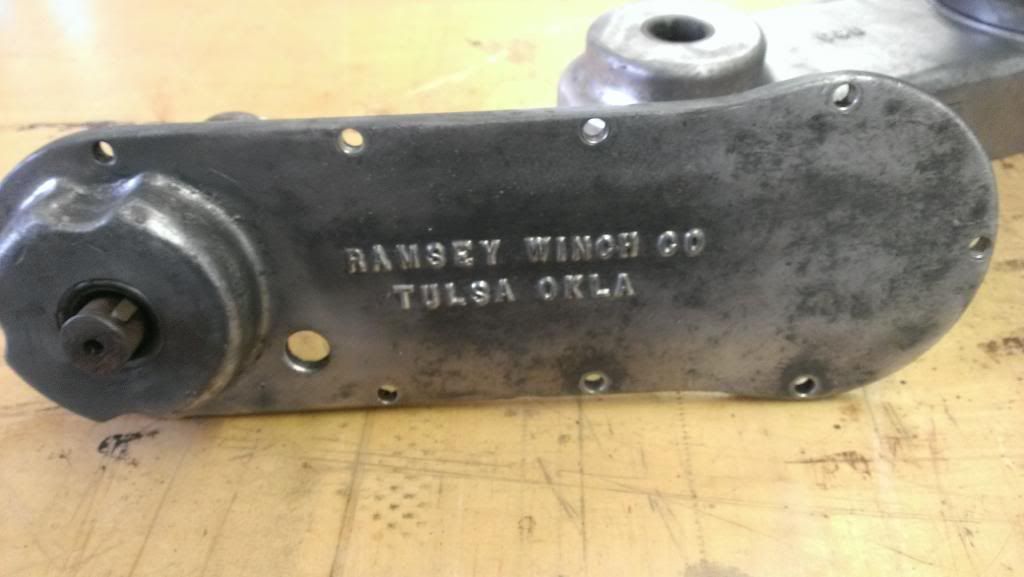
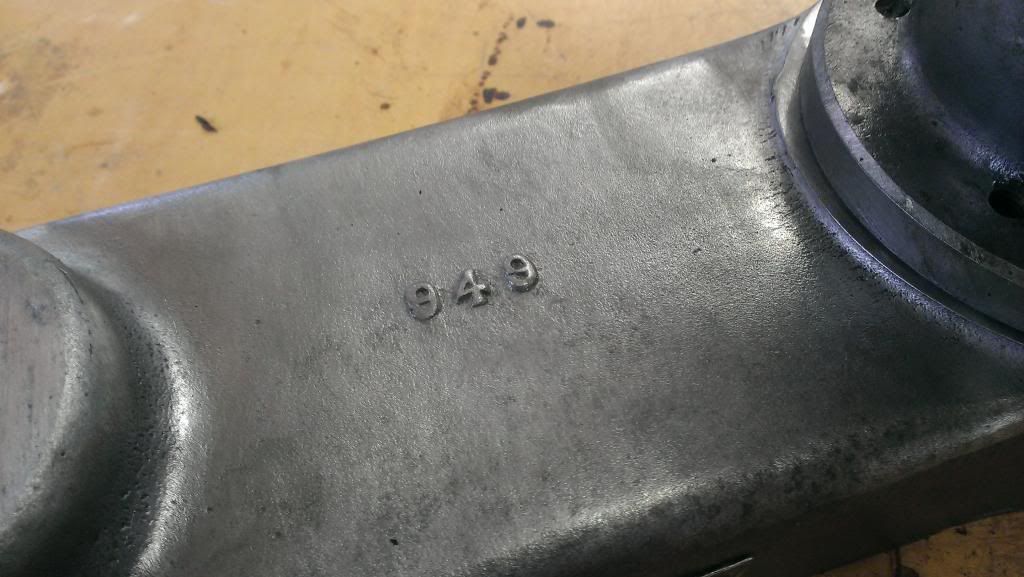
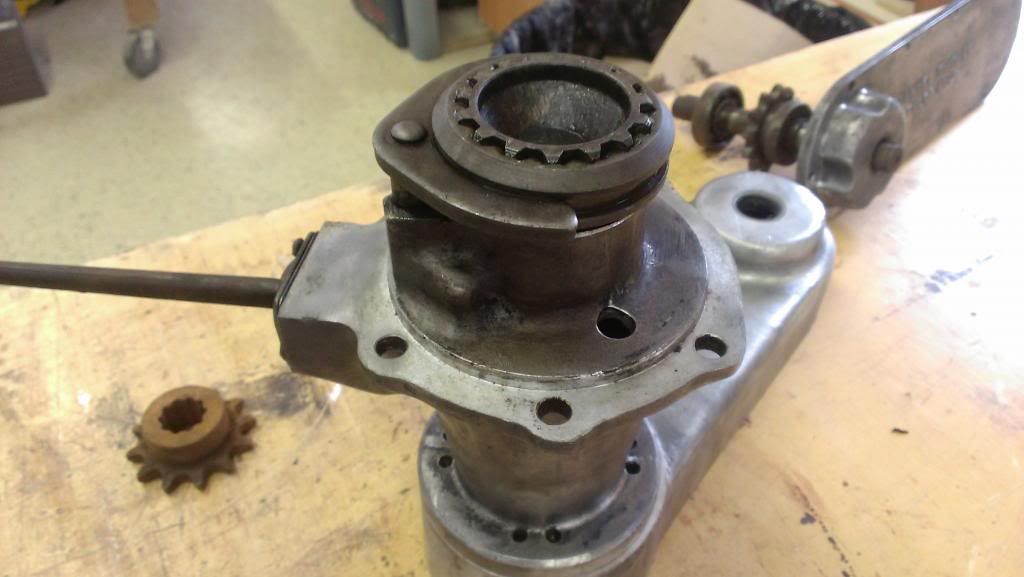
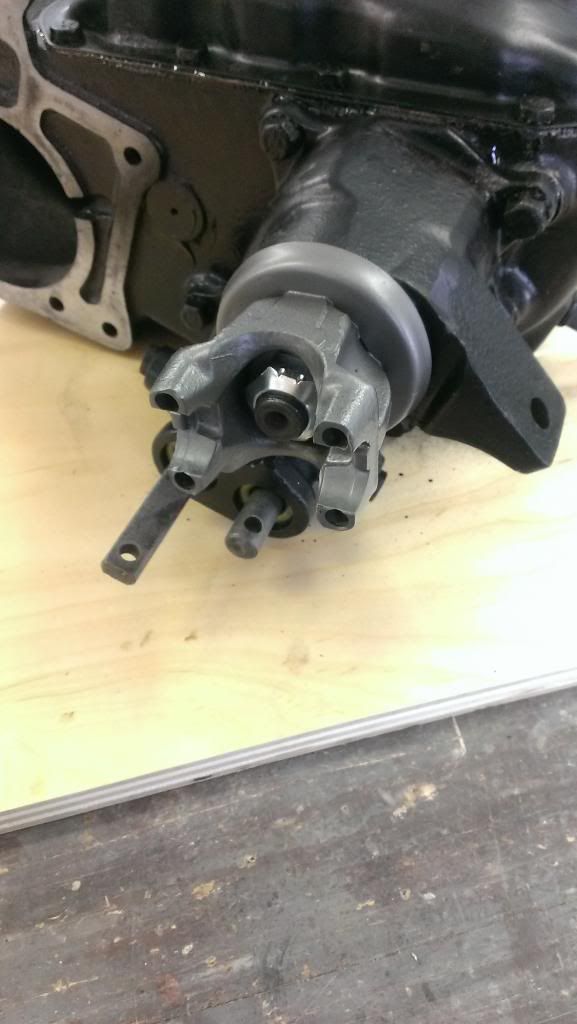
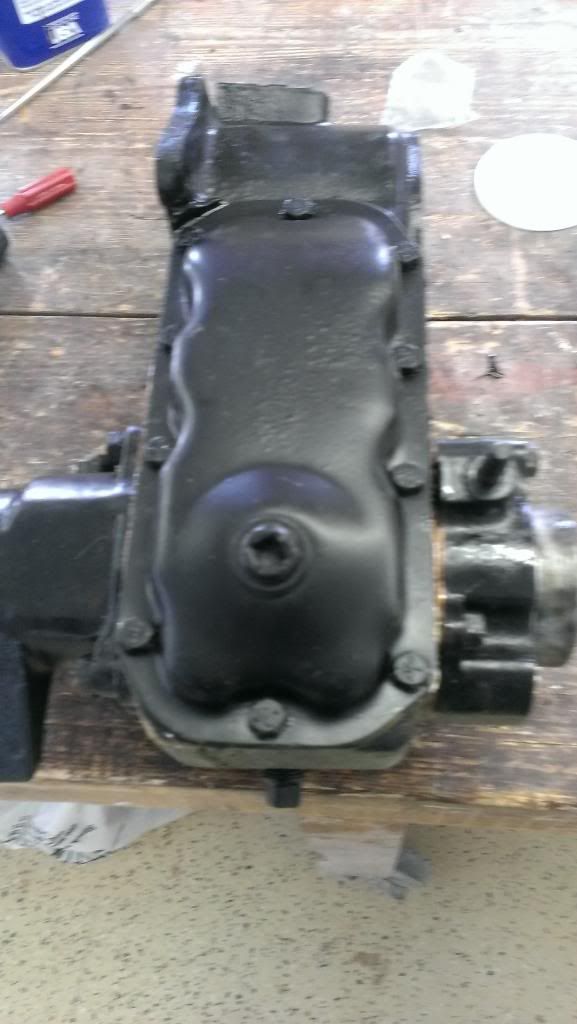
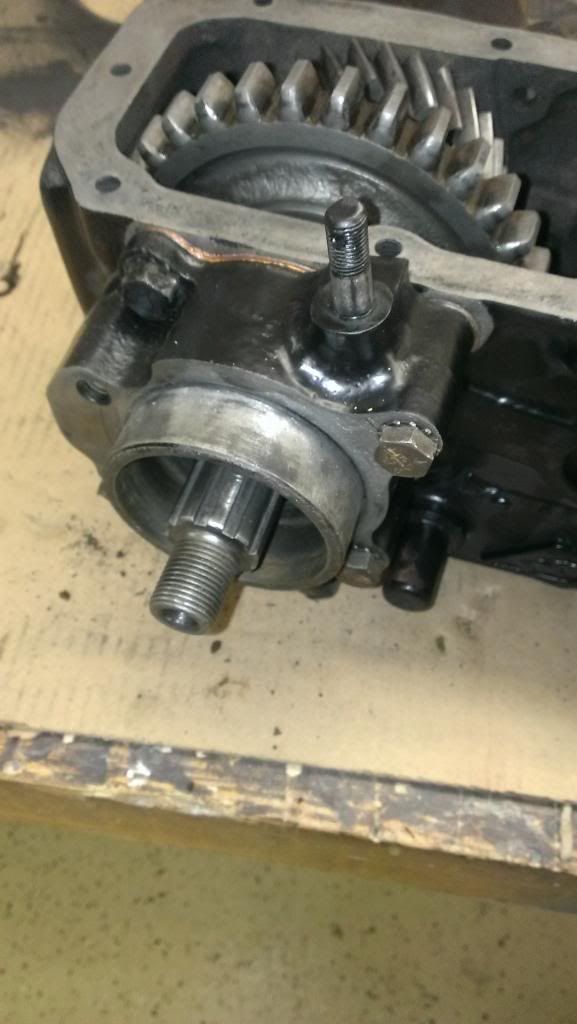
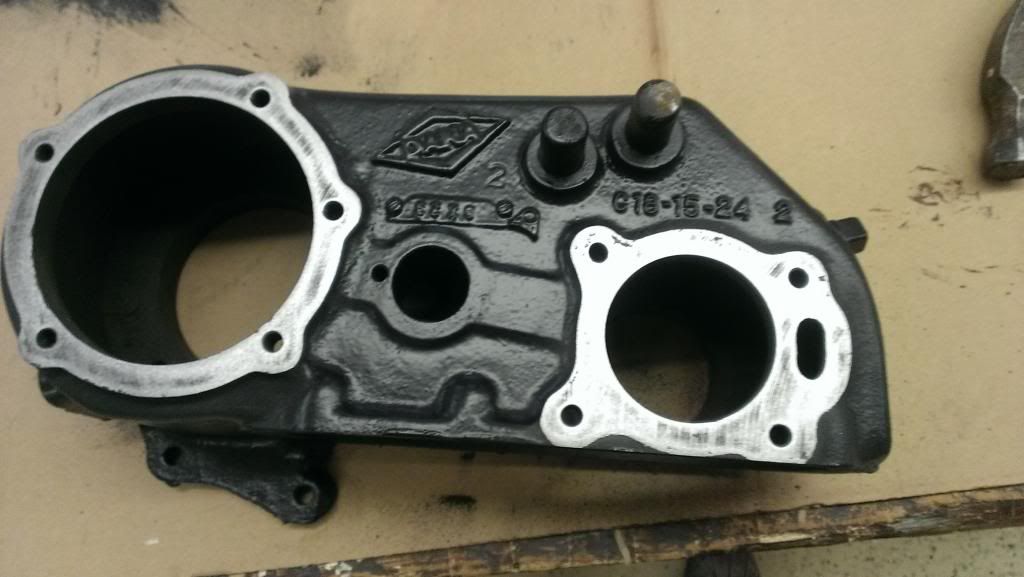
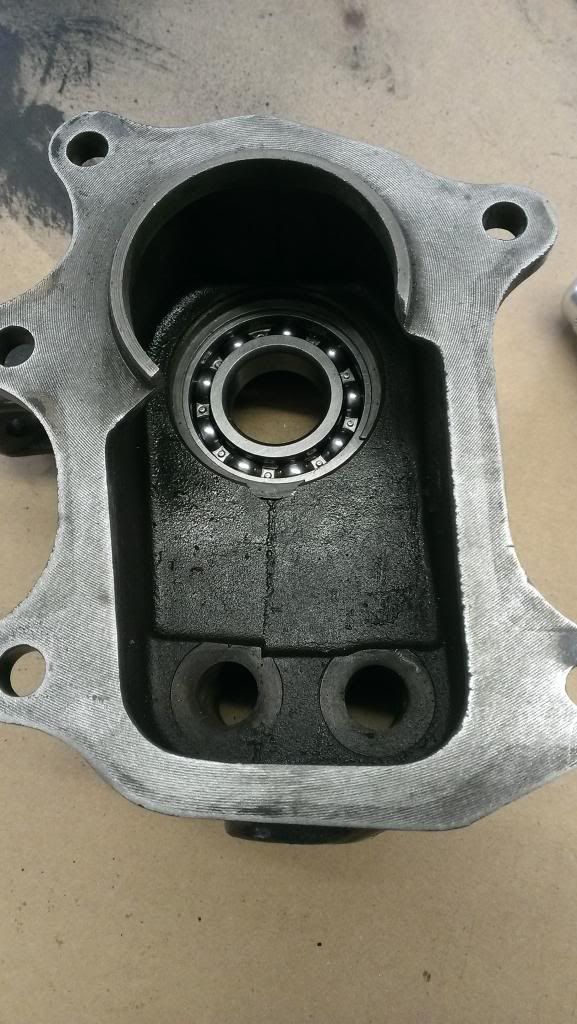
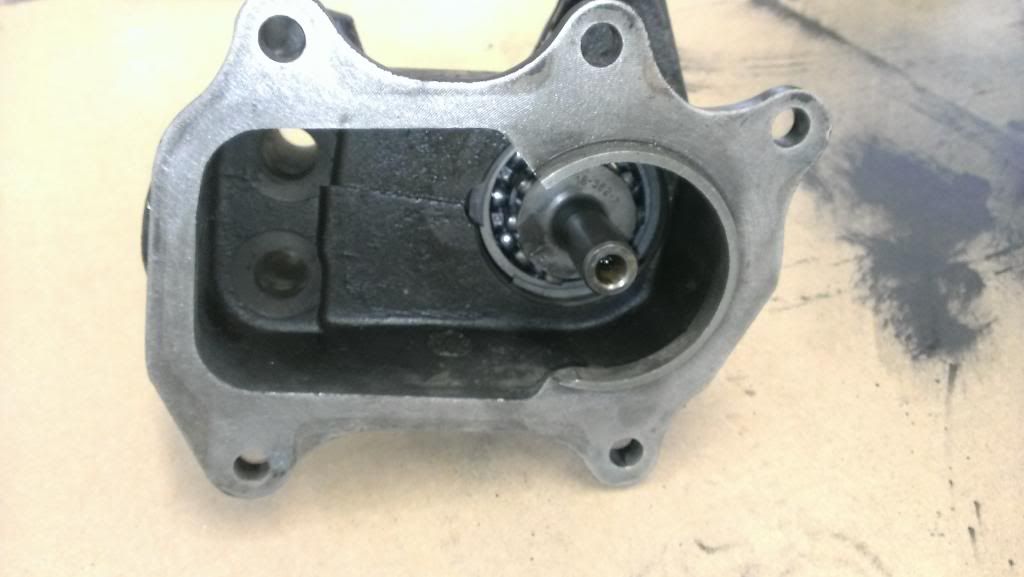
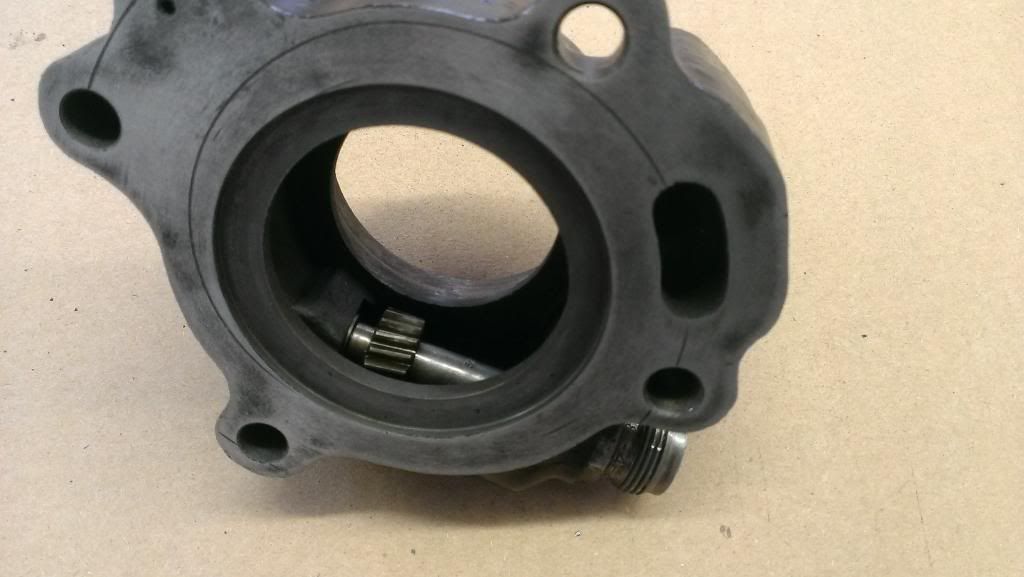
Had some down time so I decided to clean up the PTO. I degreased everything then took a wire wheel in a drill and " polished " everything up. Not sure if this came painted black from the factory or bare but I am liking the contrast with the bare aluminum and the black transfer case.
Anyway, is there any info around on rebuilding these PTO's as well as the front mounted factory winch ? Where to get parts, seals, gaskets ??
-
Assume you coated the output shaft splines with a thin film of gasket "shellac" as noted in my book? This keeps gear lube from wicking out the splines and yokes.
Copper coat on the shim stack works nicely...When coating gaskets, wipe up any drips and excesses. This is a gear drive unit without a large risk of blocking passageways with sealant, but on engines or modern chain drive transfer cases, you don't want excess sealant floating around in the unit and clogging an oil pickup screen. There's a balance between adequately coating the gaskets, which is obviously a must, and excess...There's also the cost of the gasket sealant...Are you using Permatex Super 300D or equivalent?
25 lb-ft torque on these 5/16" stud pan bolts is plenty, 18-20 lb-ft would be about right. Leave them alone now.
The older cork pan gasket wouldn't tolerate more than 15 lb-ft or so before splitting, you have an advantage with the cut composition gasket. I would re-torque/check the bolts at 20 lb-ft after a short in-service interval, these gaskets generally change shape slightly, and the bolts often require re-torque.
Moses
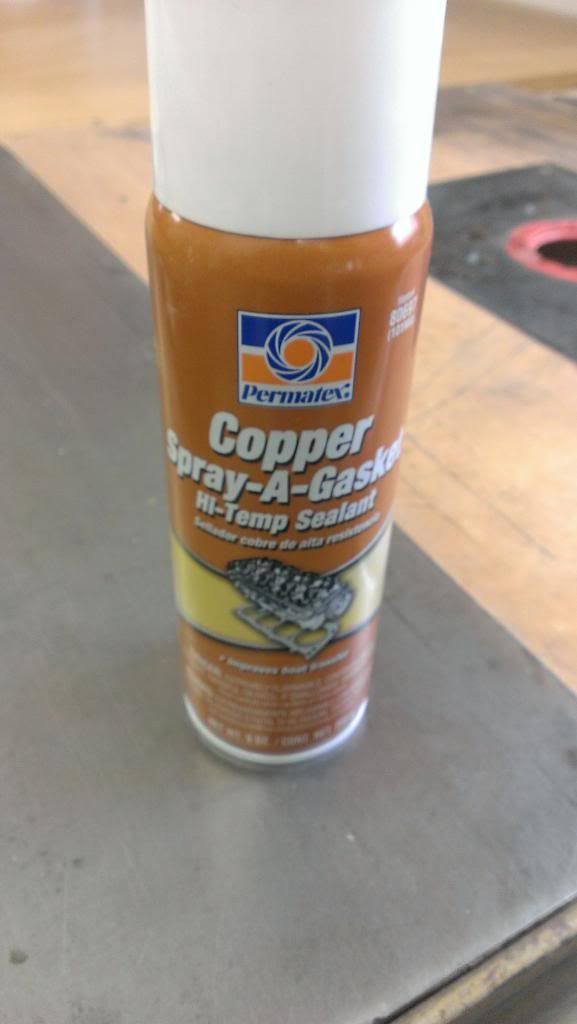
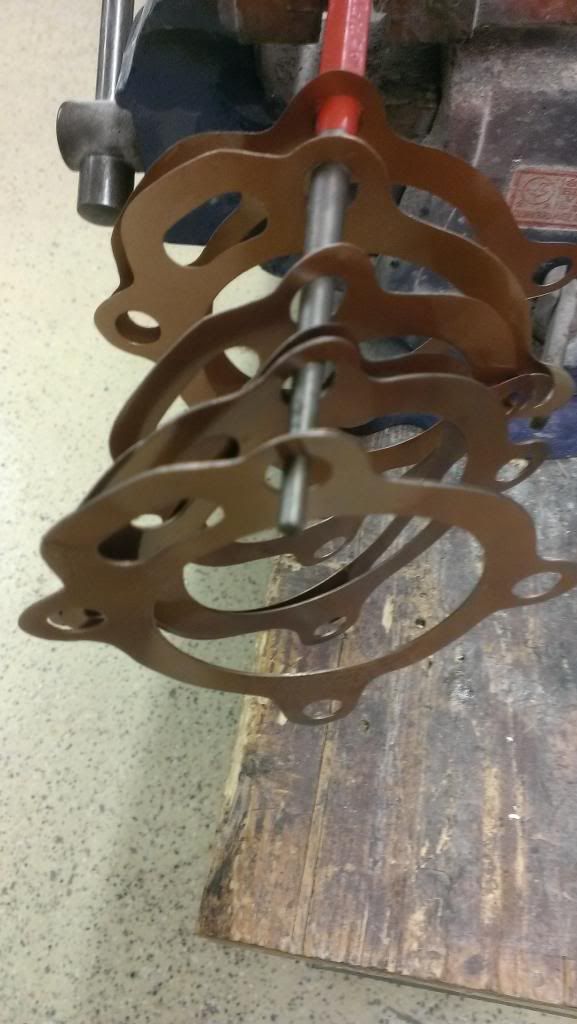
Yes, I coated splines on inside of yoke with Permatex gasket shellac.
Here is the copper form a gasket I used
-
It's the little details that go a long way for me
-
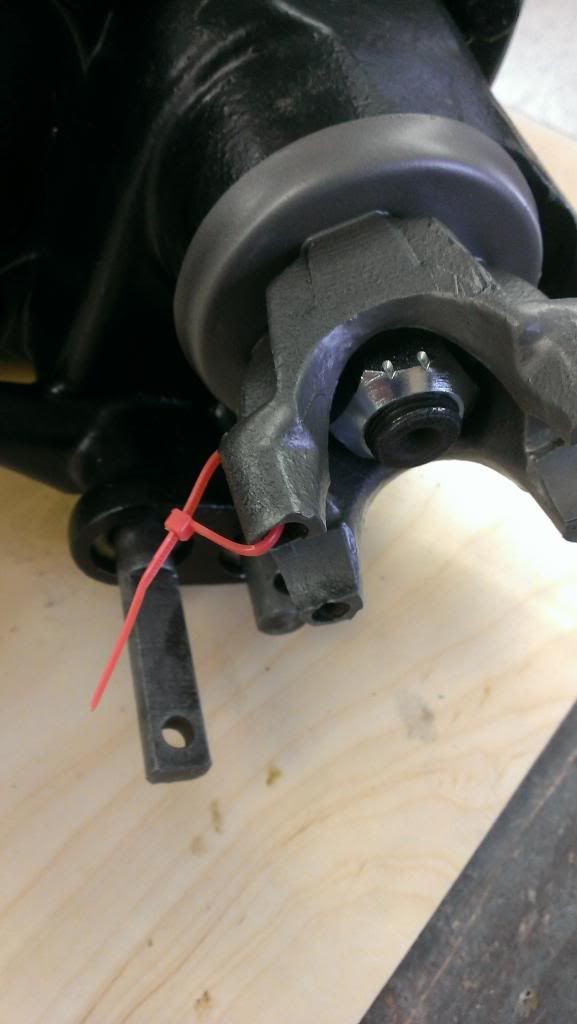
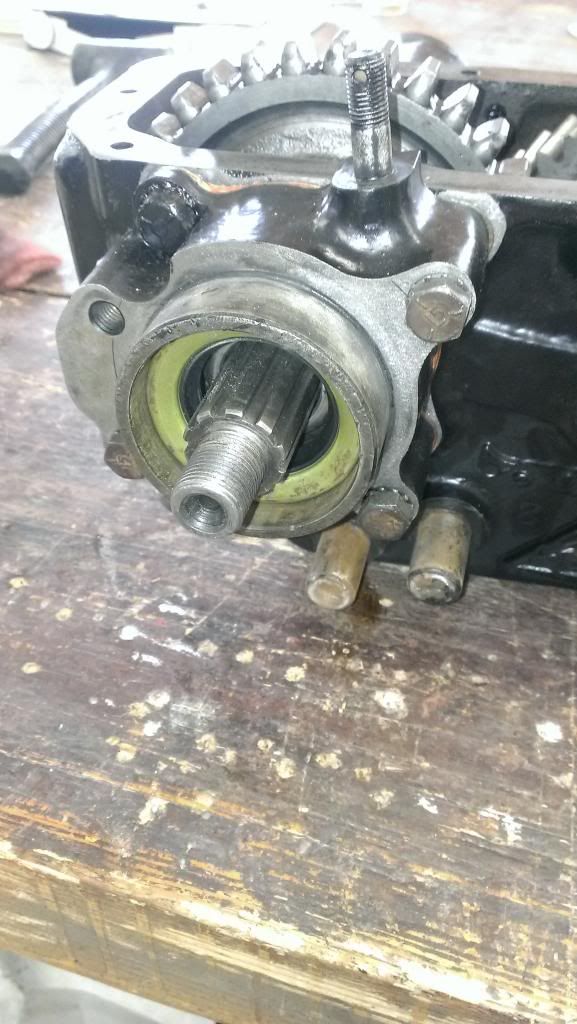
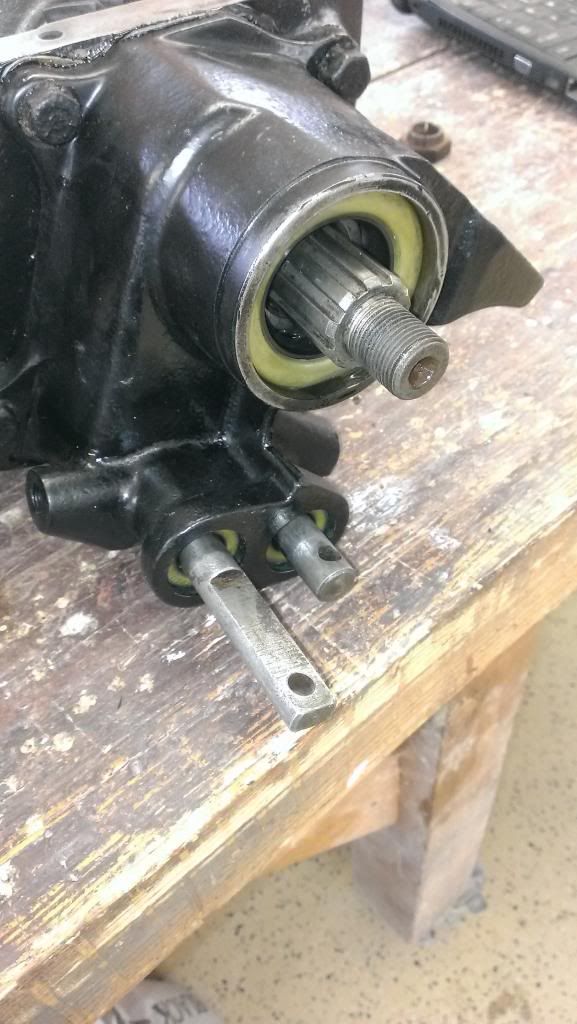
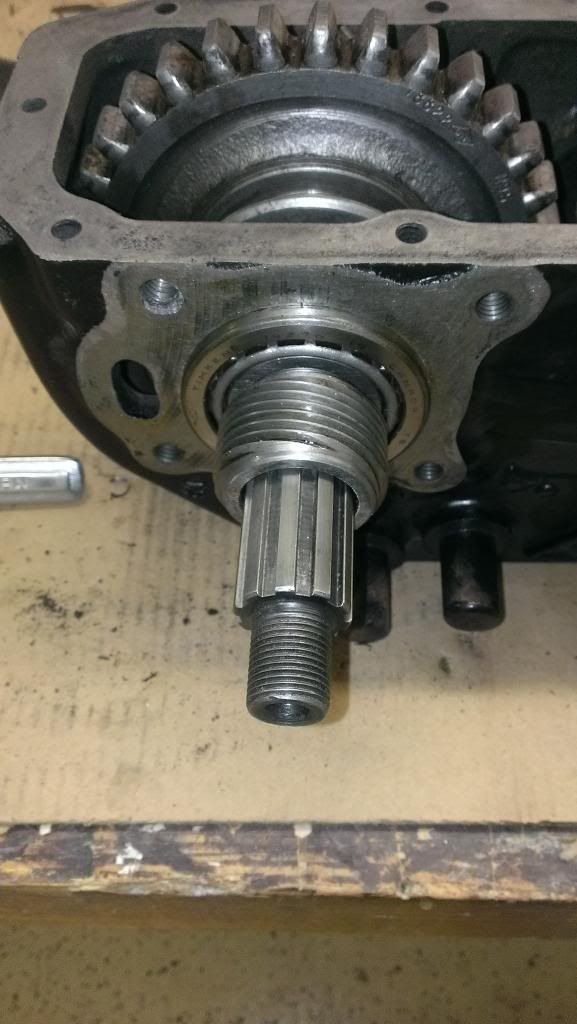
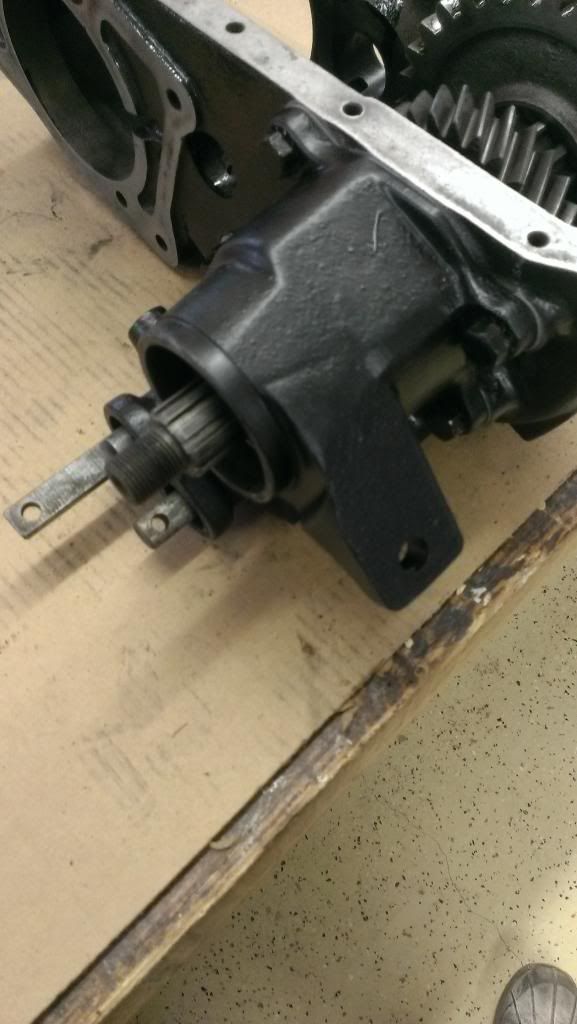
I painted the driveshaft yoke and put on the felt seal
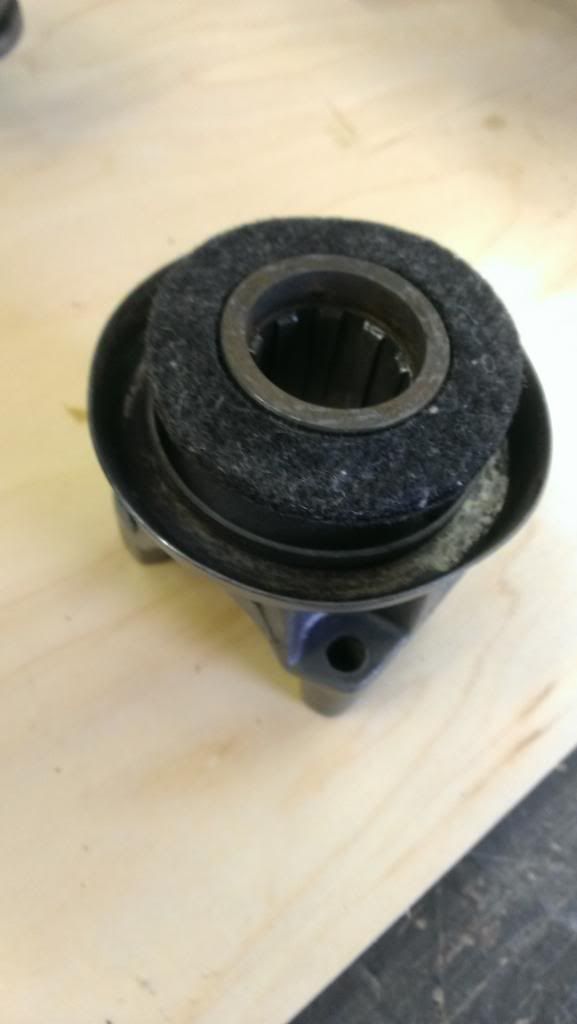
Used an impact gun to install washer and nut
A little reminder to me to torque the nut after the case is mounted and I can get some leverage
-
This is art to me
I'm a bit weird I guess but I love turning rusty greasy things new again.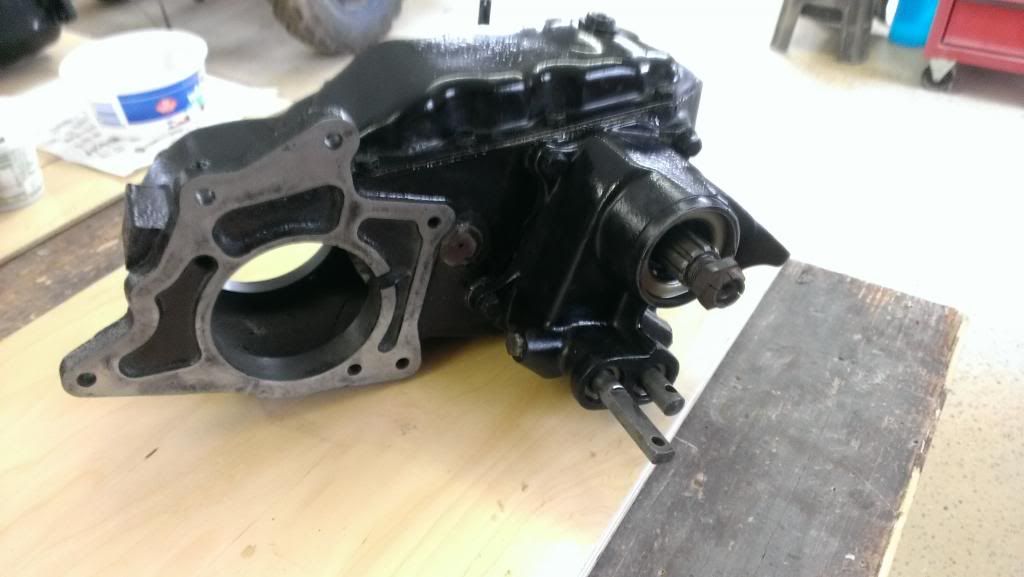
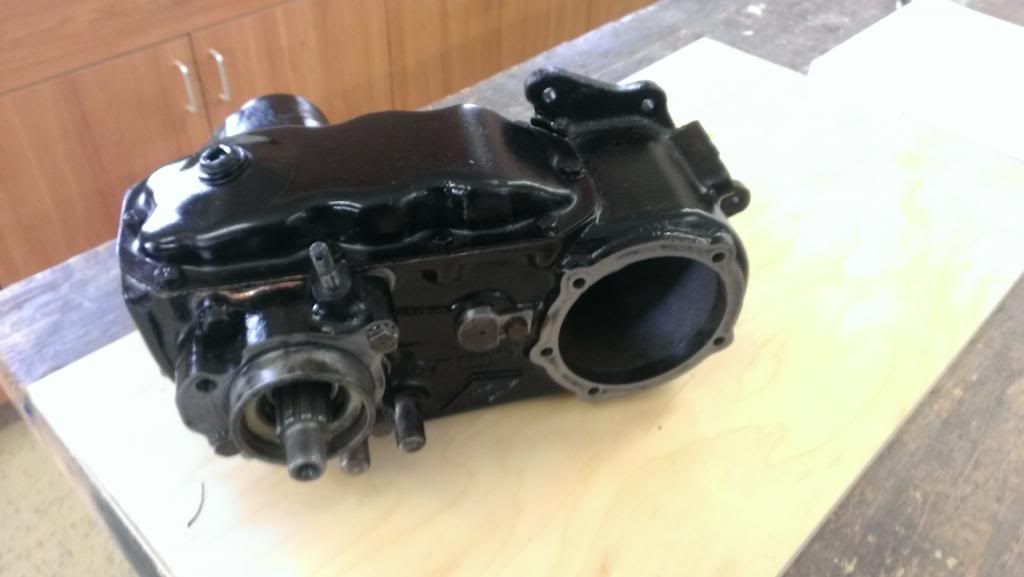
This is how far I got. More to follow
-
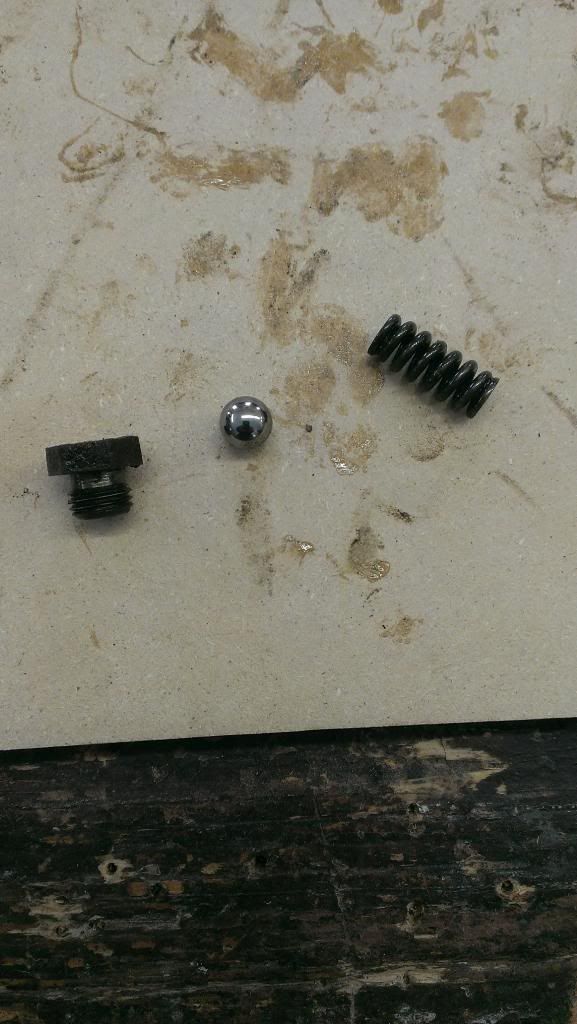
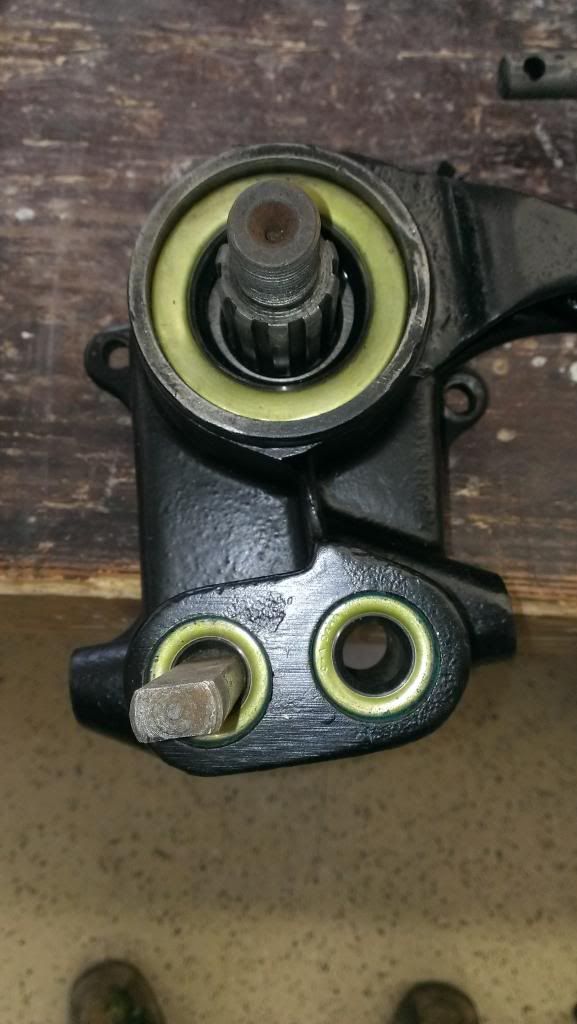
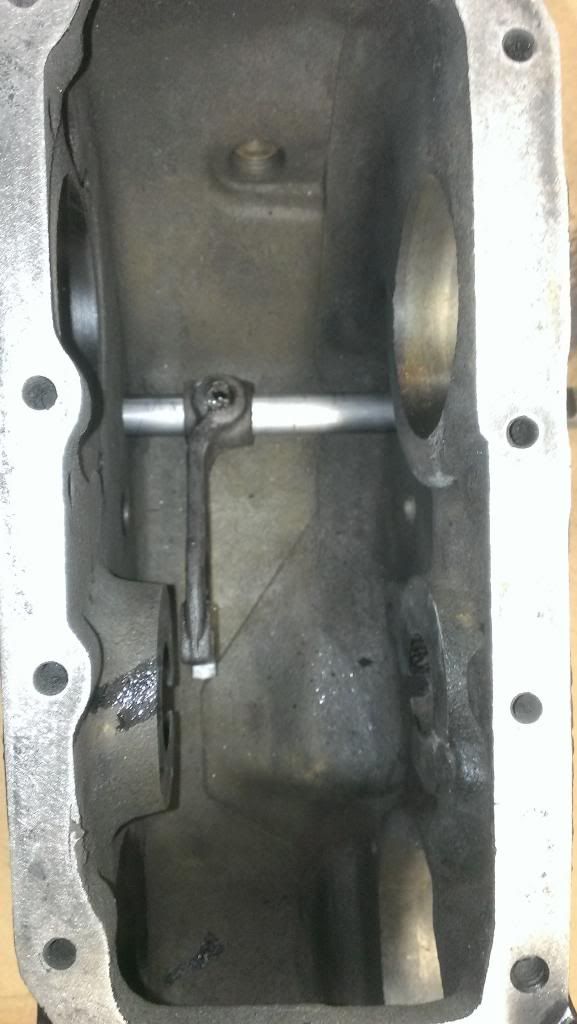
Next I installed the poppet balls and springs in the front bearing cap. Before I installed these the shafts moved easily. After, I couldn't budge them, I hope that is correct since they are designed to keep the shafts from moving around freely. The order the go is ball, spring, cap.
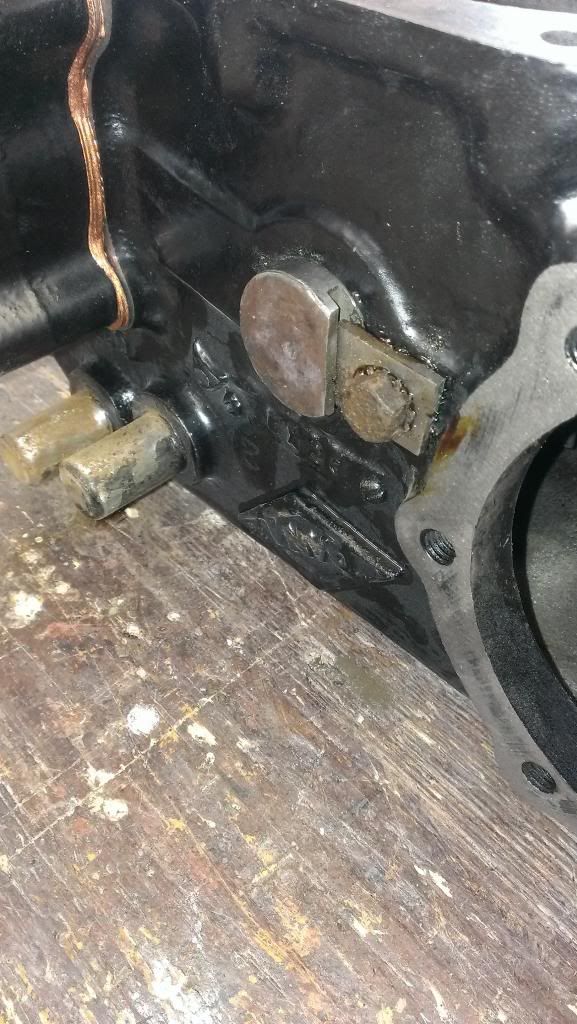
Rear cap seal installed
Locking plate for main shaft
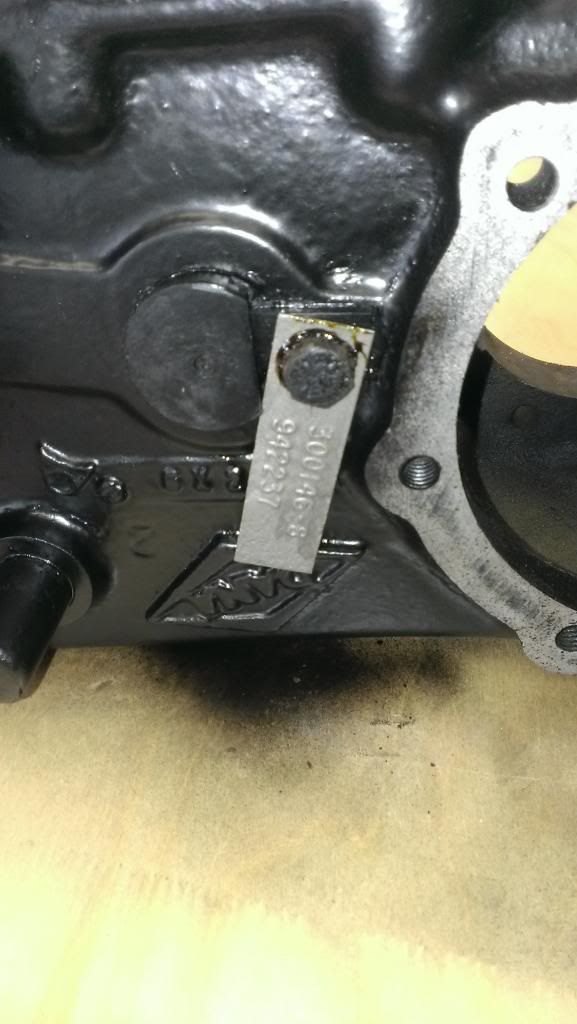
I hated to cover up all this nice work
gasket shellac then oil pan gasket then more shellac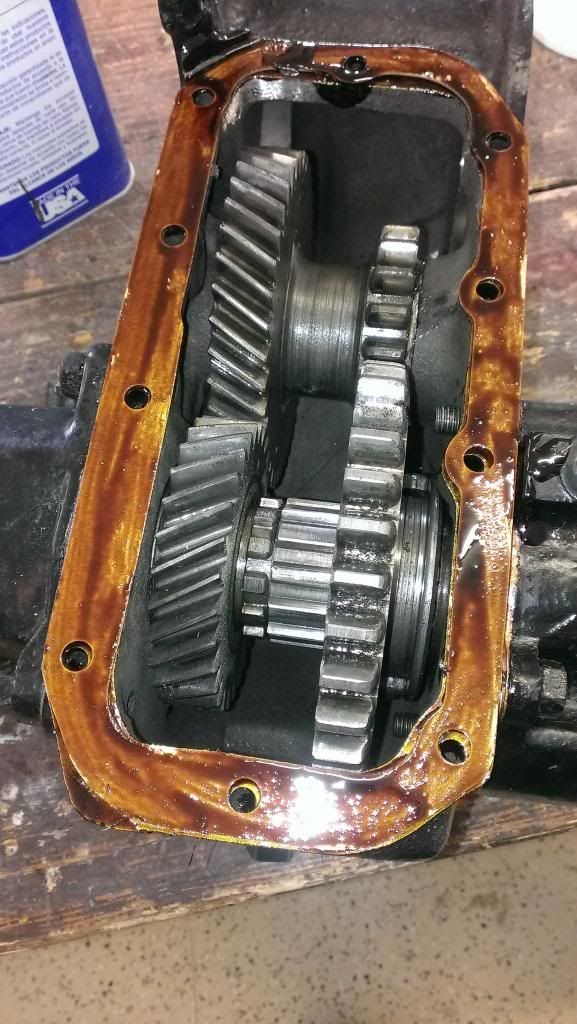
I couldn't find what to torque the oil pan bolts so I torqued to 25 lbs
-
JohnF...Looks like you did use sealant on the rear bearing shim stack gaskets, right? I use either a thinner shellac-like sealant or Gasgacinch on shim stacks. Gasgacinch spreads evenly while wet, so does a thinner "shellac" like Permatex 300D, spray High Tack, etc.
The aim is to allow the sealant to squeeze/spread flatly and not interfere with an accurate setting of the bearing load. Sealant should be thinly and evenly applied, on the bolt threads, too, then tightened and torqued before the sealant dries. This prevents leaks and weep.
Just a comment...Your detailed photos are immensely helpful to others, JohnF...Thanks!
Moses
I saw on several sites to use the copper form a gasket spray on the shims. I sprayed on a few coats then let it get tacky. Besides whats a Jeep if it doesn't leak a bit
:-)
-
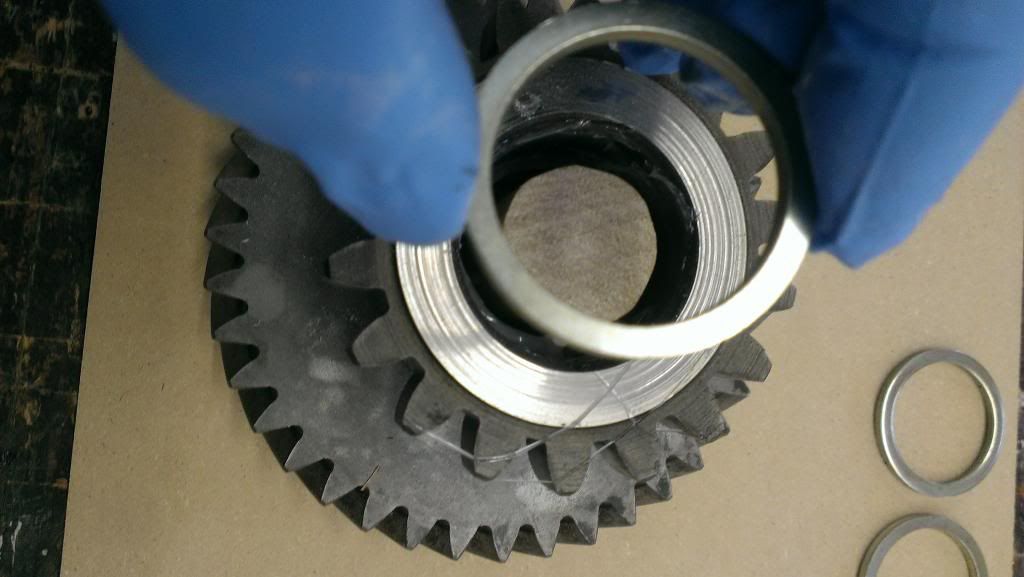
The added spacers can work if there is still enough room left for good oil flow between pieces. Do not make the bearings "tight" for end play. Also make sure the counter gear has the correct endplay with the thrusts installed. Oil flow is critical. Gear lube is thicker.
Note: Needle rollers can self-align or "float" properly if there is some end play but not too much. If you need added spacers, I would place the added spacers at the inside of the needle rollers, just outboard of each end of the tube spacer. That way, the needle rollers are further out on the gear/shaft for better gear support. Make sure these spacer washers are OE type for proper hardness and oil flow dimens
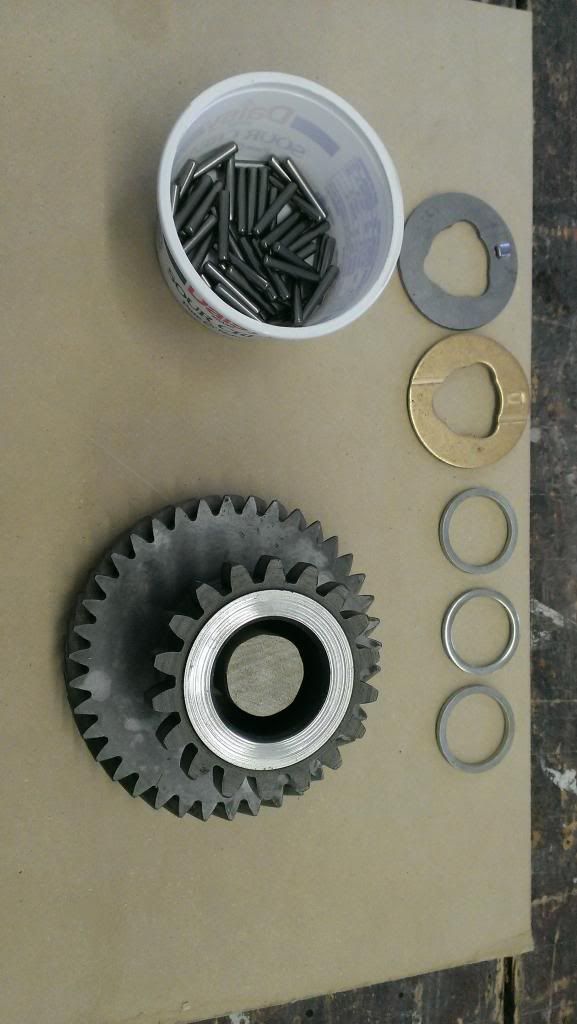
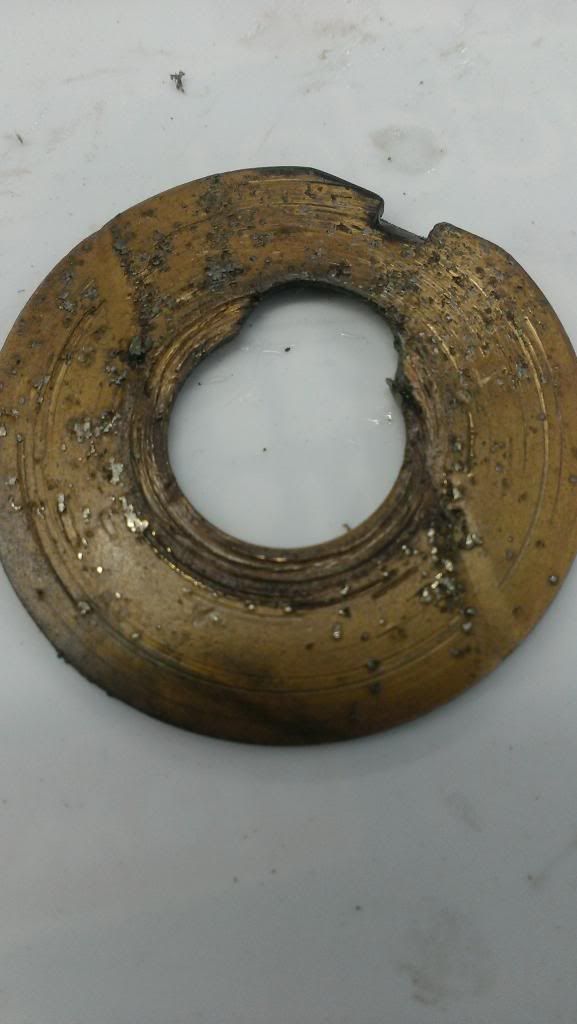
The thrust washer is worn out and has embedded debris. Surprised this kit omitted the part. Was it supposed to be there or is it an "added item", JohnF?
Moses
Yes, it was supposed to be in the kit. They sent another out today. Lets hope end play is correct, I'm not a good waiter
-
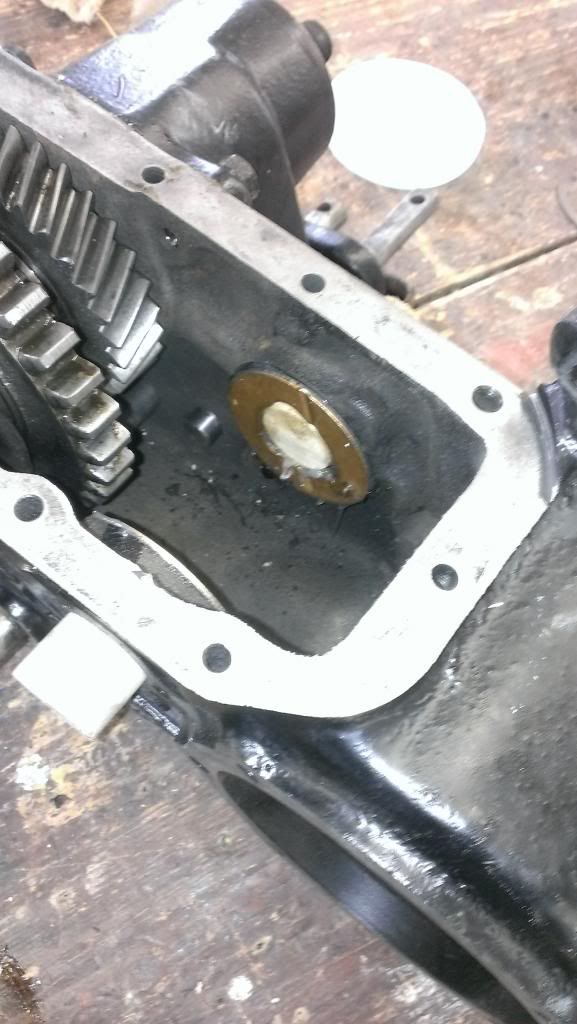
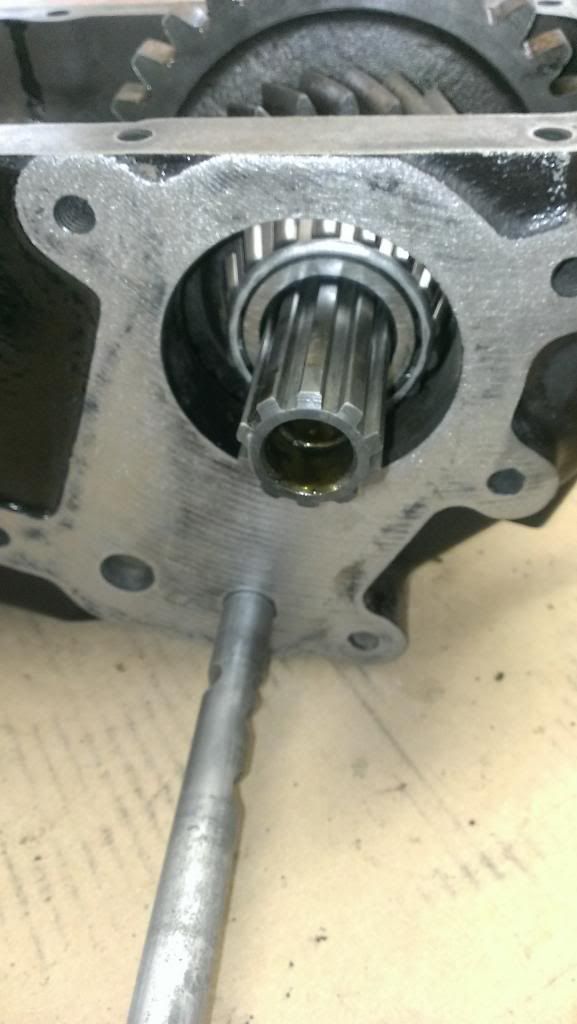
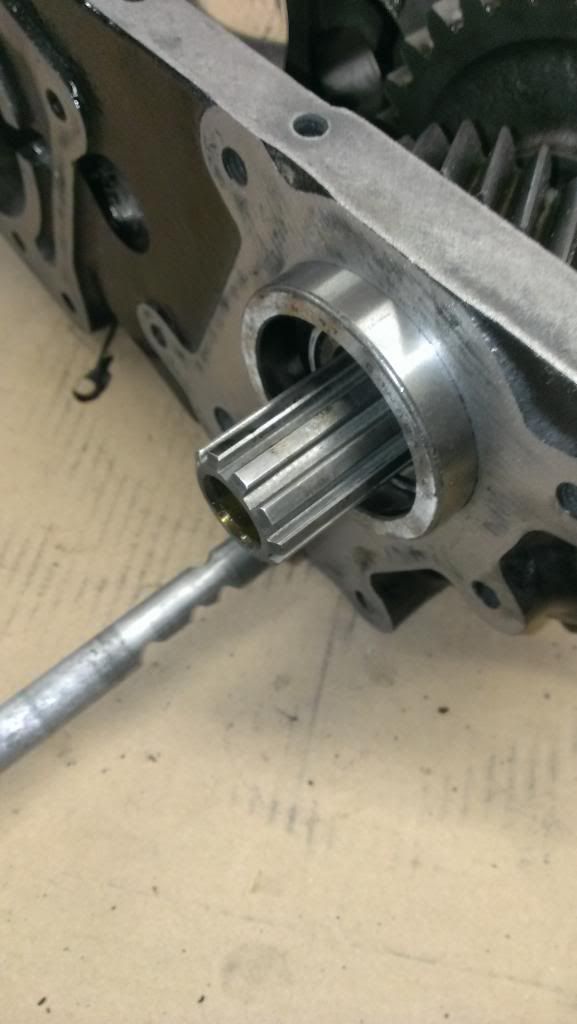
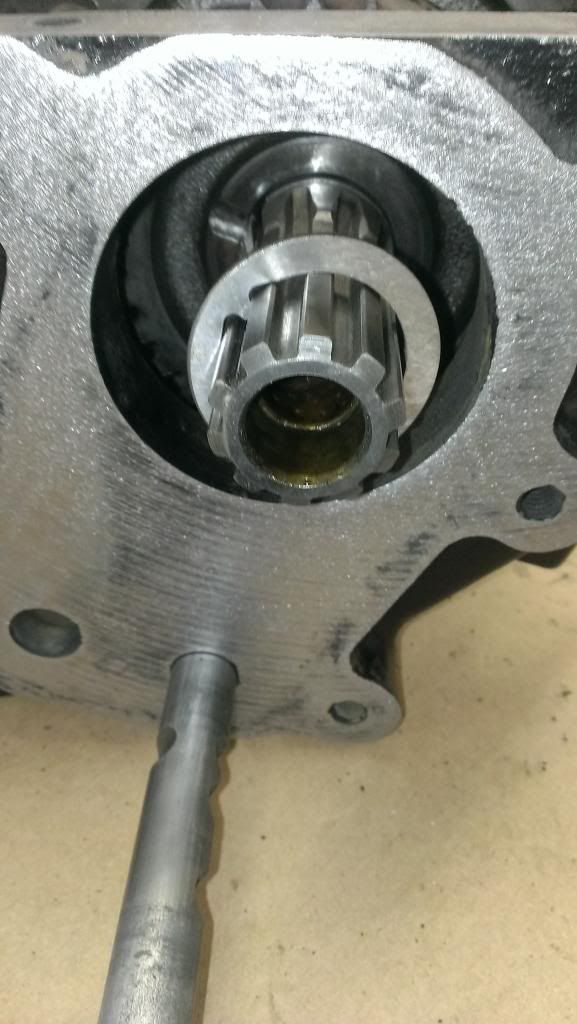
Placed the shaft into the case then slid dowels in a bit to hold it in place.
Put some oil on the shaft and slid it in. If all goes right it should push the other dowels out

Shaft in
-
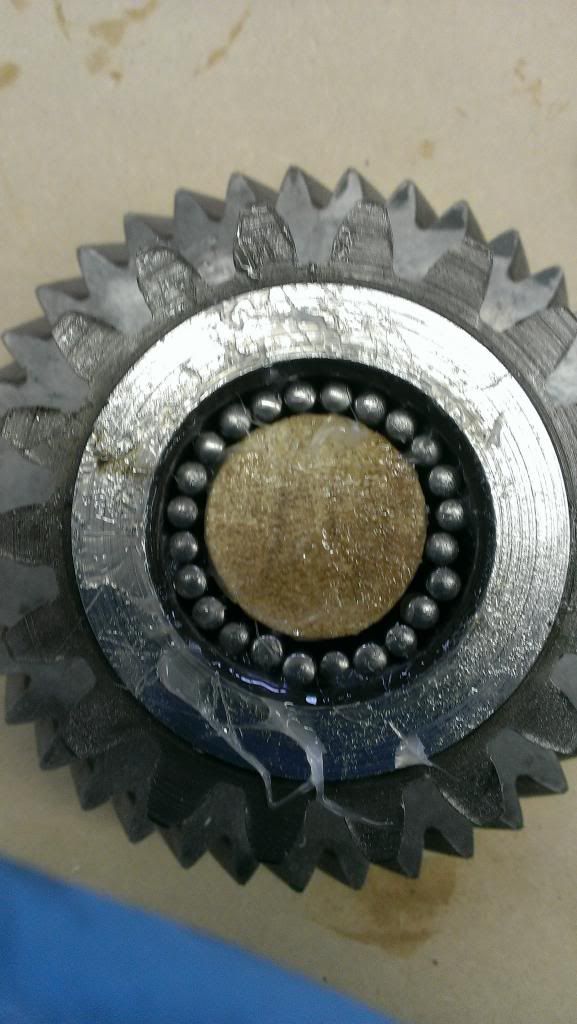
Next I put the roller bearings into the intermediate shaft
I put a wood 1 3/16"dowel 2 5/8" long into the shaft to hold everything in place, started with first washer
I coated the inside of the shaft with assembly grease to hold the bearings in place. I put the 24 bearings in next, then another washer, next 24 bearings then final washer
Used the assembly grease to hold thrust washers in the case, tabs go into the grooves in the case to prevent them from spinning, bronze side to shaft. I used dowels on each side to hold in place
-
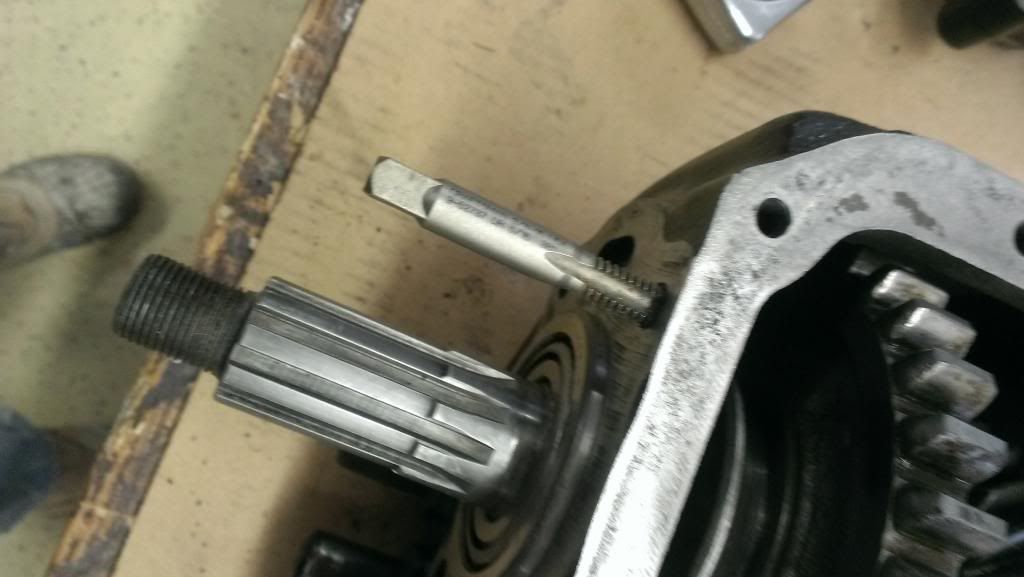
Removed the front cap and installed the seals
putting in interlocking pin
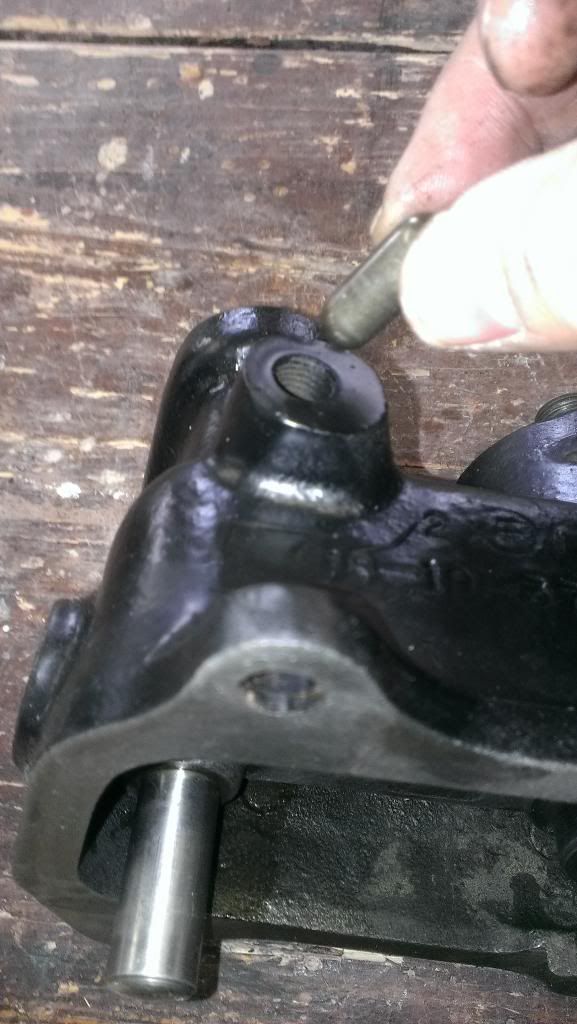
Where it should be when recessed in shaft
I used gasket shellac from Permatex to seal the gaskets
Bearing cap installed again
-
Thanks Mose's More to follow. Let me know if you see something that should be done different
-
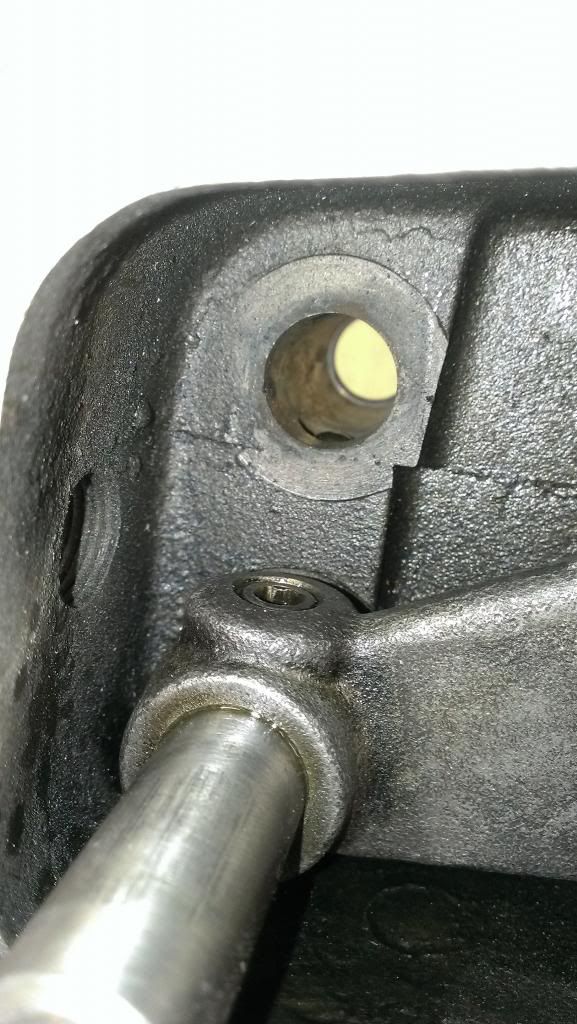
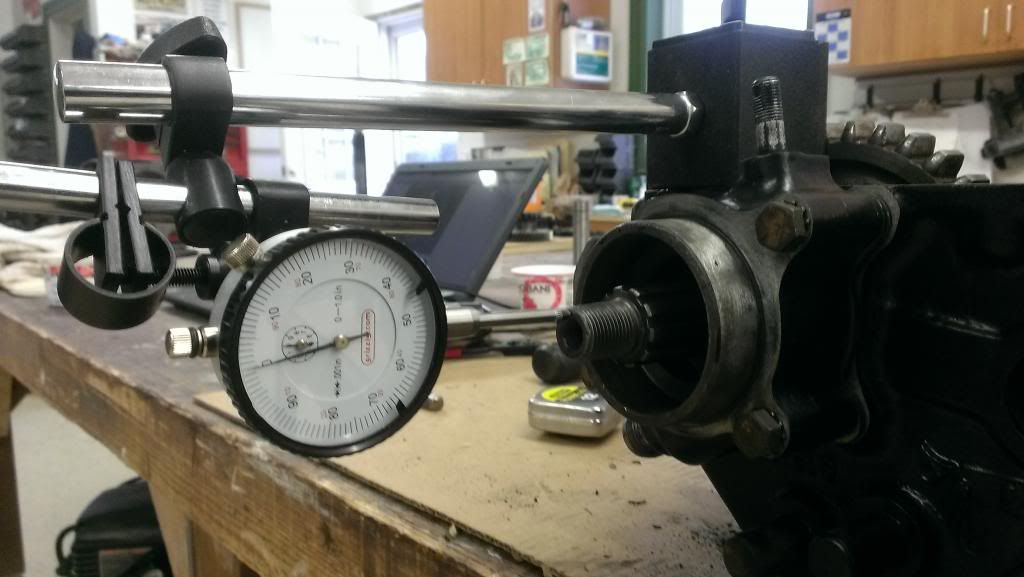
Next I fussed with the shims for a bit until I got it right,
Needed to do this to clean out the paint in the threads. Should have done it to all the bolt holes before starting.
After some curse words I got the end play right 0.005 with the rear cap torqued to 35 lbs
Speedometer gear slid onto shaft, I realized I could have left this off as long as I put it on before installing the oil seal
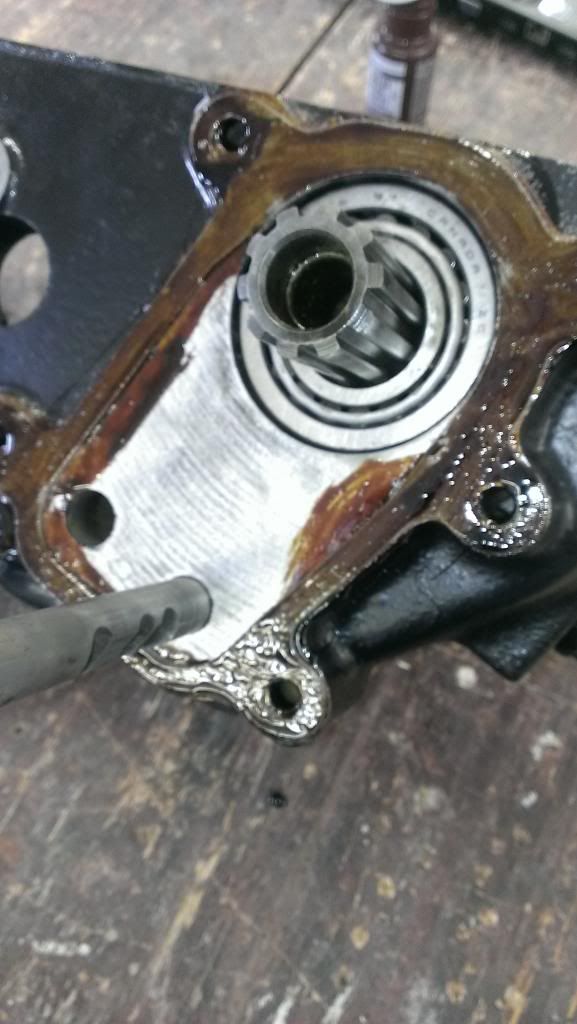
Shims sprayed with copper spray-a-gasket and allowed to get tacky
Bearing cap installed and torqued to 35 lbs. The only bolt I used sealer on at this point was the short one, i need to put the E brake backing plate on later after I blast it and get it painted
-
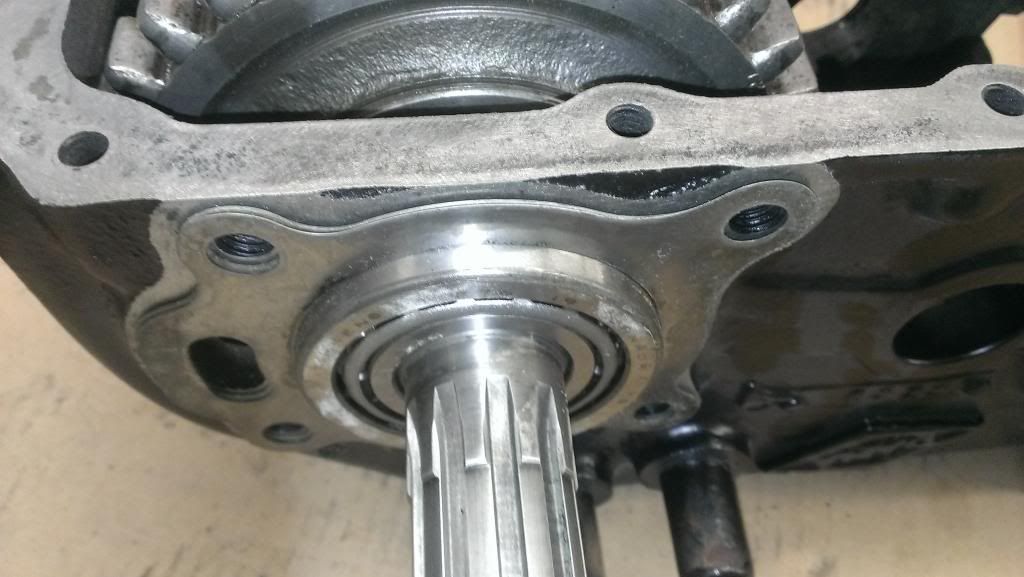
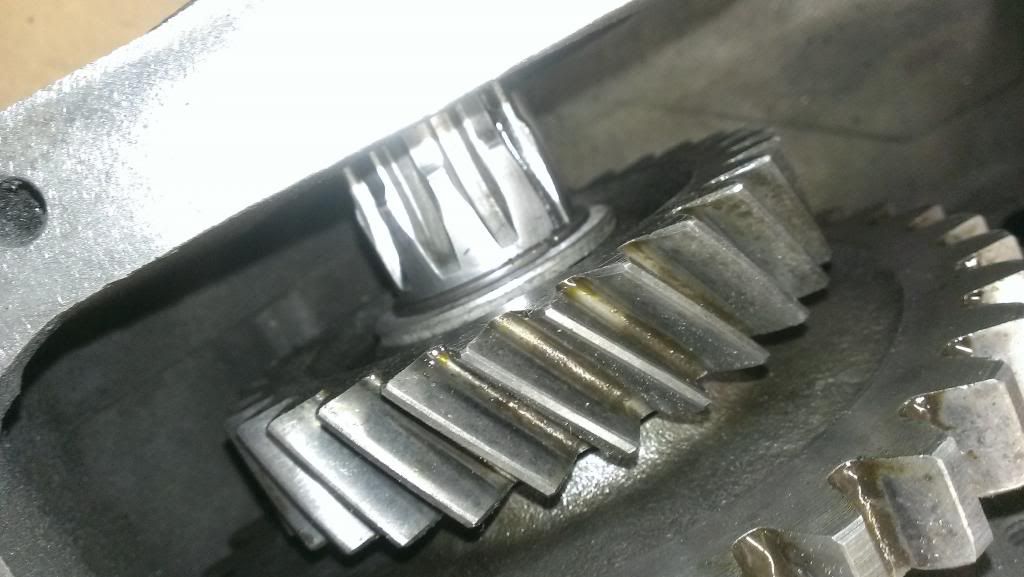
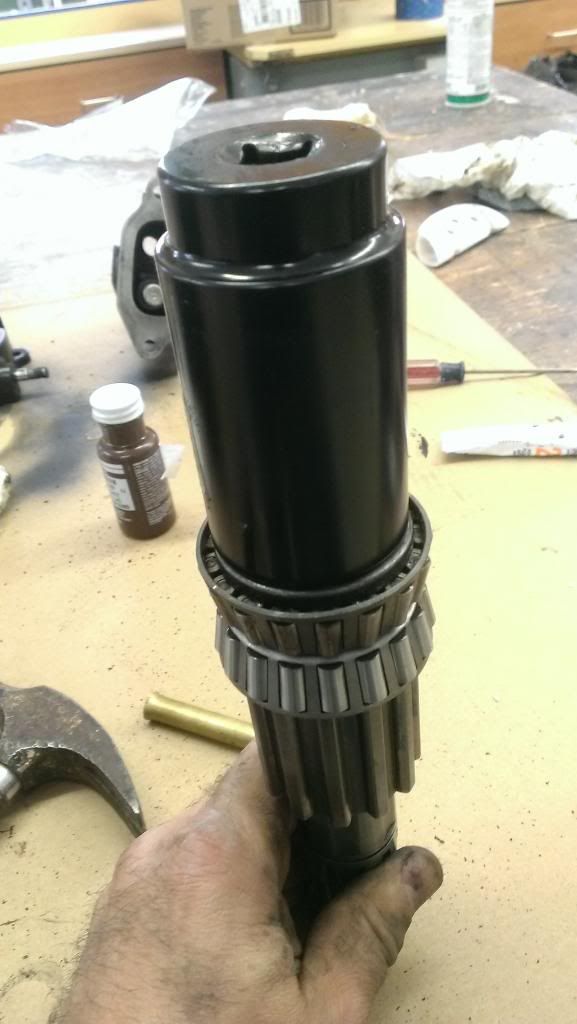
Next I slid the bearing onto the shaft. Gently tapped it in with a deep socket
Next the bearing cup
Got it flush with the case, the bearing cap will seat it the rest of the way.

Temporarily put the bearing case on with the gasket, no sealer, so I can check the end play in the shaft. I will take this off later to seal the gasket and put on for good. Very important to snug the bolts in a cross pattern so you don't twist the case and break it.
-
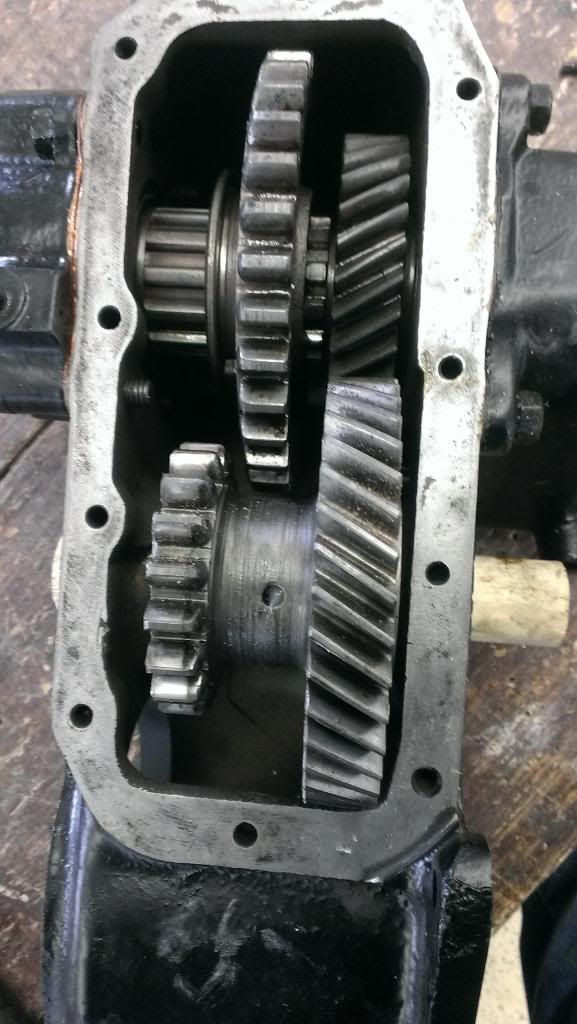
Next the sliding gear goes into the case and on the shift fork
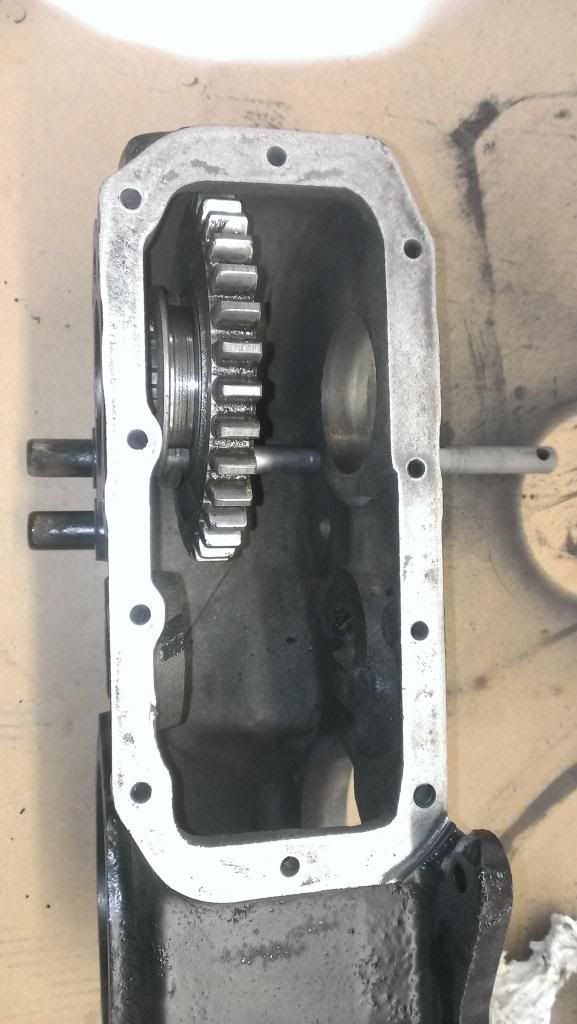
Output shaft gear next
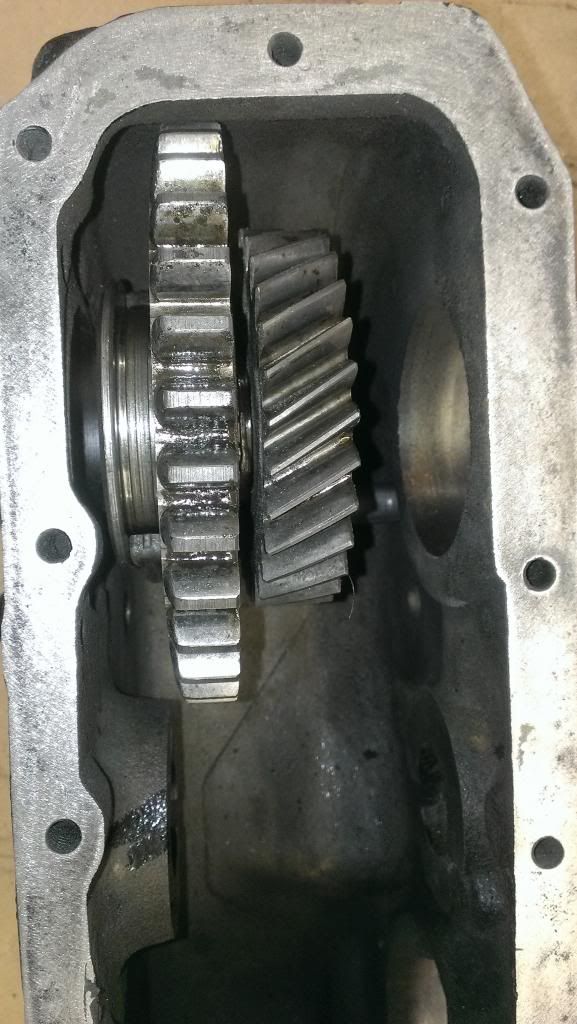
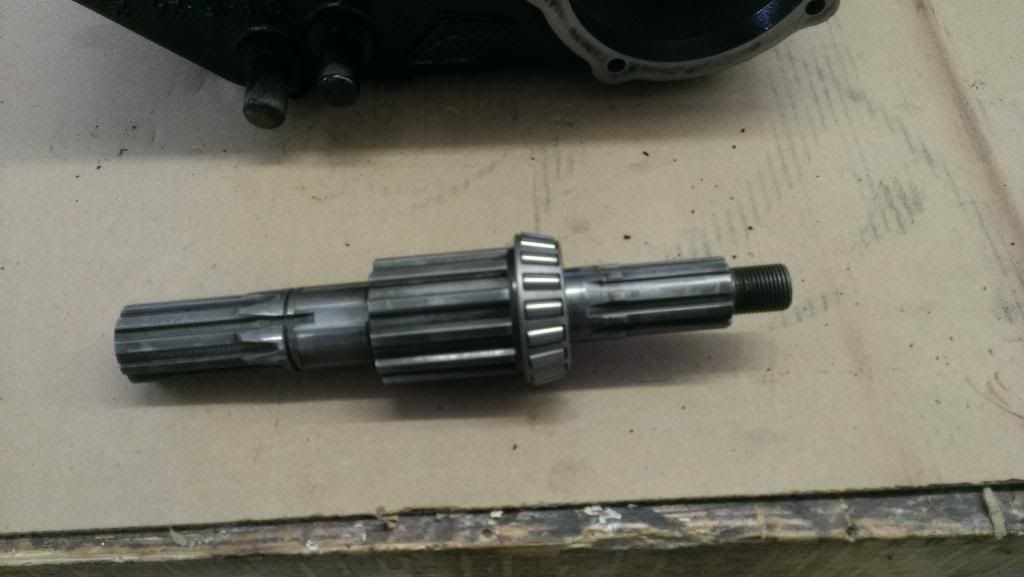
Next slide the output shaft thru the gears

Next I slid the thrust washer onto the shaft making sure the tab goes into the groove in the shaft that goes all the way back thru the gear
Next the snap ring
Washer and snap ring installed
-
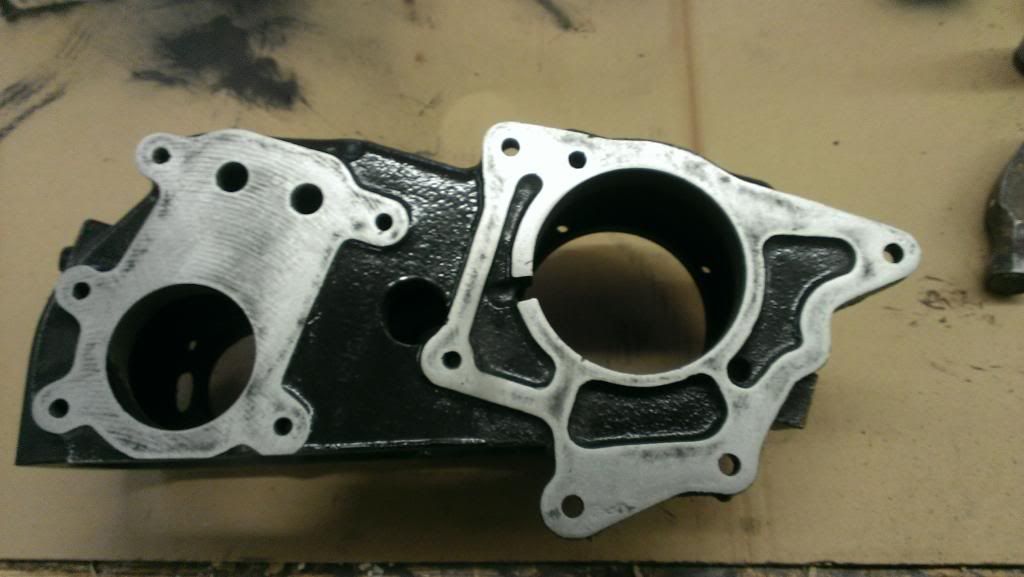
When I painted the case I painted the whole thing then took an orbital sander and sanded the mating surface's this way I can see the high spots
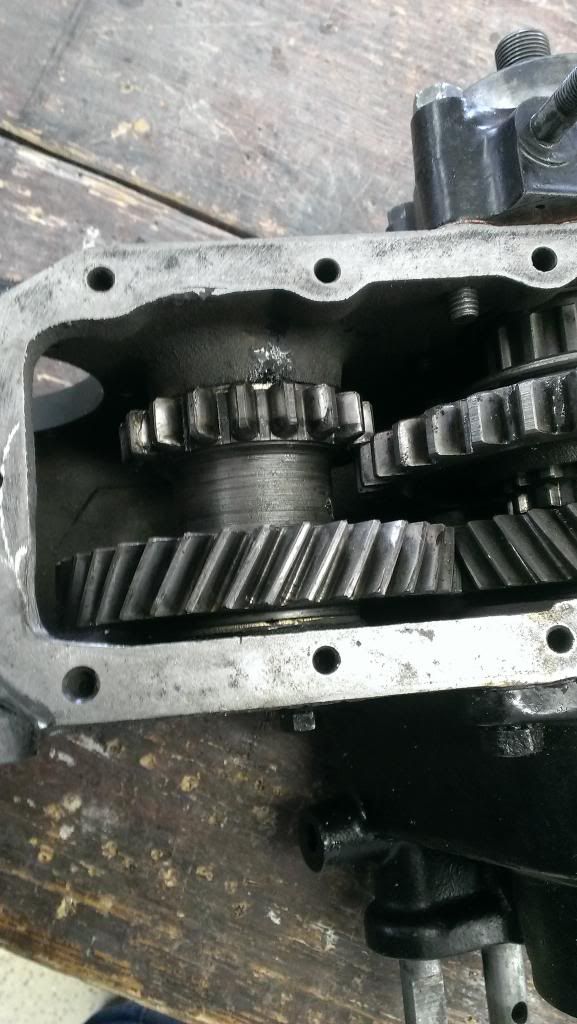
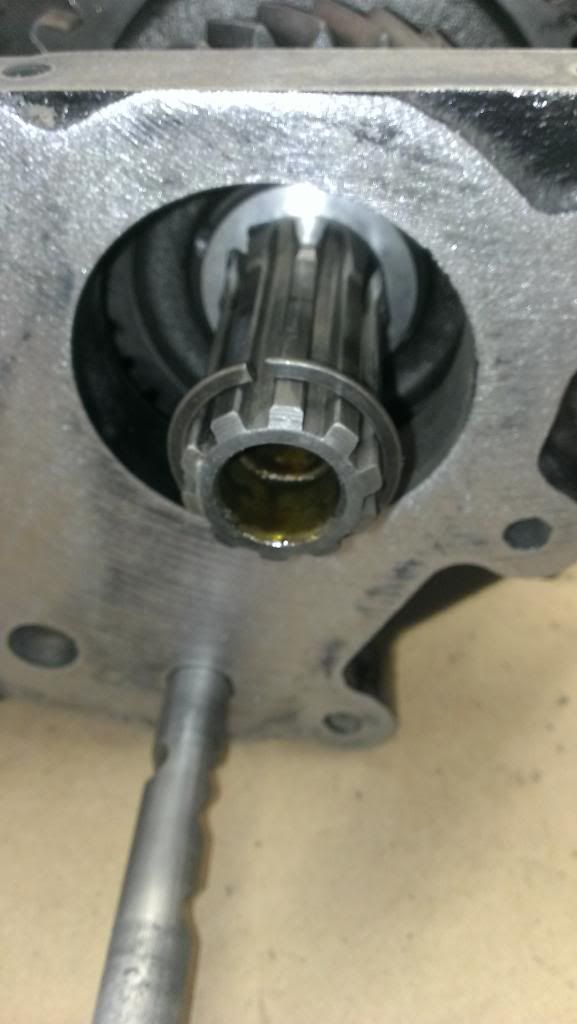
Next the longer shaft with the shift fork goes in

I used the old bearing and a deep socket to put on the new bearing on the output shaft
-
Next I slid in the output clutch shaft into the same bearing.
Next the short shift fork and shaft
Next the output clutch gear

-
Starting the assembly, First I laid everything out so I am not fishing for parts when I need them.
Started by installing speedometer gear
Then I put in bearing and snap ring in front cap
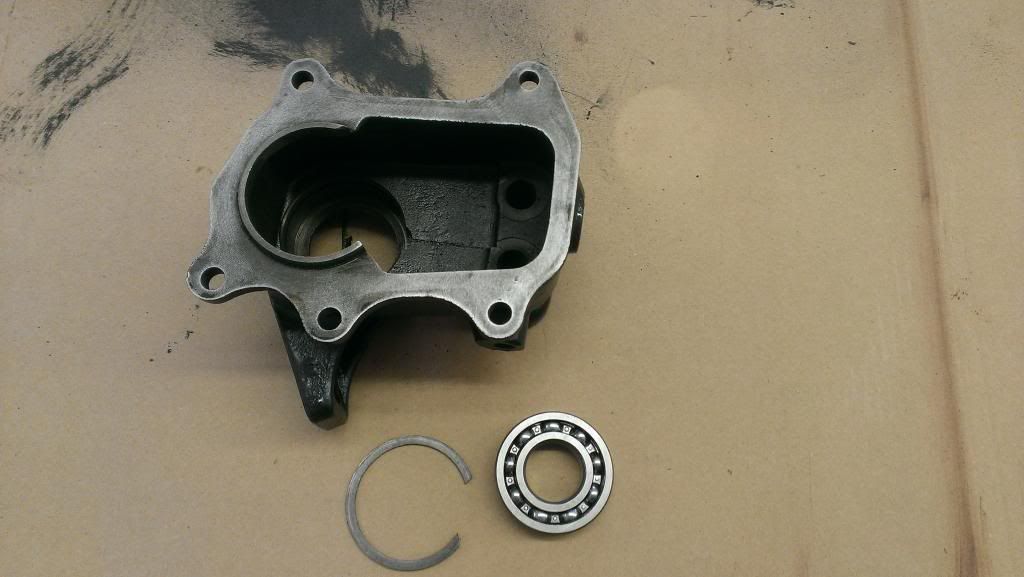
I used a seal installation tool to seat the bearing
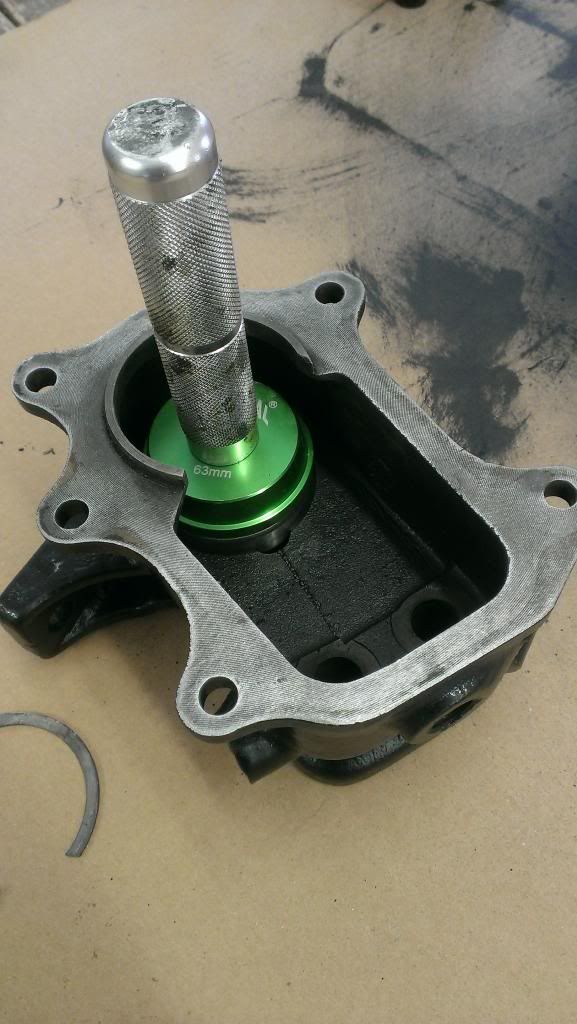
Bearing and snap ring installed
-
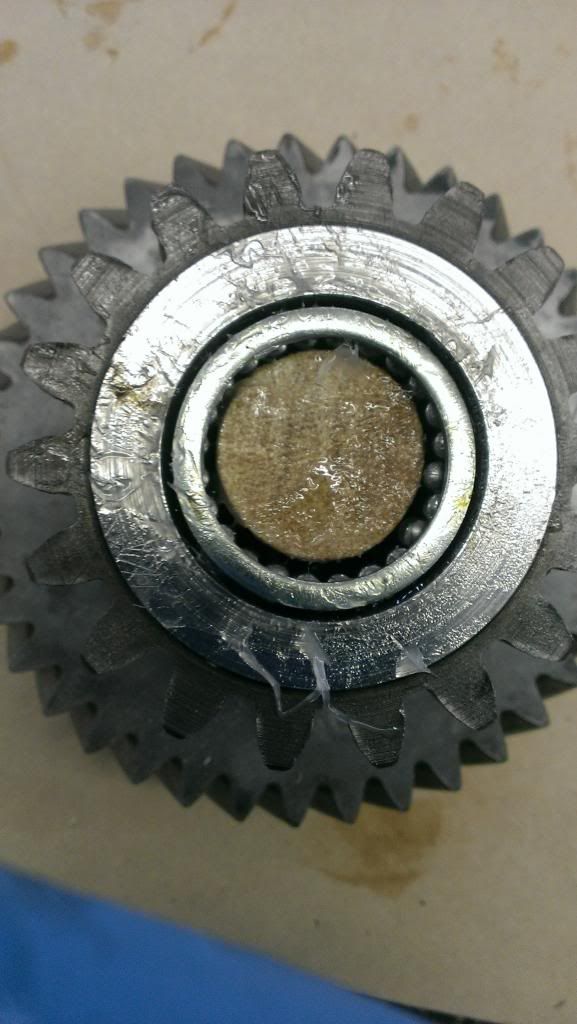
I read an article by Rick Stiver about rebuilding the T-90 and he ran into the same issue with the spacers not being flush with ends of countershaft. He recommends adding a washer to each side to bring them close to flush, so thats what I did. The front countershaft washer missing from the kit aggravate's me but after looking at my old one and the damage I decided to wait for a new one.
-
Mose's,
2 questions. After installing the spacers and needle bearings in the cluster shaft the spacers are not flush with the ends of the shaft as stated they should be in your book. With one side flush the other side is recessed 1/8 of an inch. Is this normal with the T-86 ? It only uses 44 needle bearings and 4 spacers as the T-90 uses 88 bearings and 6 spacers. All the new parts match the old ones exact.
Also, the rebuild kit is missing the Front counter shaft washer the goes on the front of the cluster gear ( large side ) my old one is slightly damaged from the needle bearing spacer spinning on it. Should I reuse it or put this off until I can get a new one? Thanks

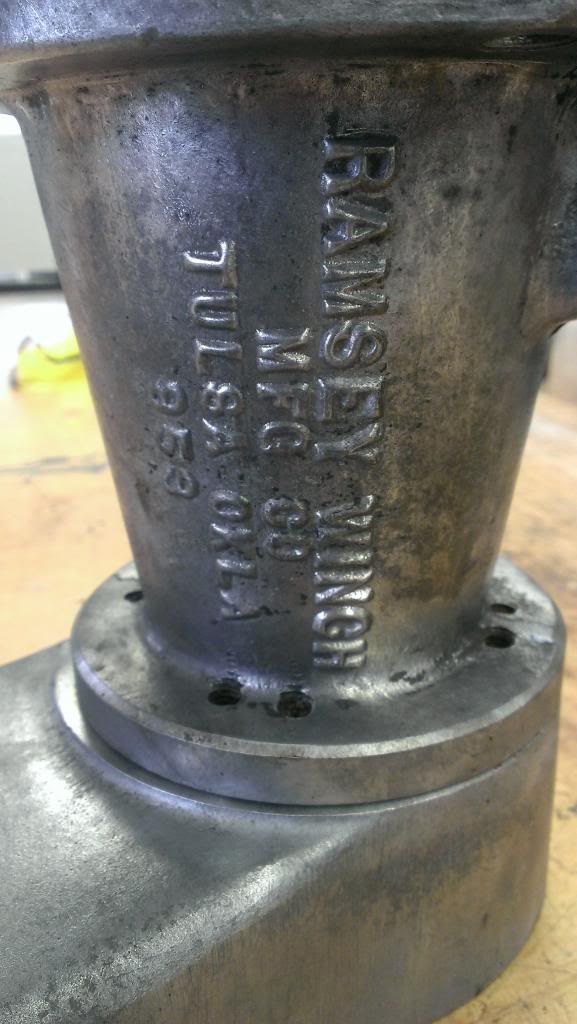
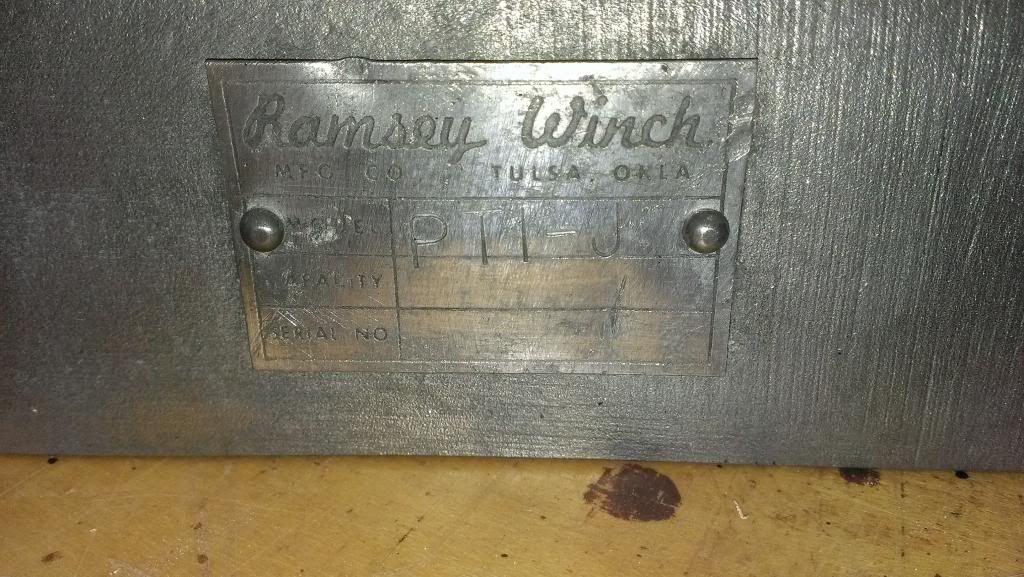
Info on Ramsey P.T.O. and Winch Rebuild
in Vintage Jeep® Vehicles 1941-71
Posted
Moses
Do you know what the bolts on these units are torqued to? I assume not much being it's aluminum.
Thank you
JF