


JohnF
-
Posts
101 -
Joined
-
Last visited
Content Type
Profiles
Forums
Blogs
Store
Articles
Gallery
Posts posted by JohnF
-
-
JohnF...This is utterly beautiful...What a tribute to your family! Thanks much for sharing the detailed photos, the Jeep CJ will be fantastic after this restoration...Glad to see the progress, looking forward to the next phase!
Happy New Year, John...
Moses
thanks Moses, I will post more soon.
-
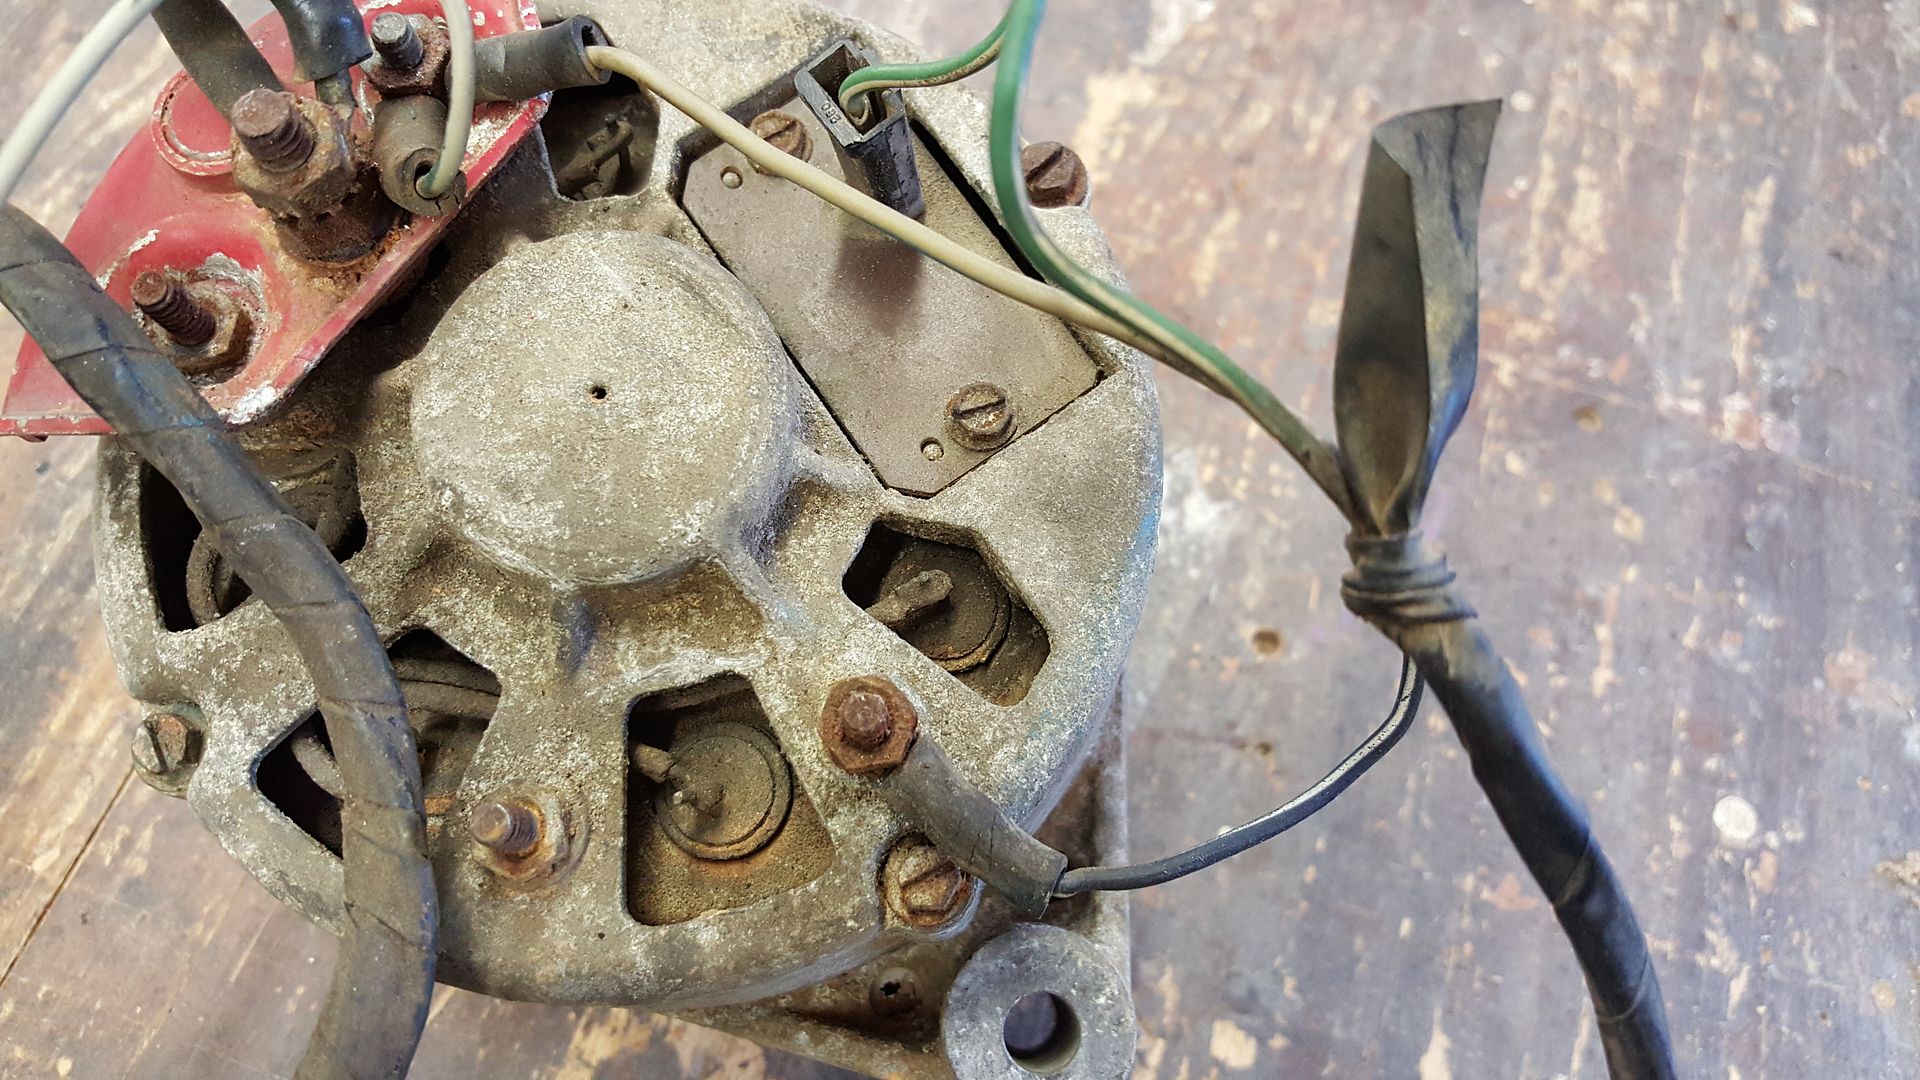
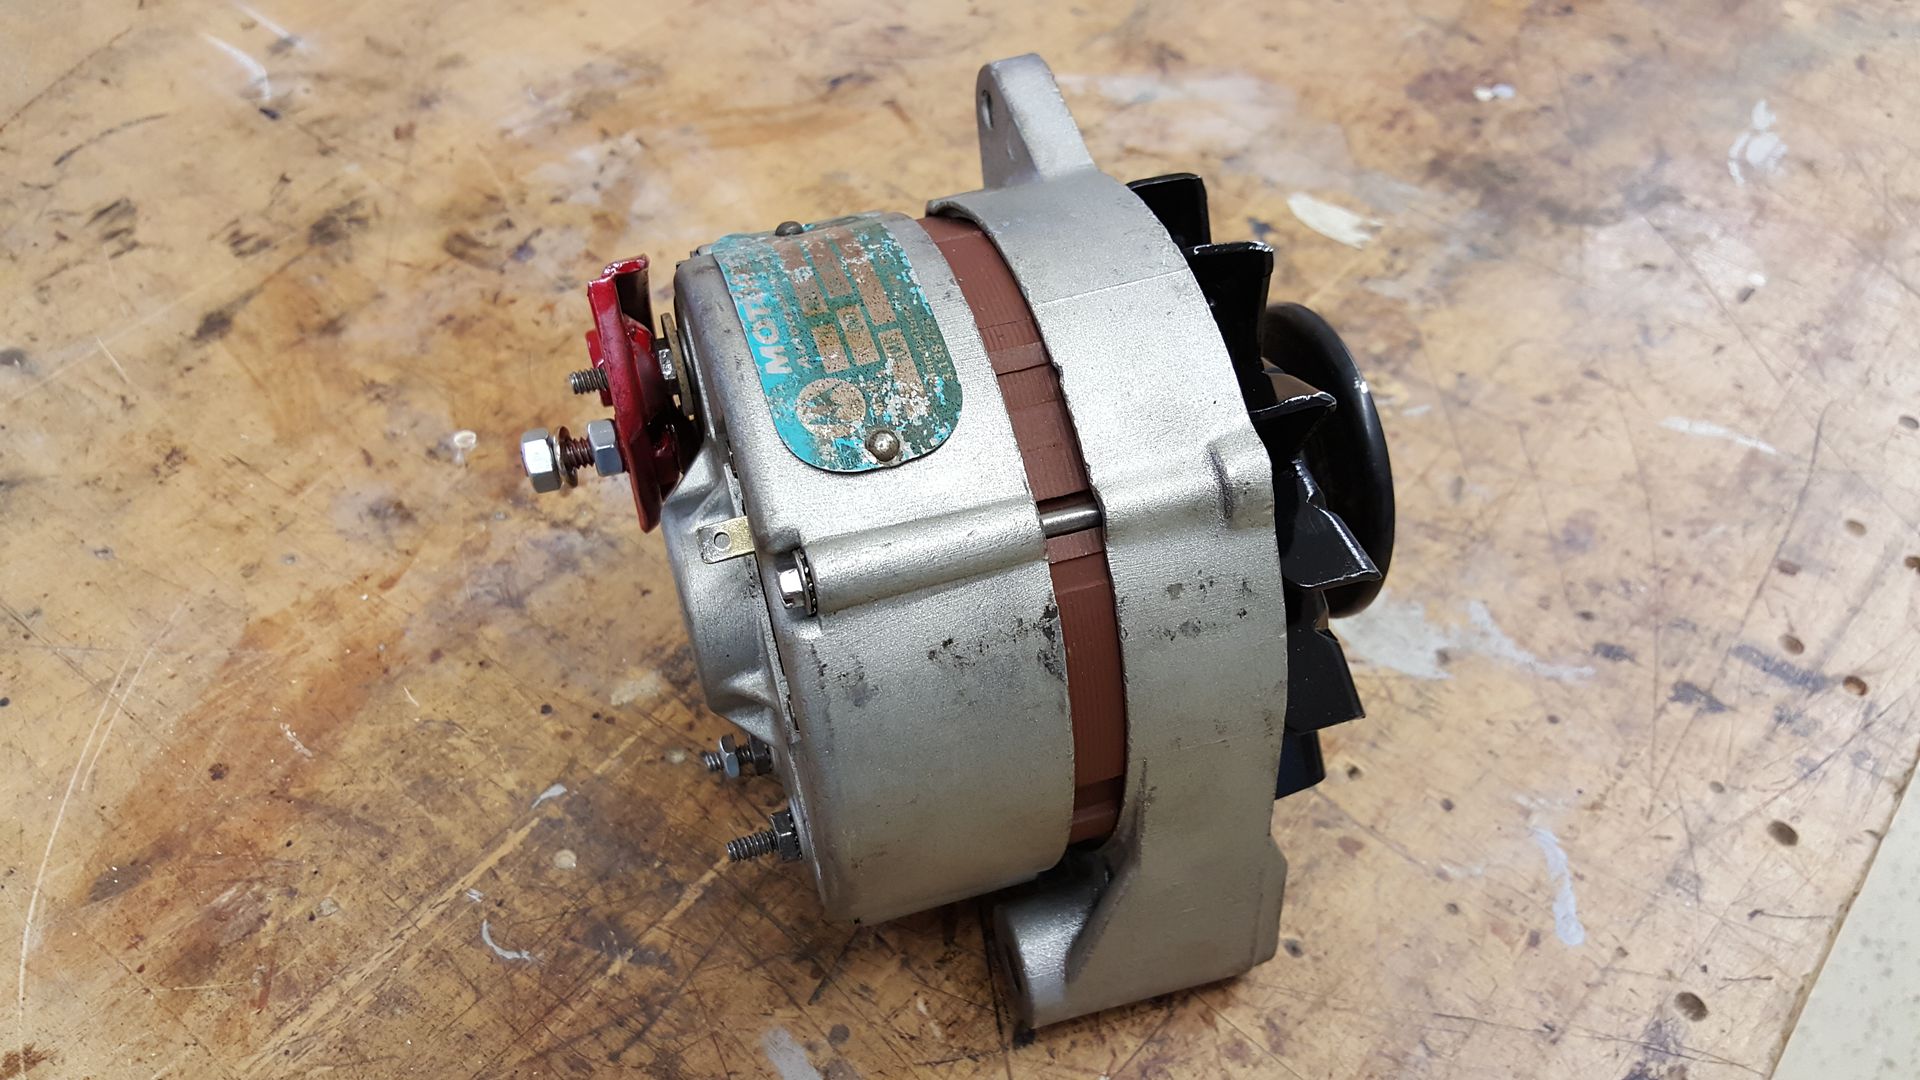
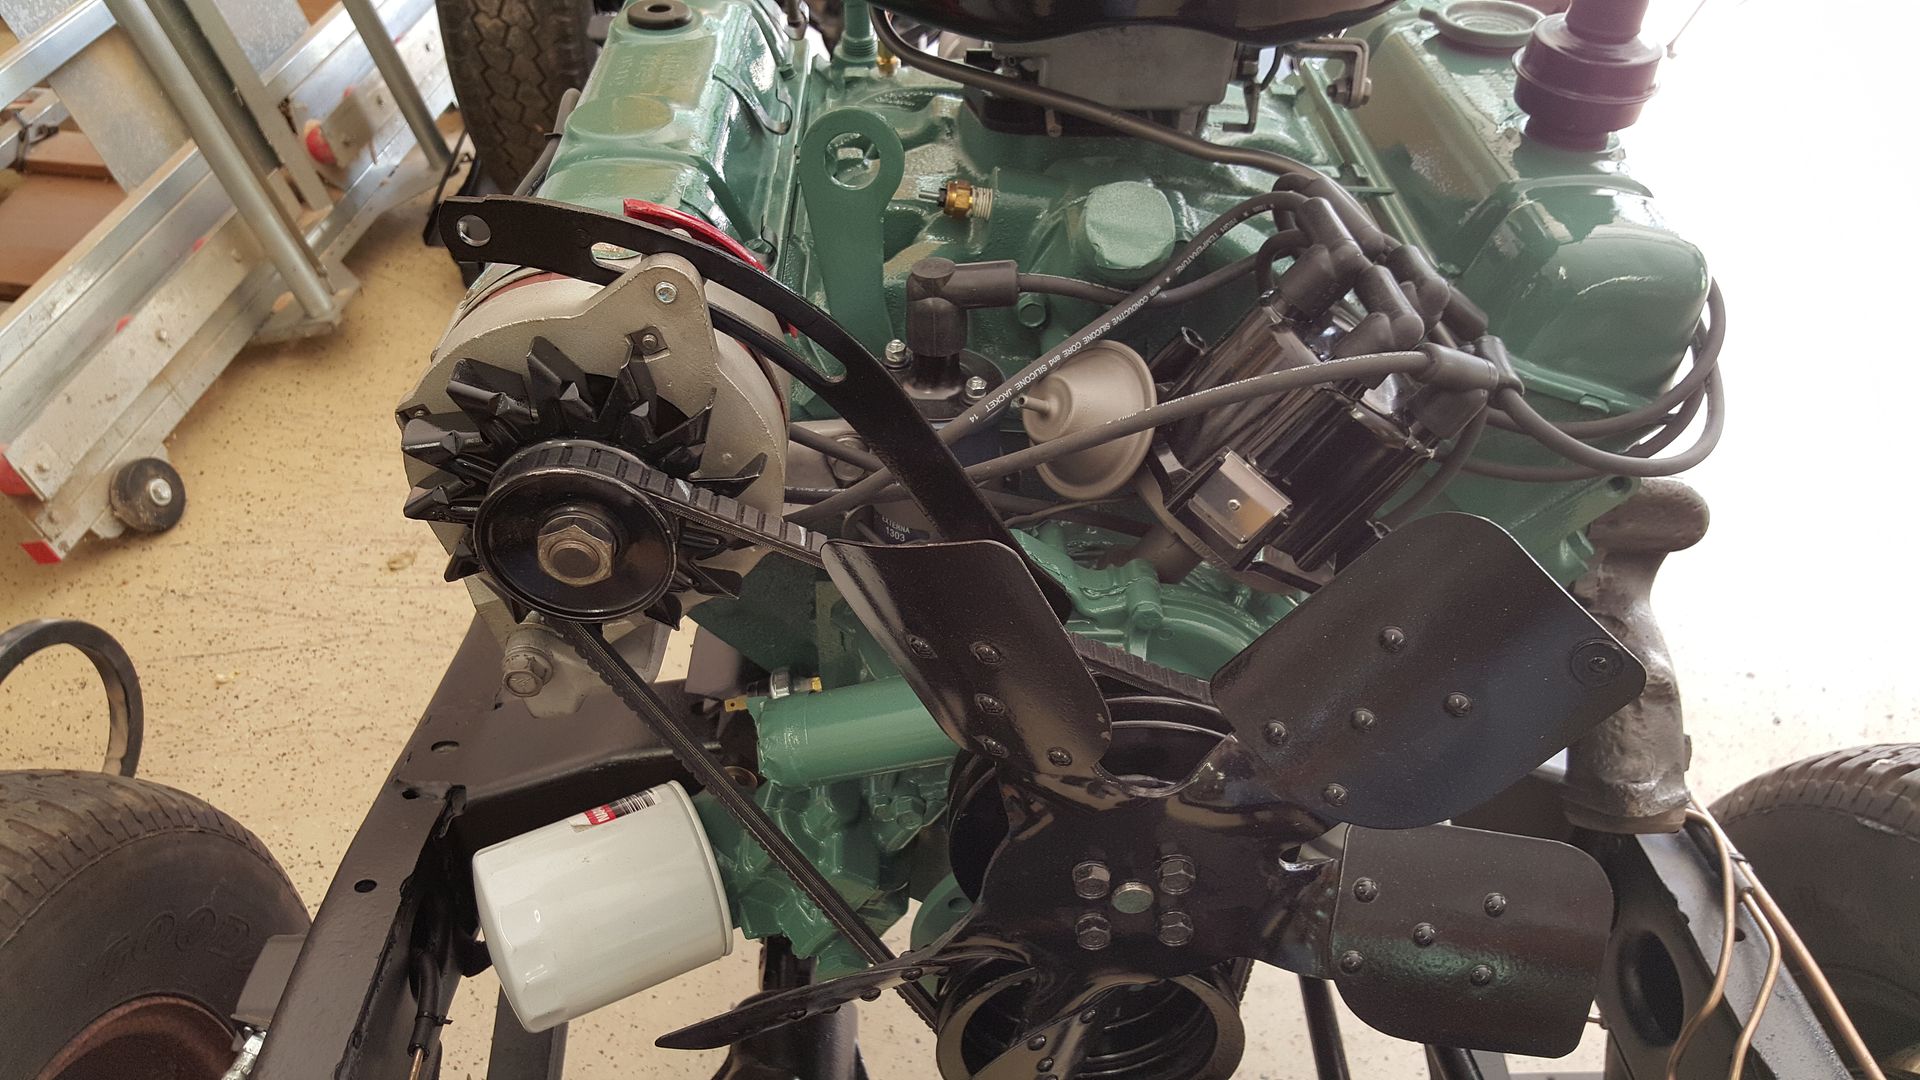
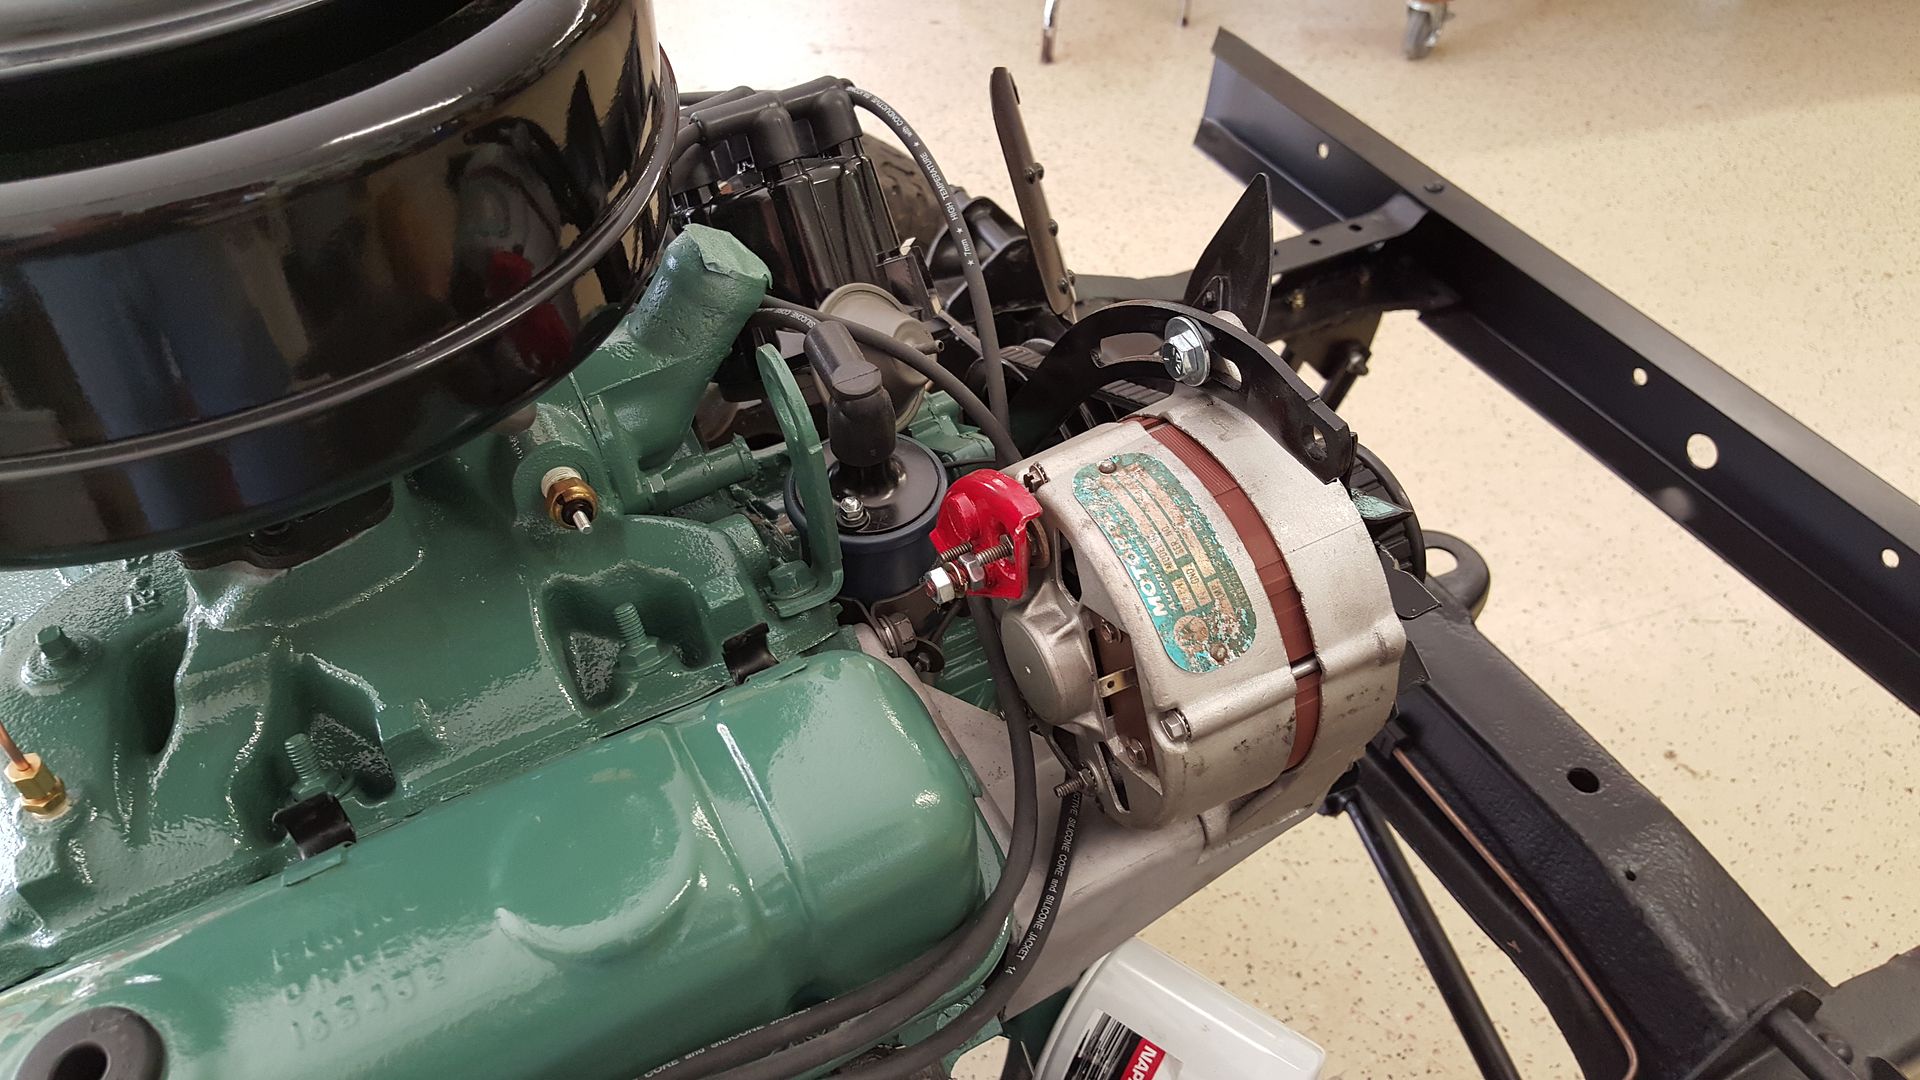
I found an original motorola alternator that was factory on my year and had it restored
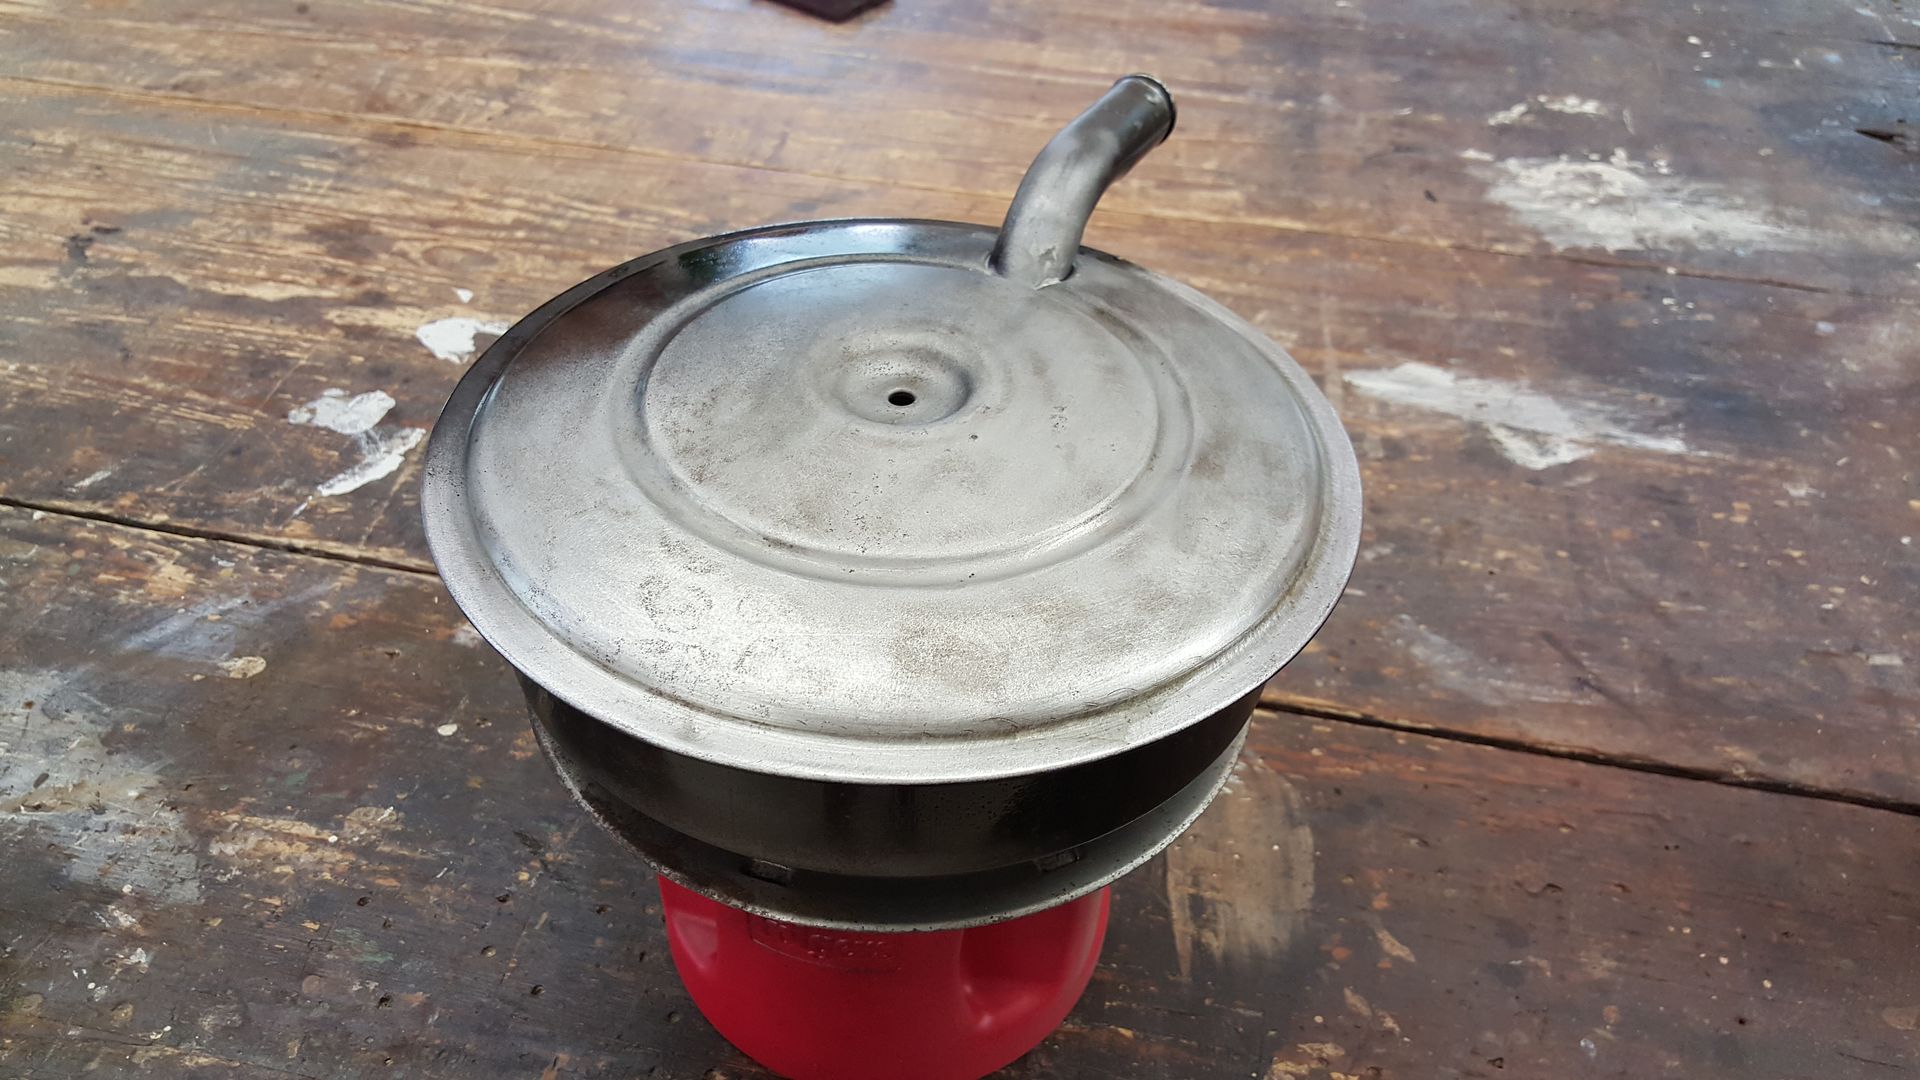
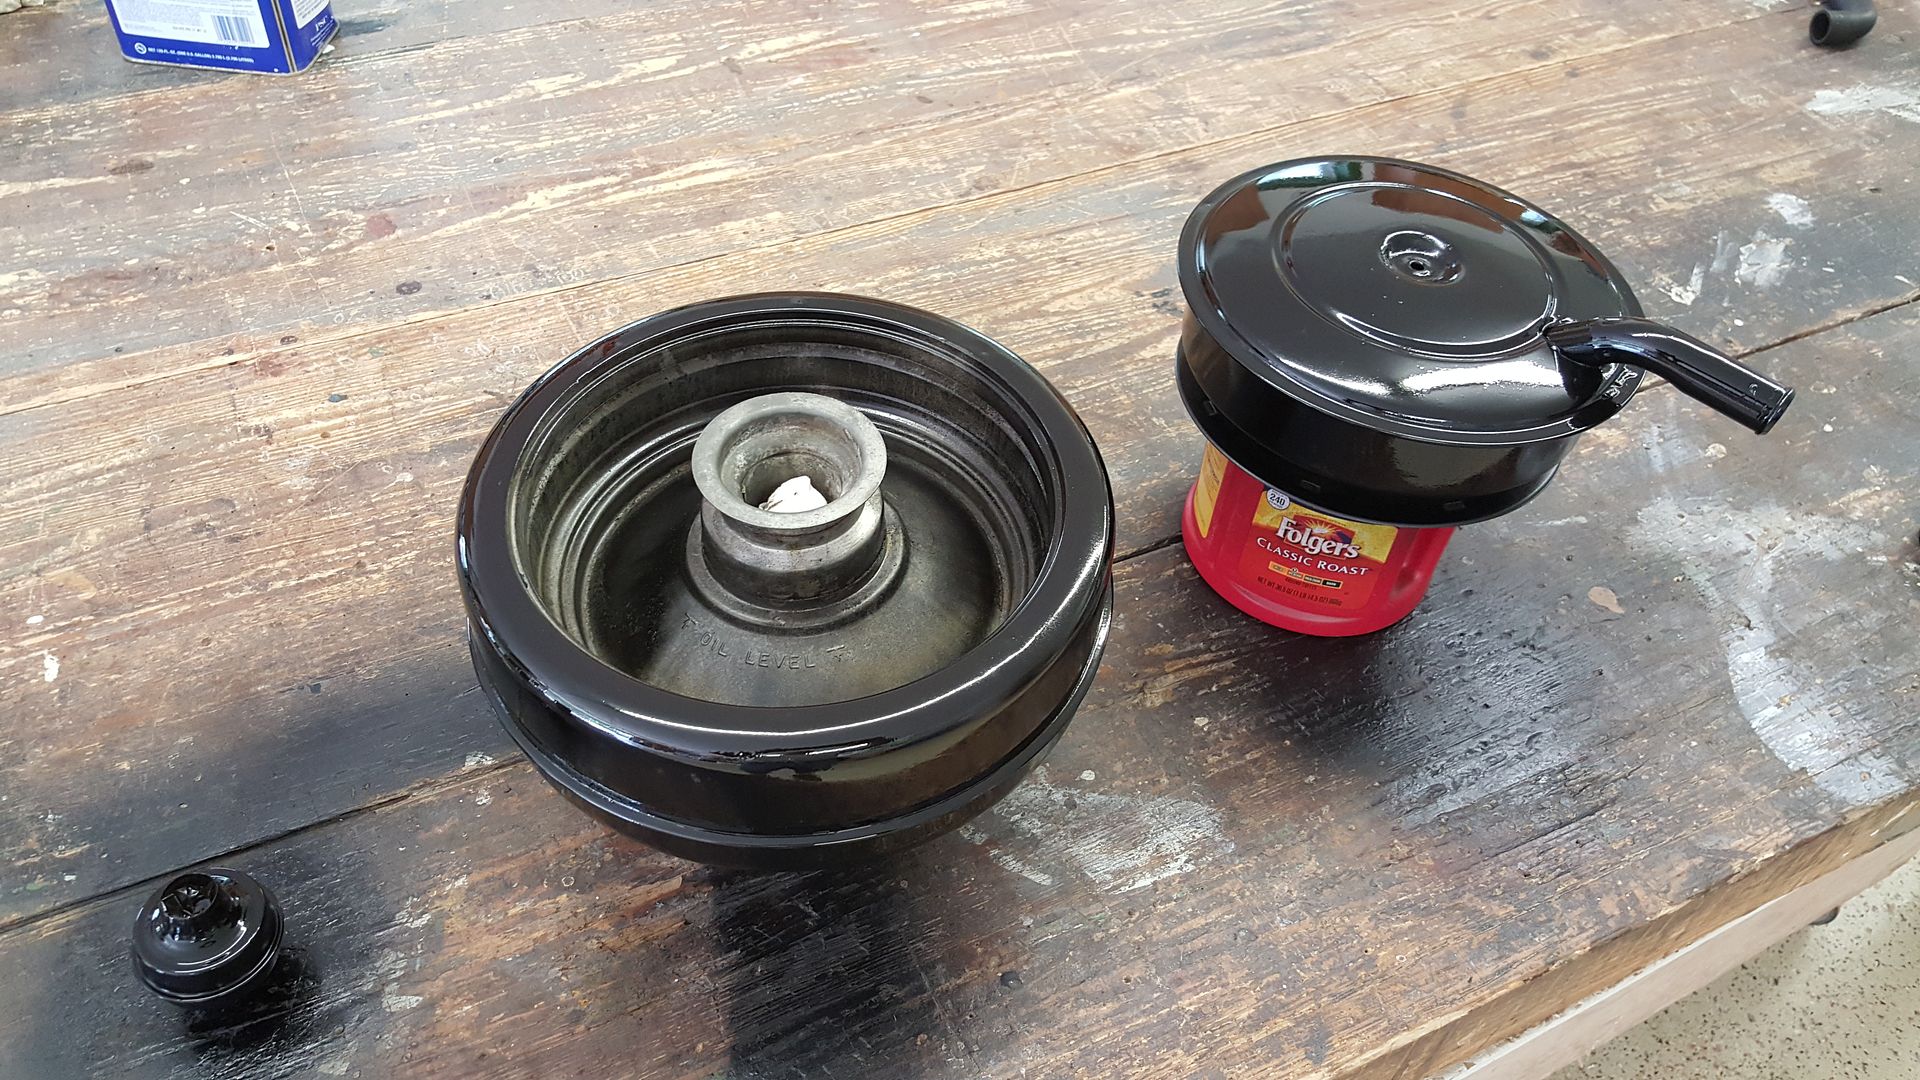
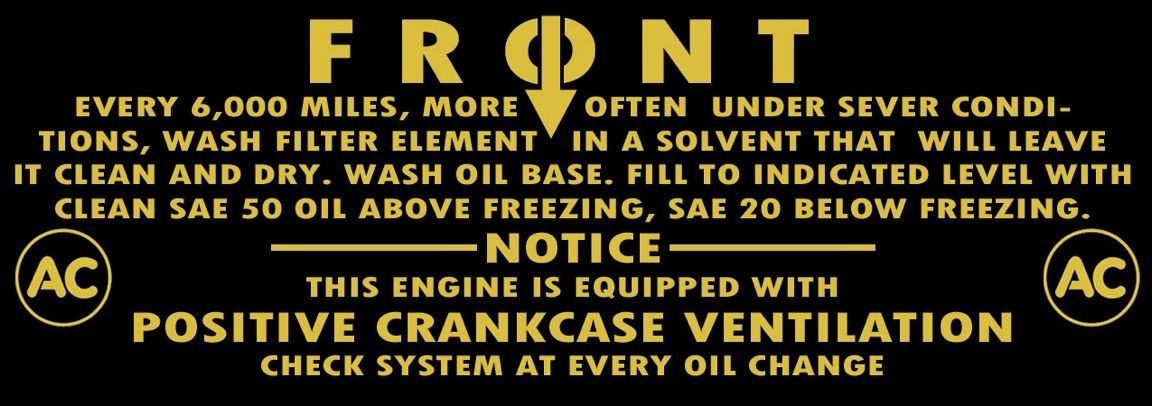
The oil bath air cleaner decal I had made
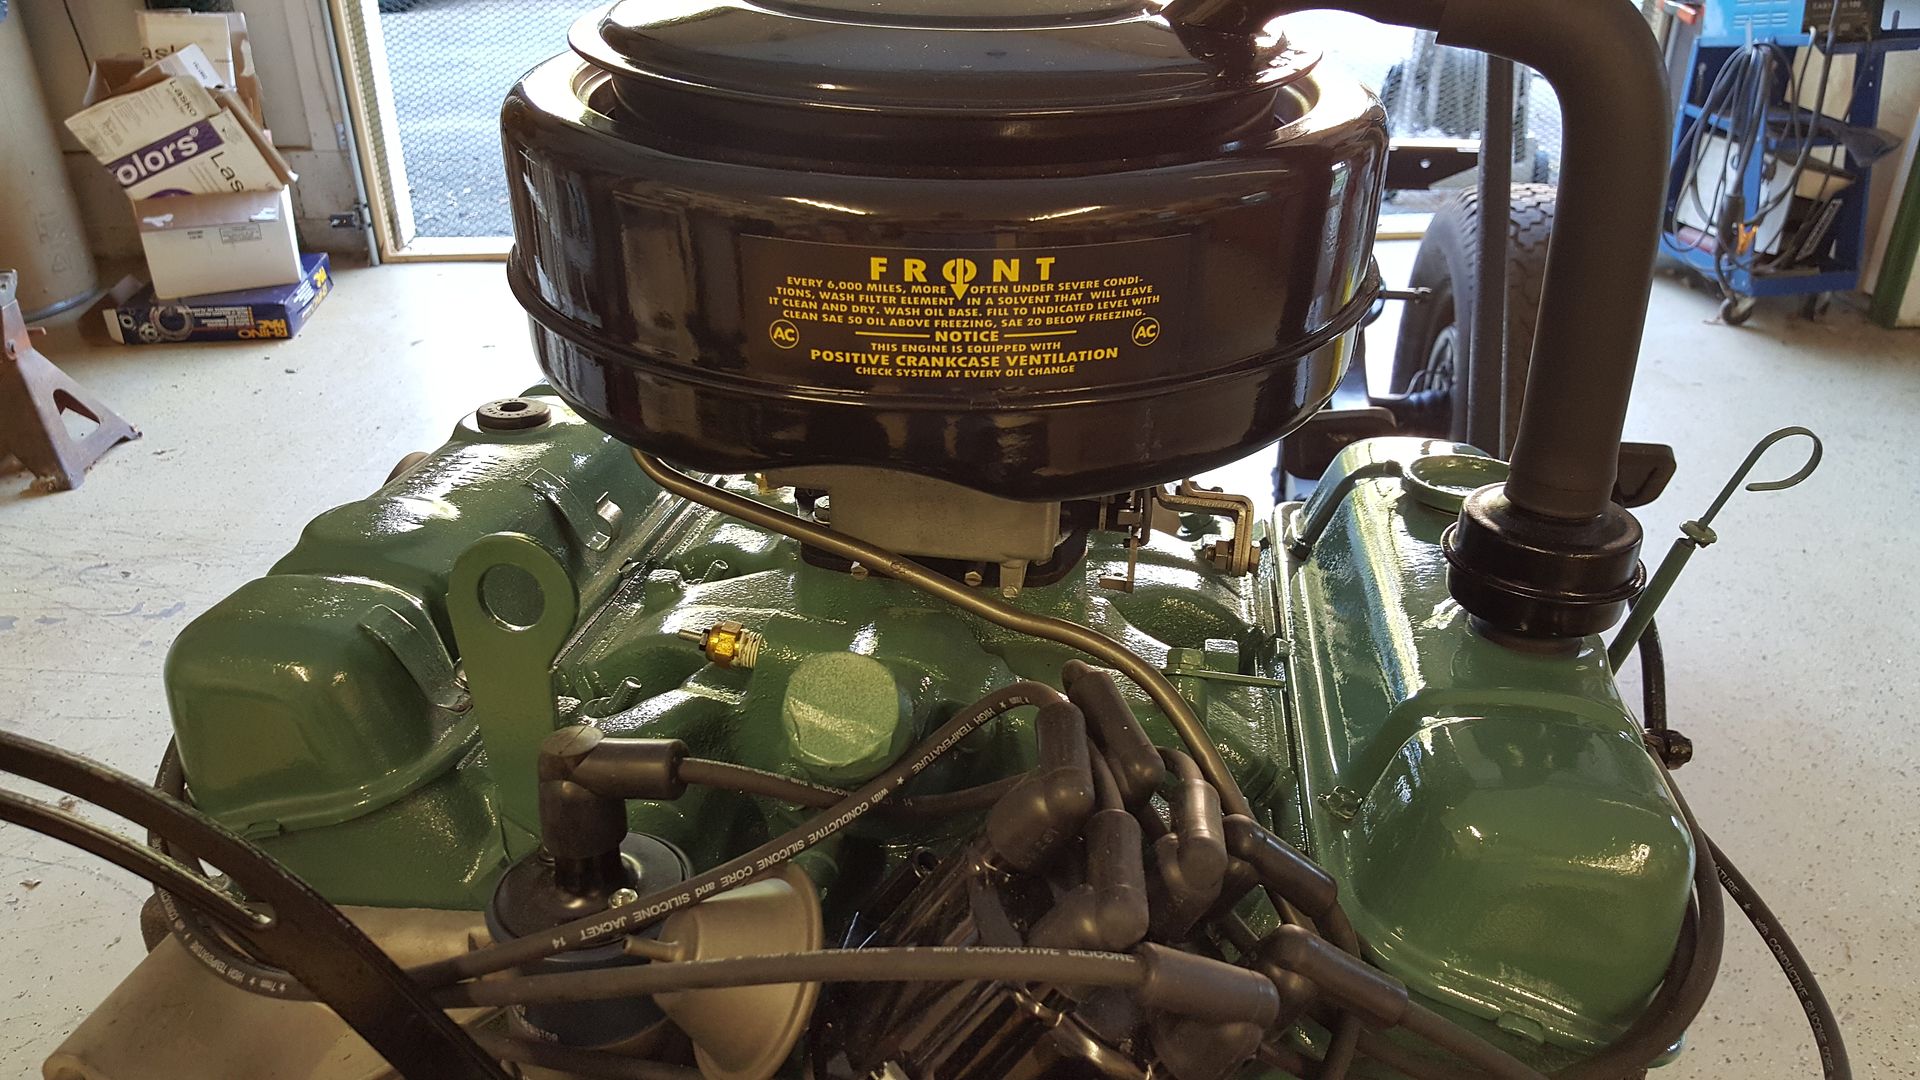
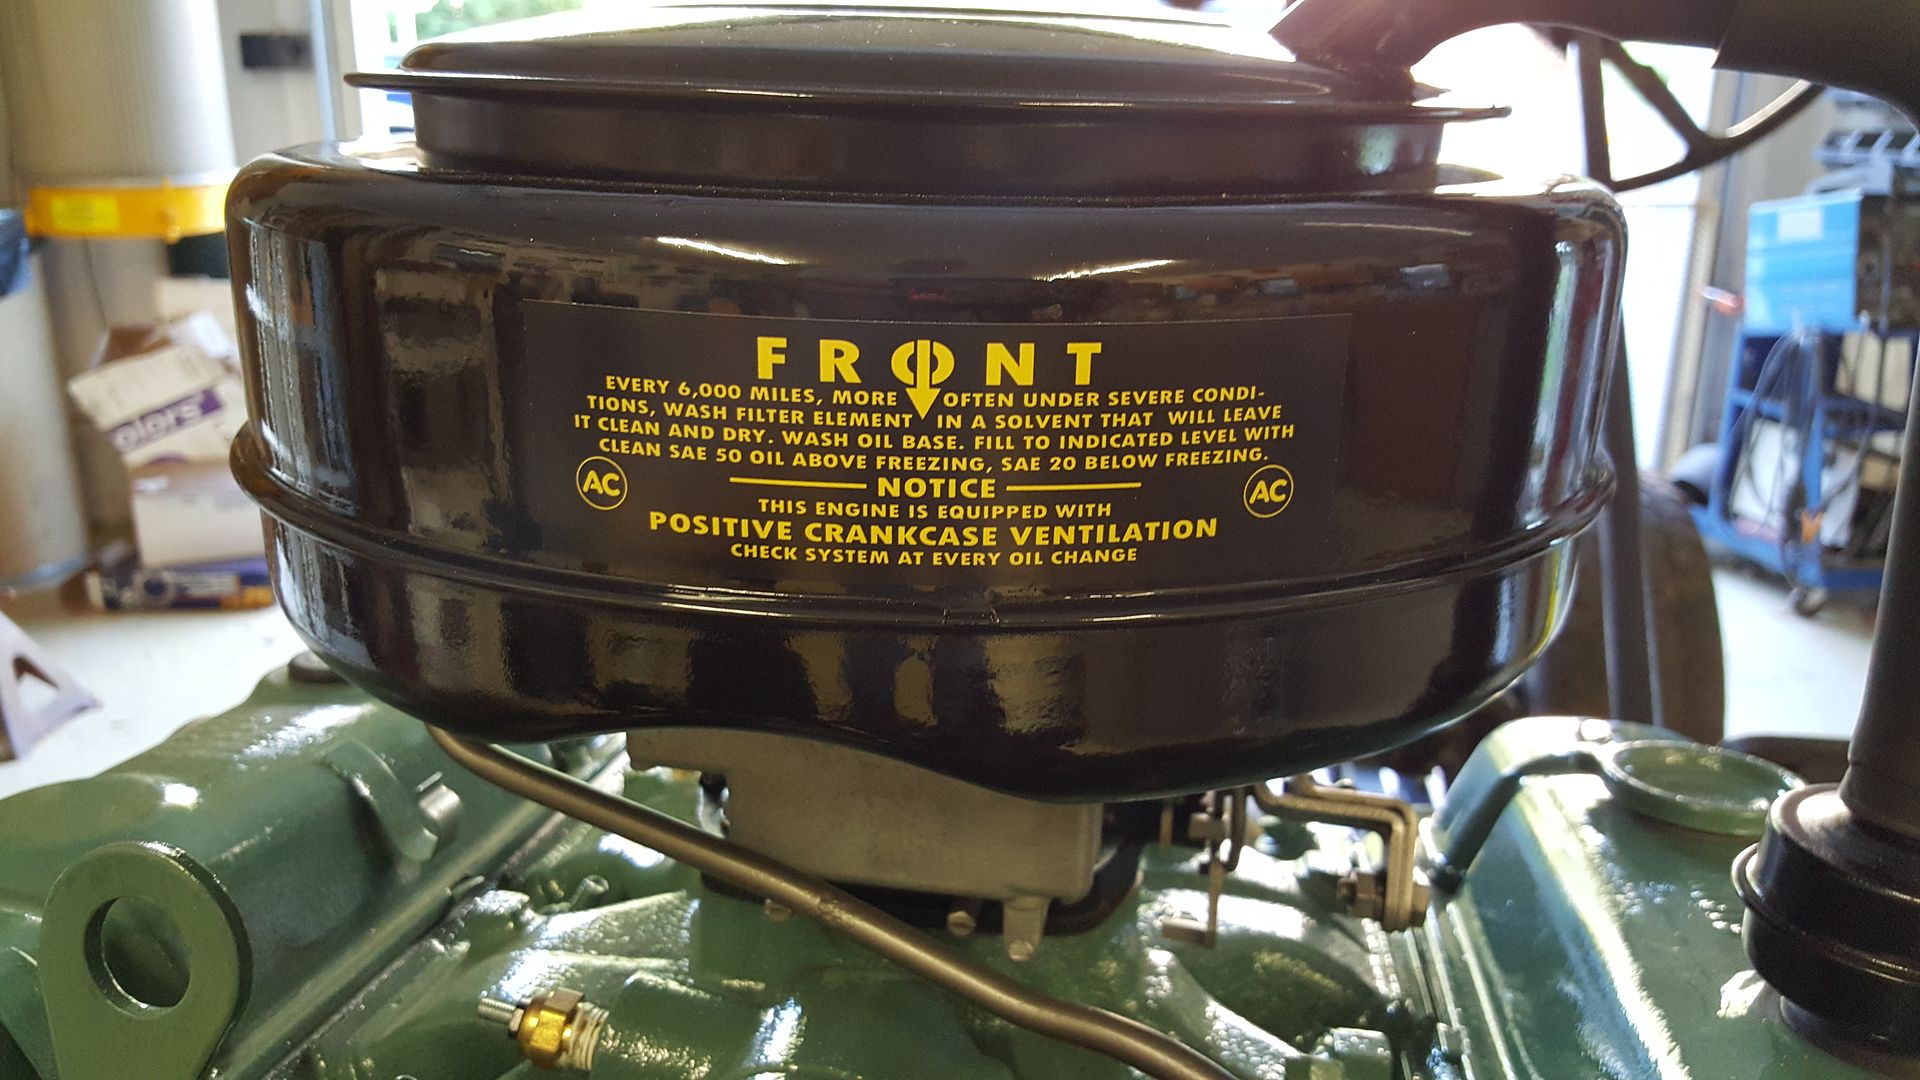
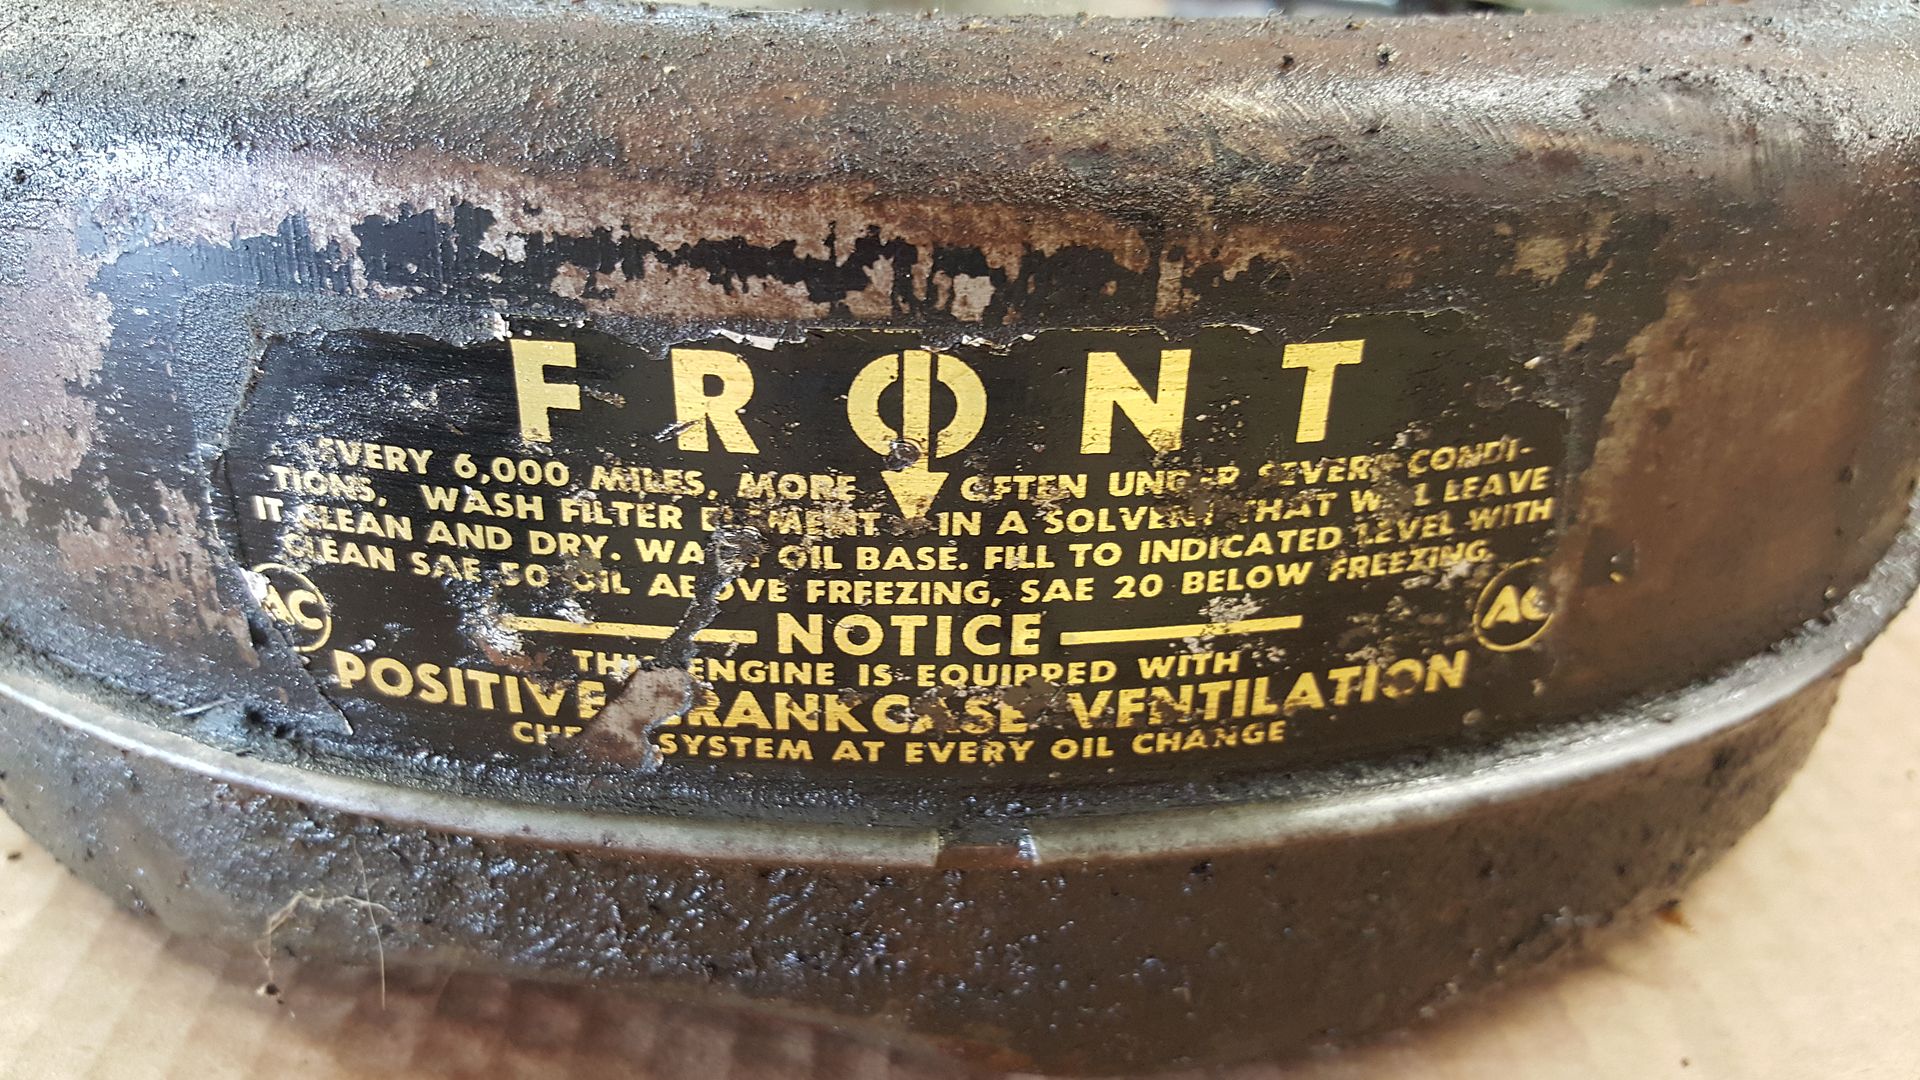
The original decal
-

Air cleaner ready for paint
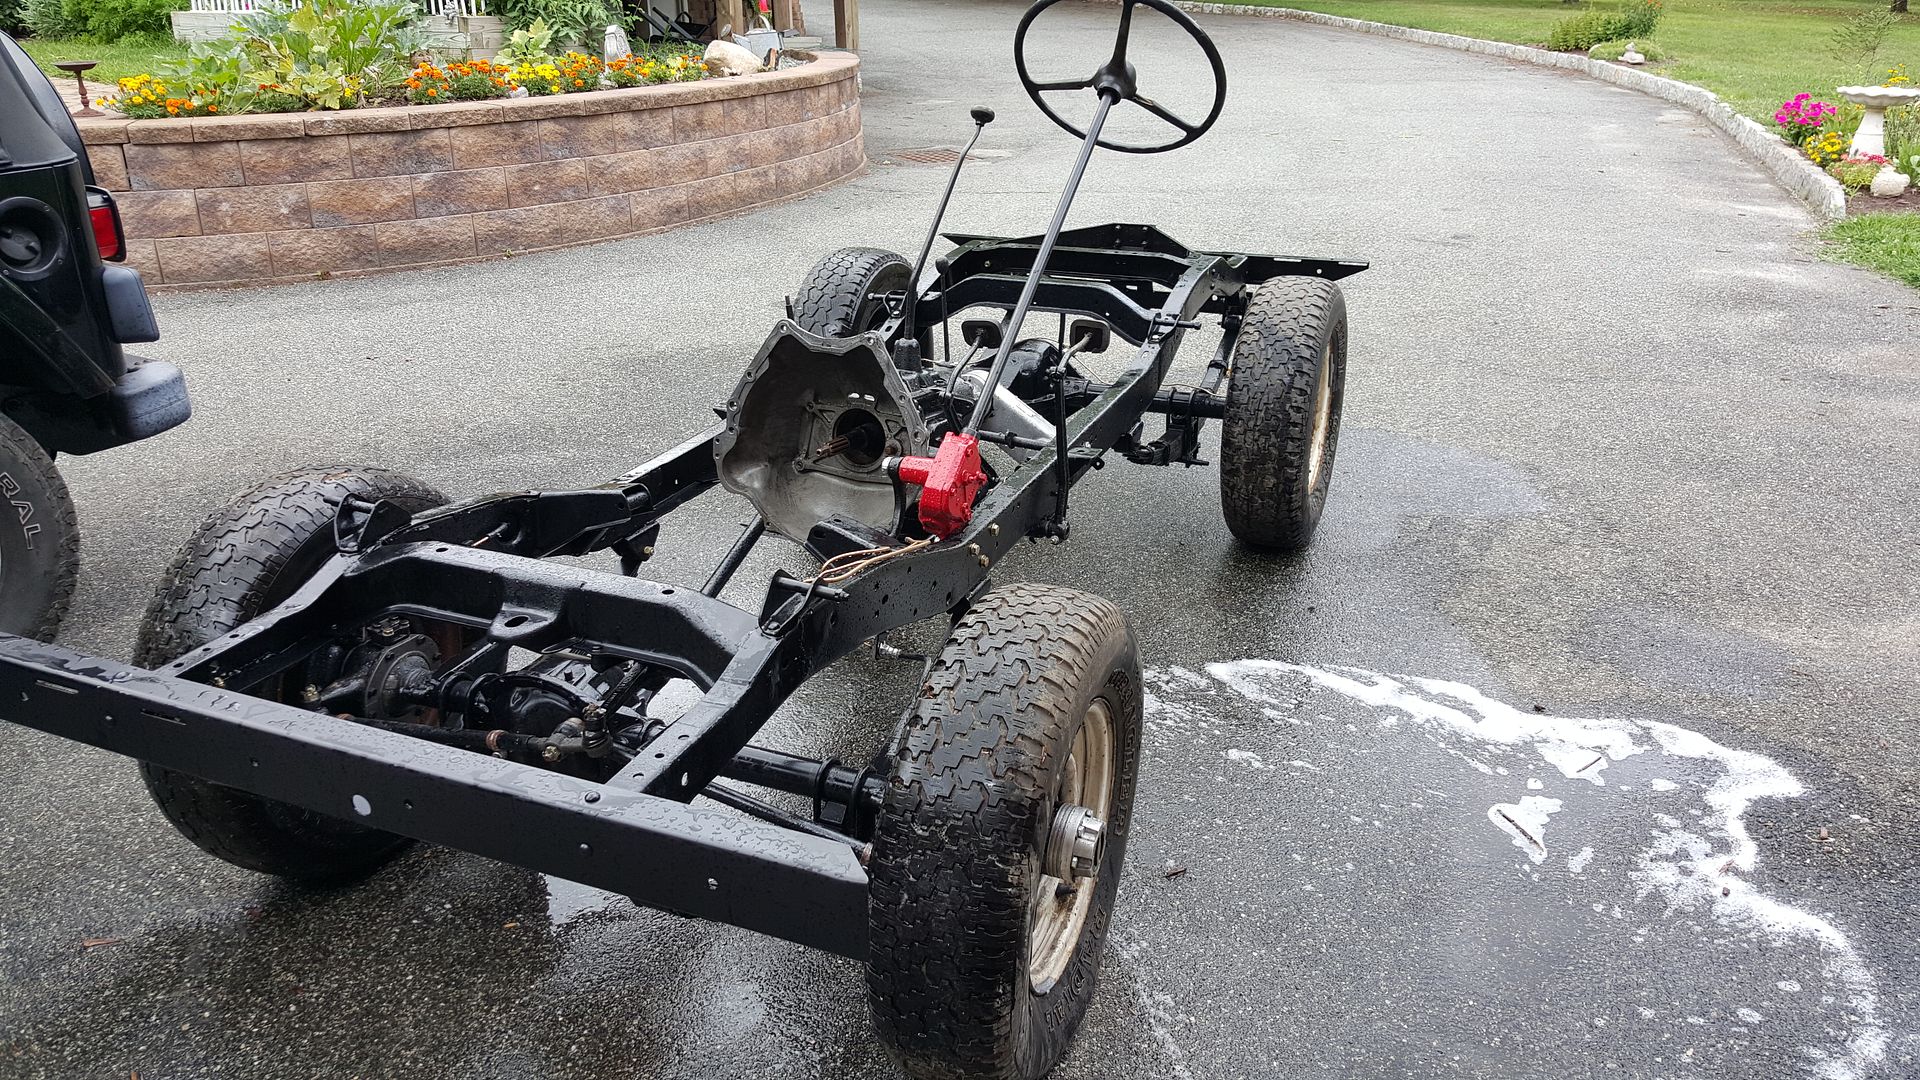
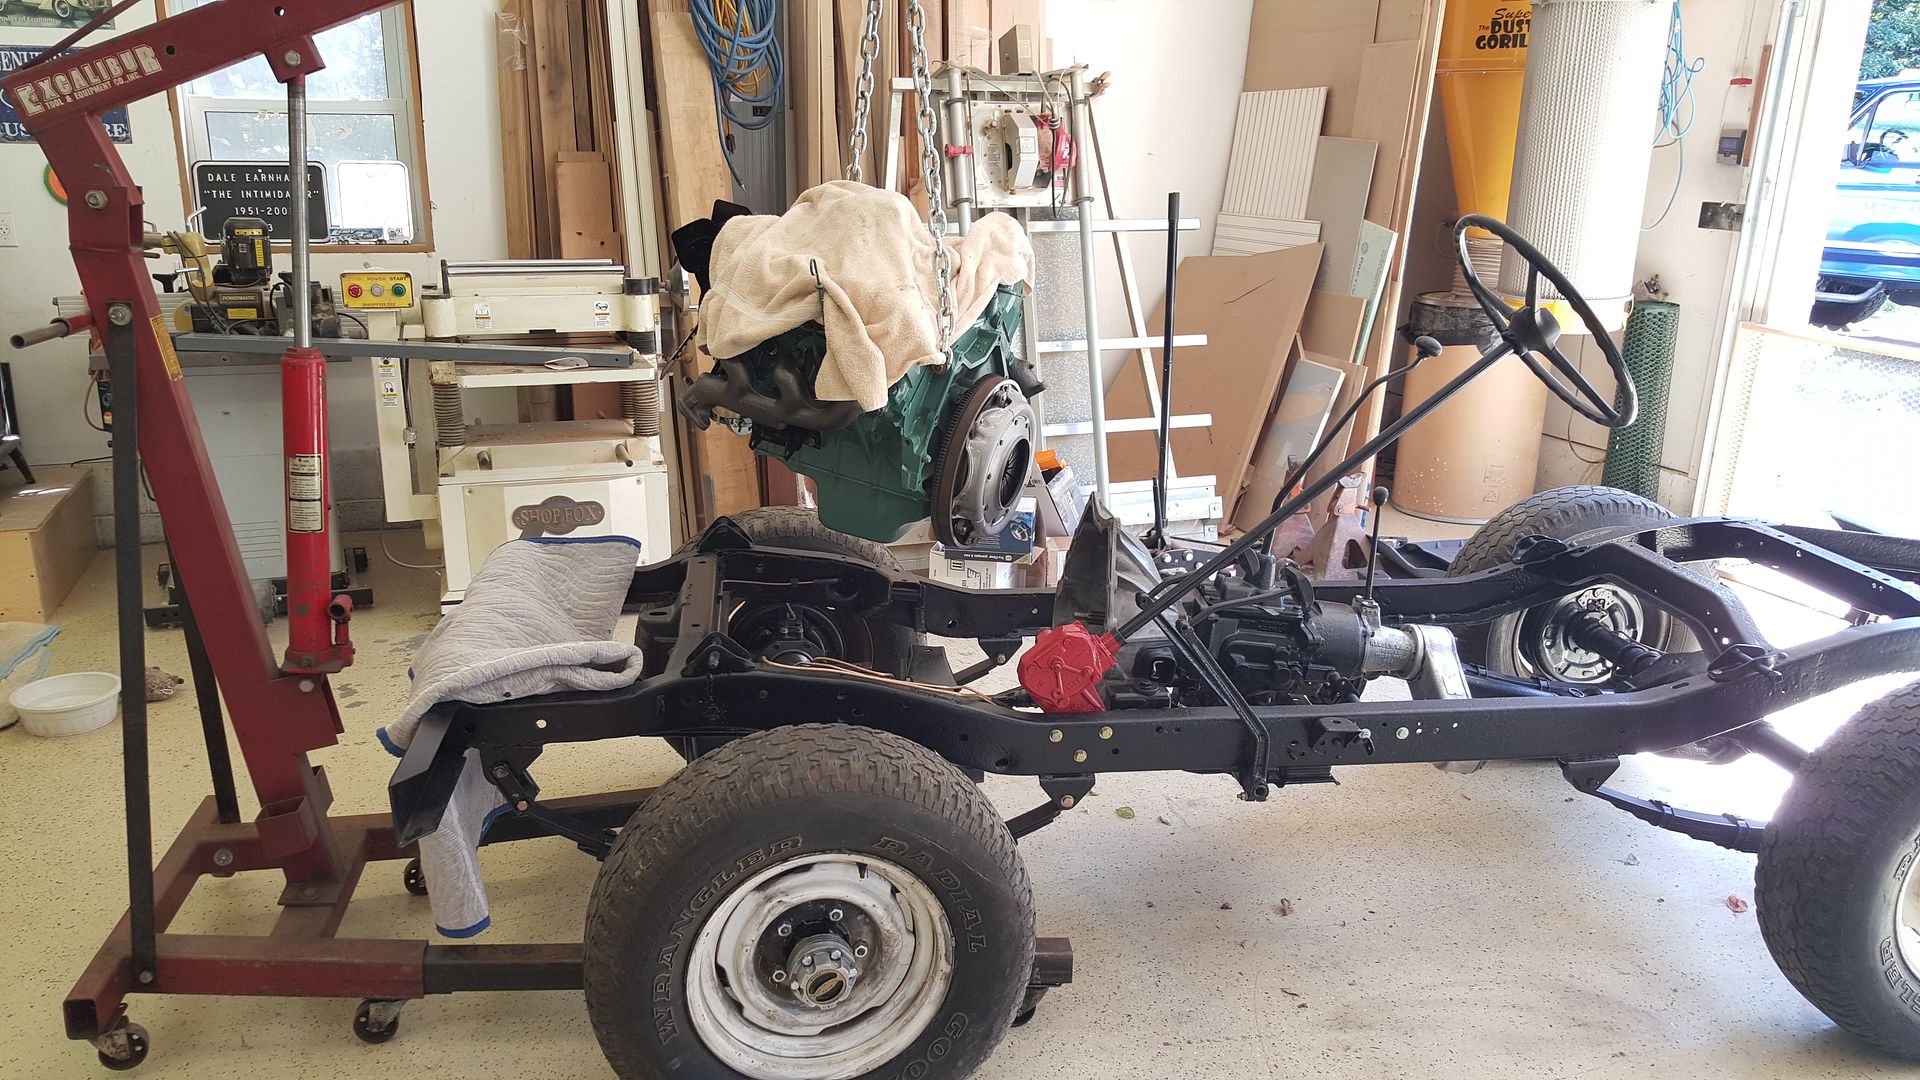
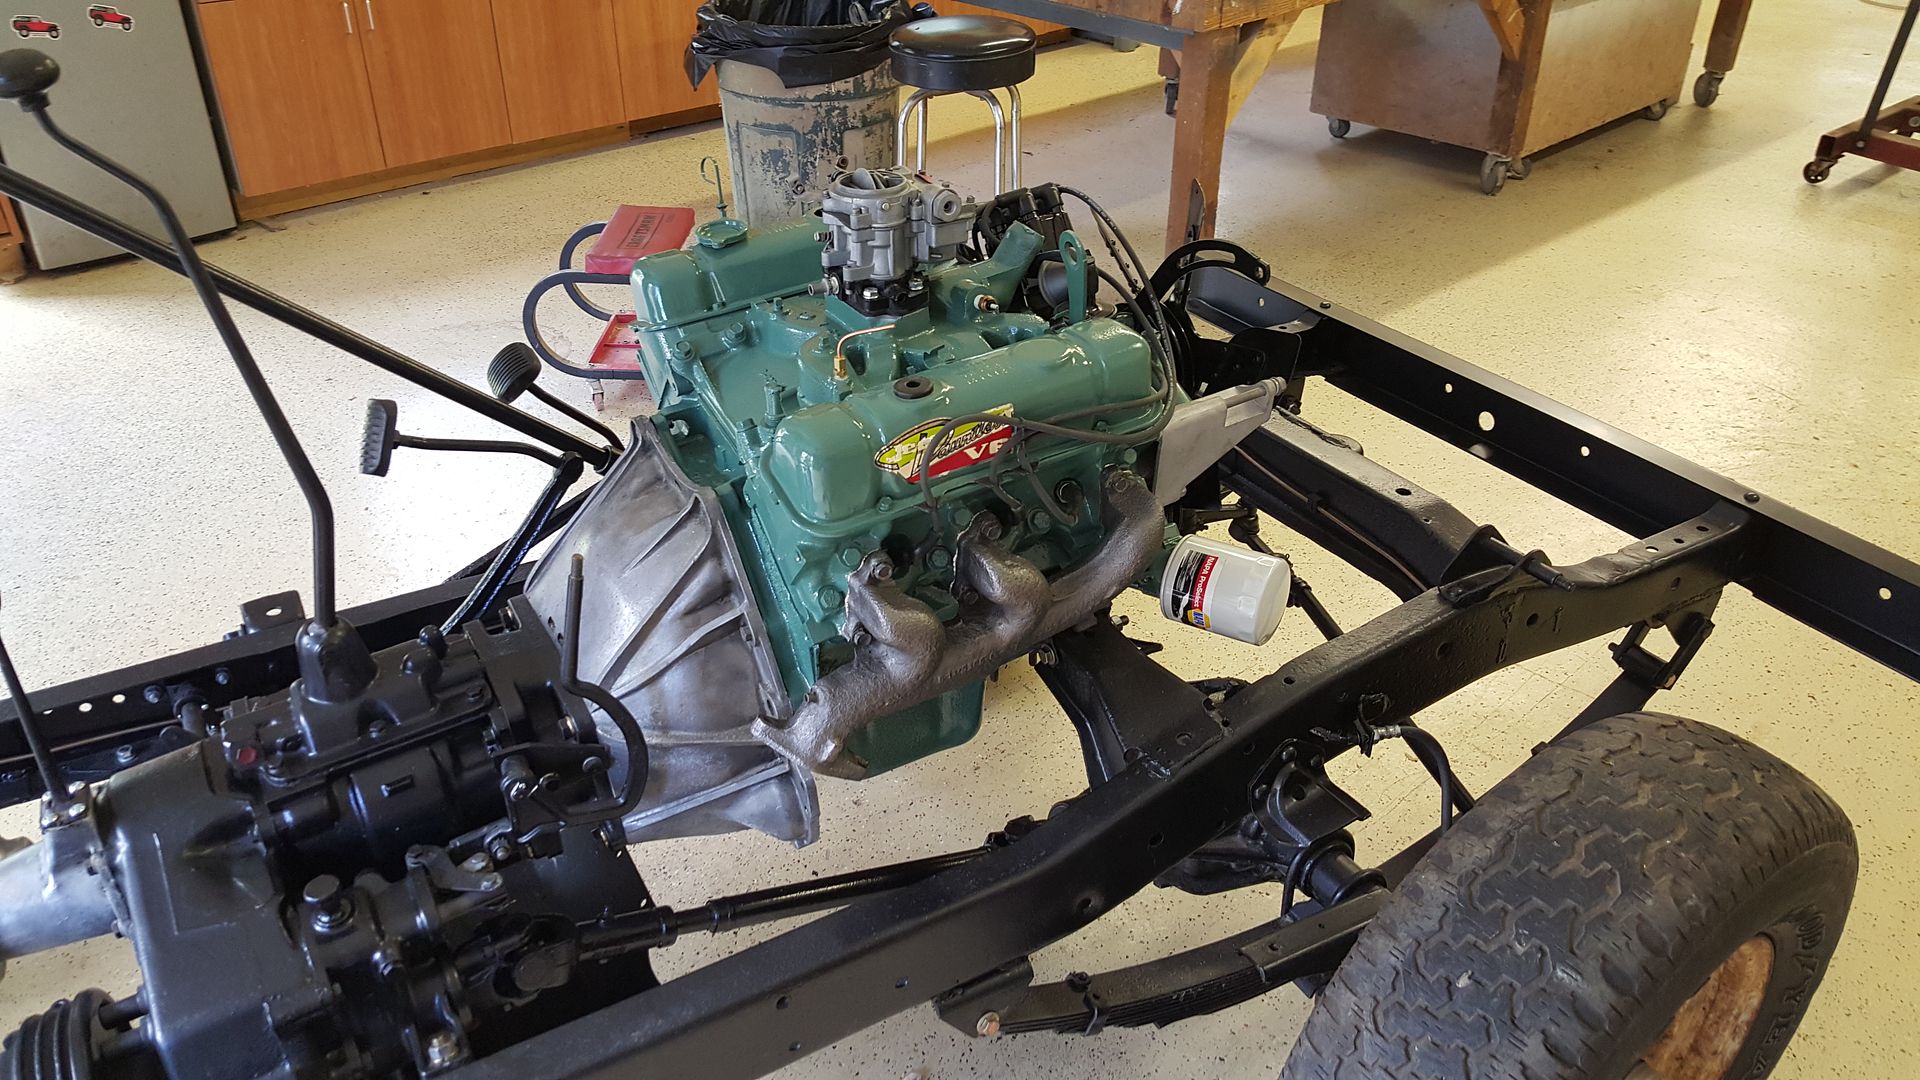
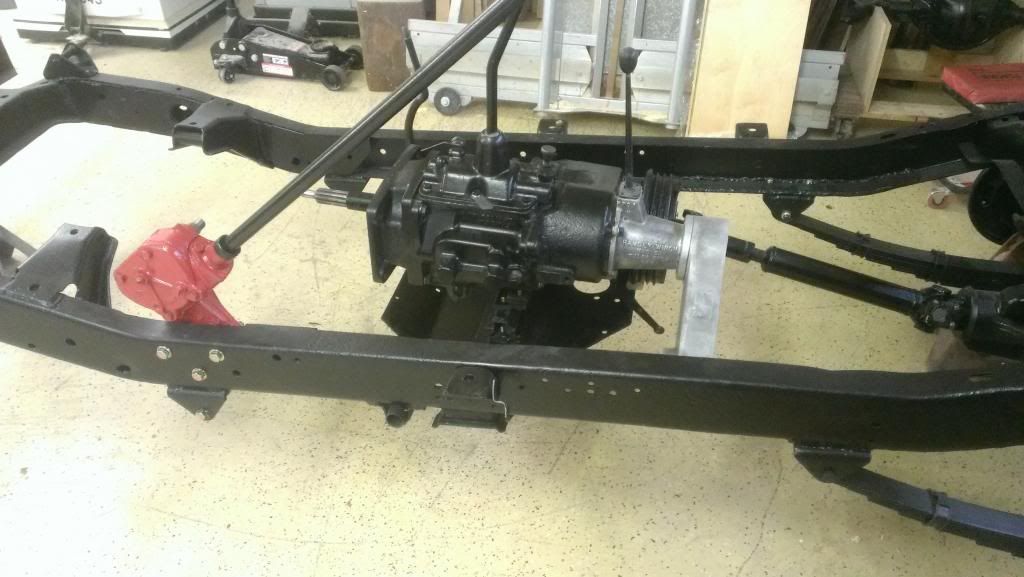
Frame out of storage and washed off. ready for motor
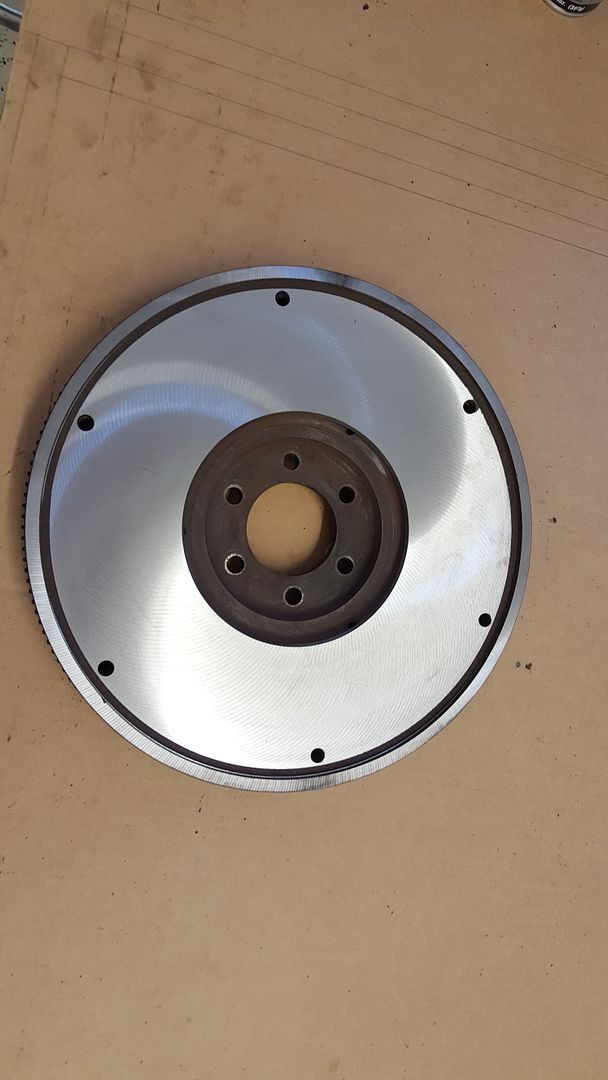
Flywheel resurfaced
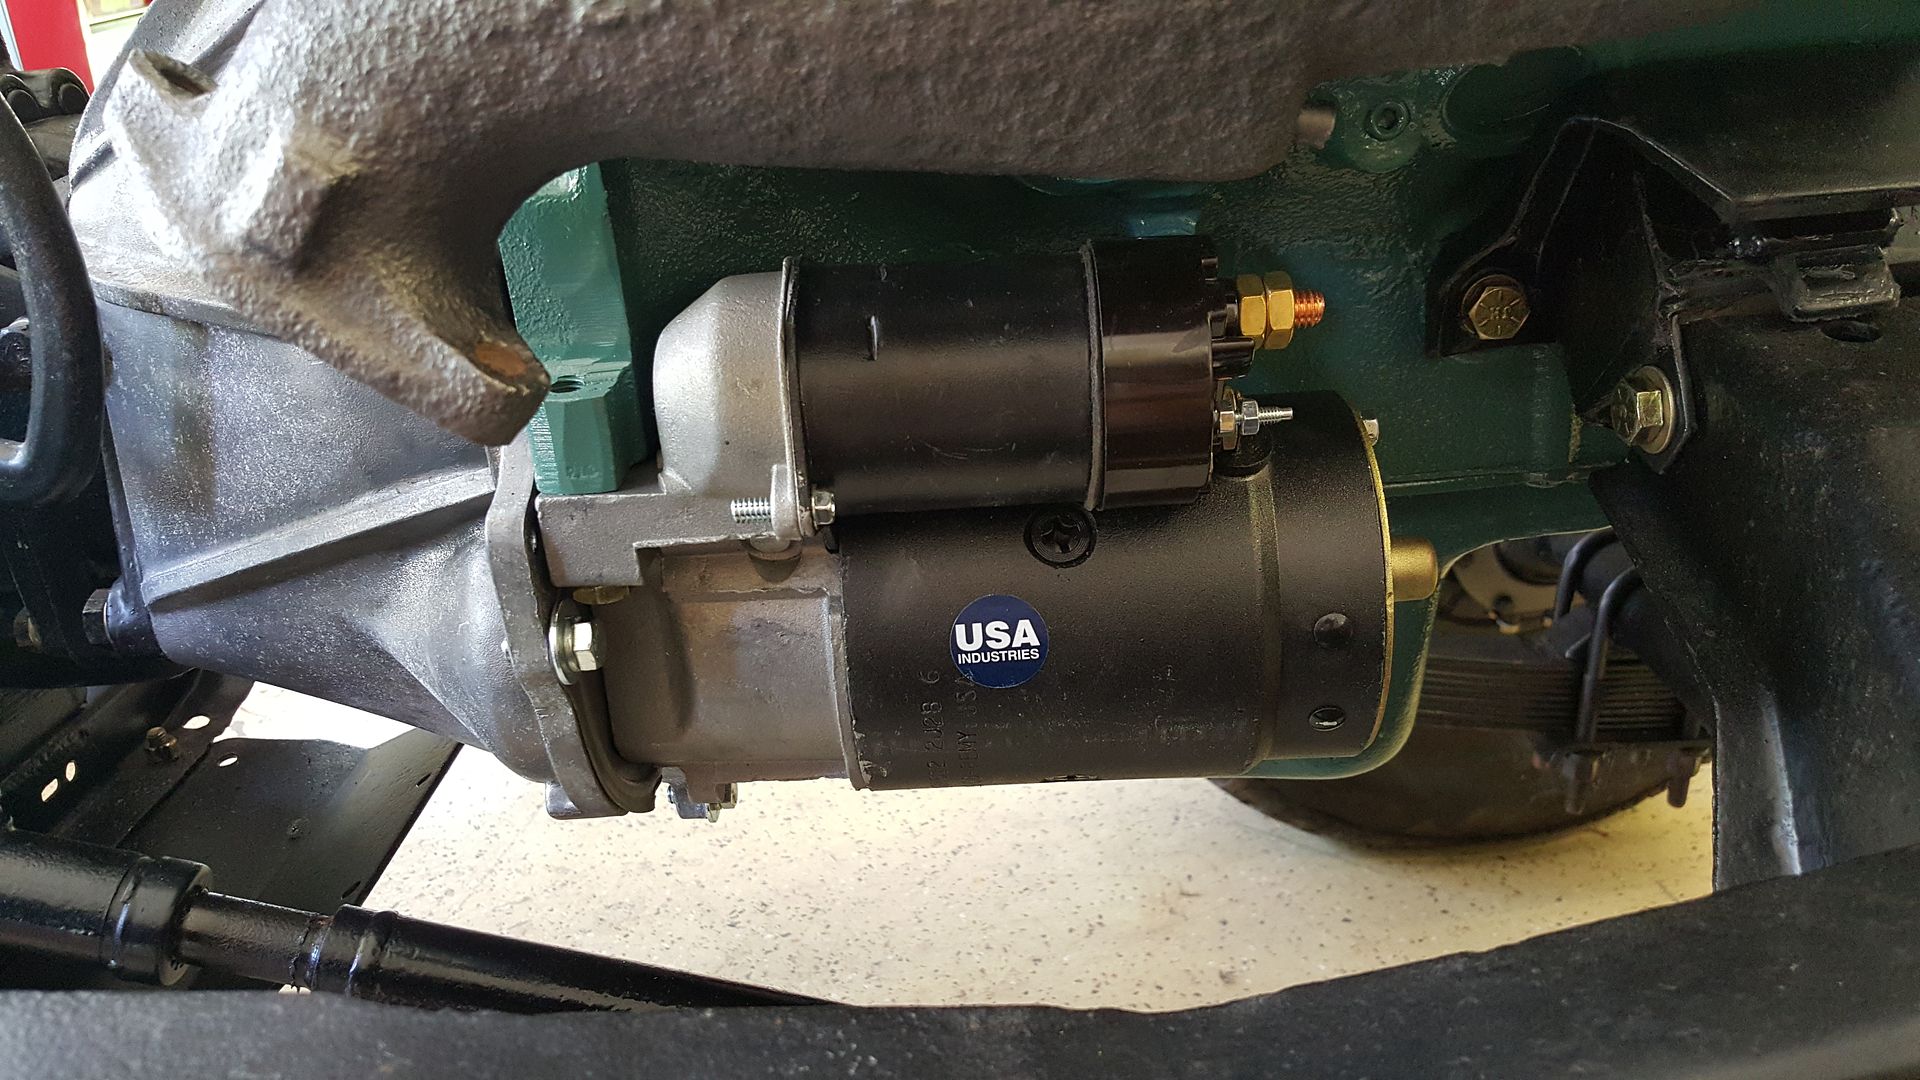
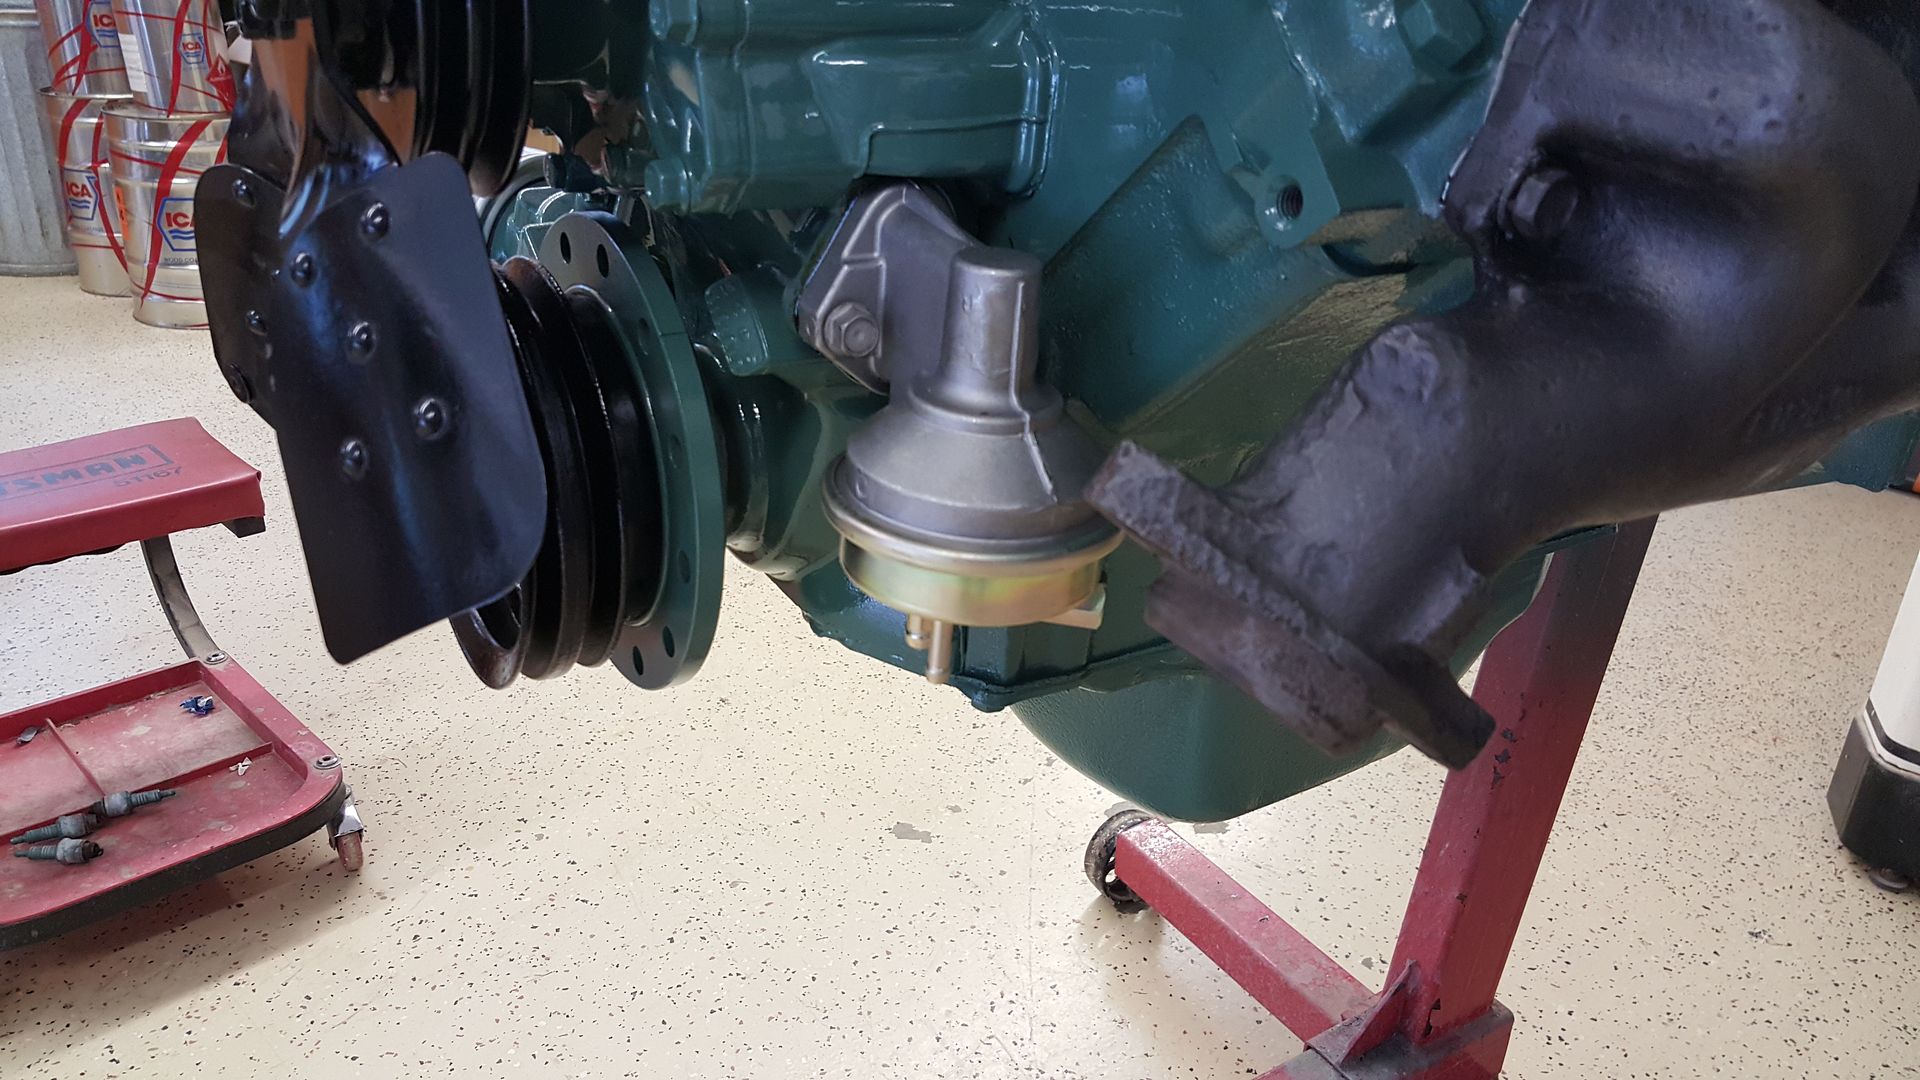
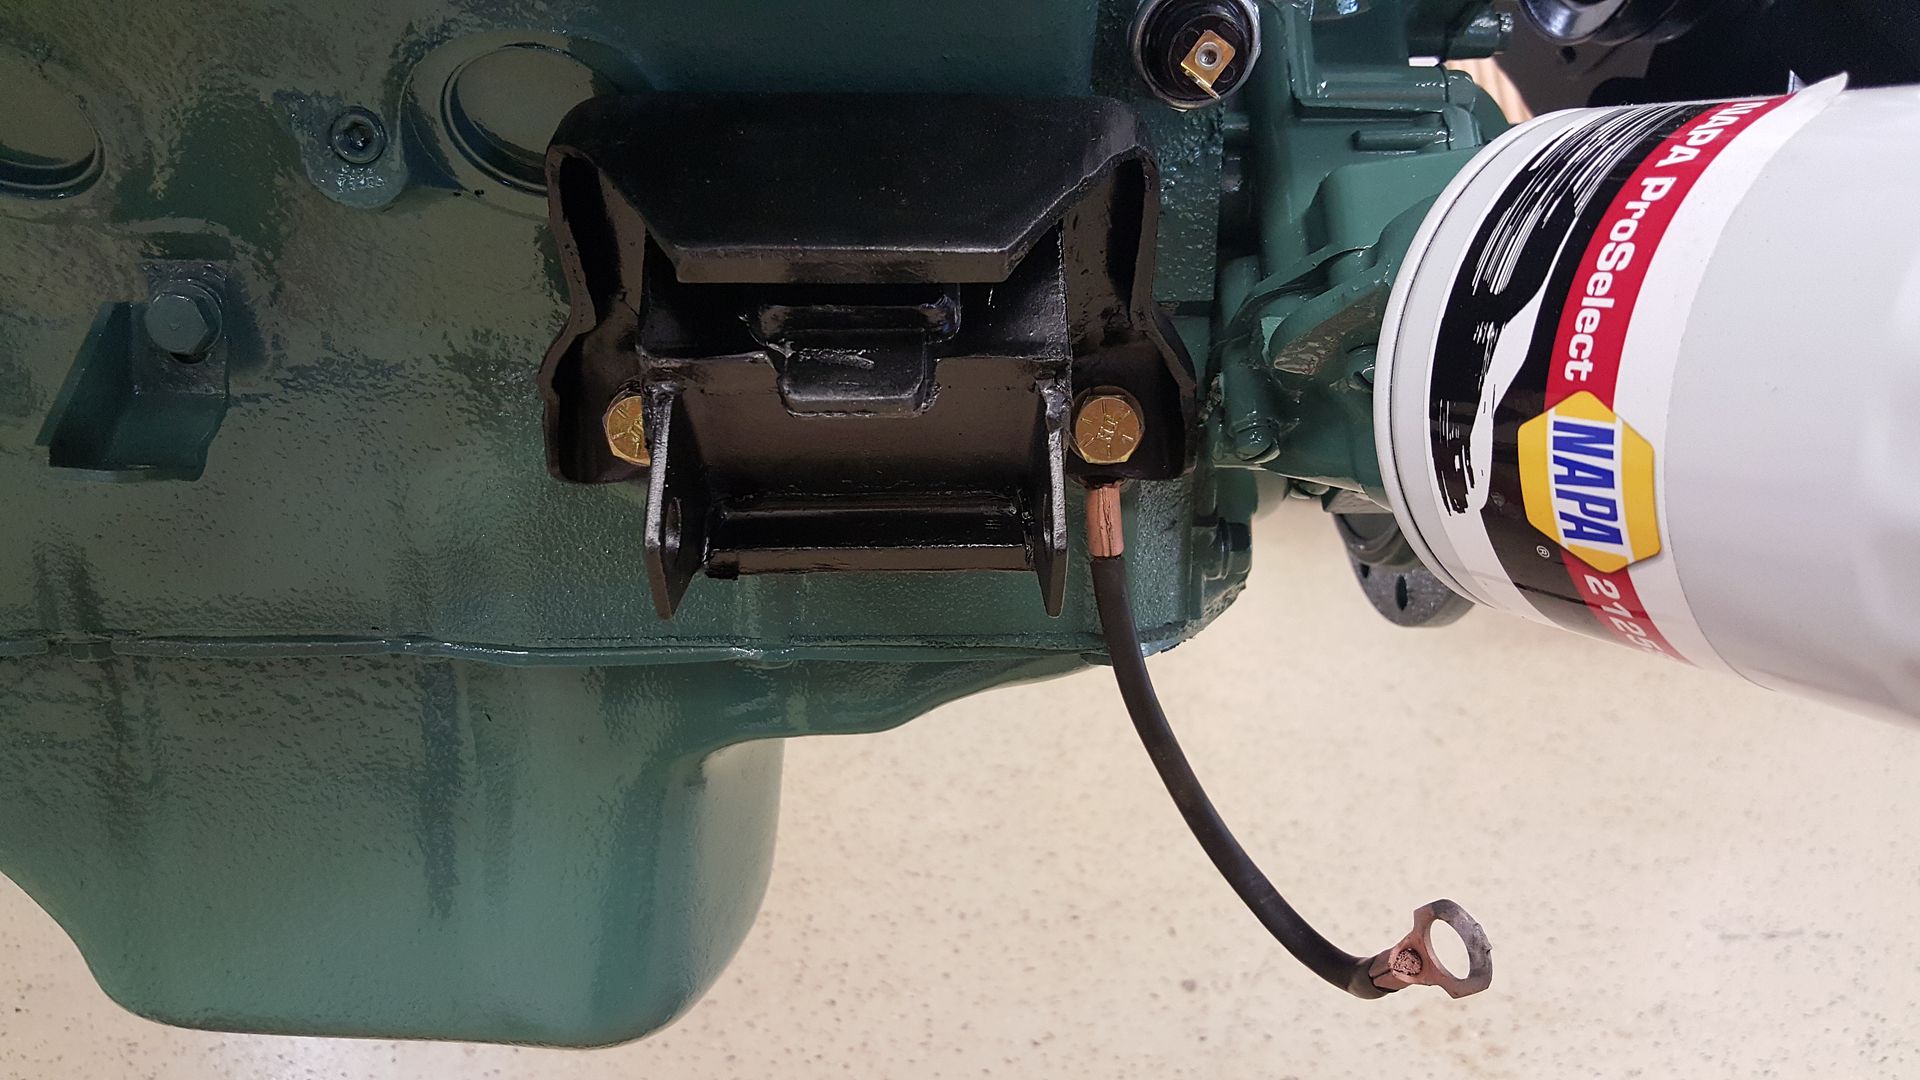
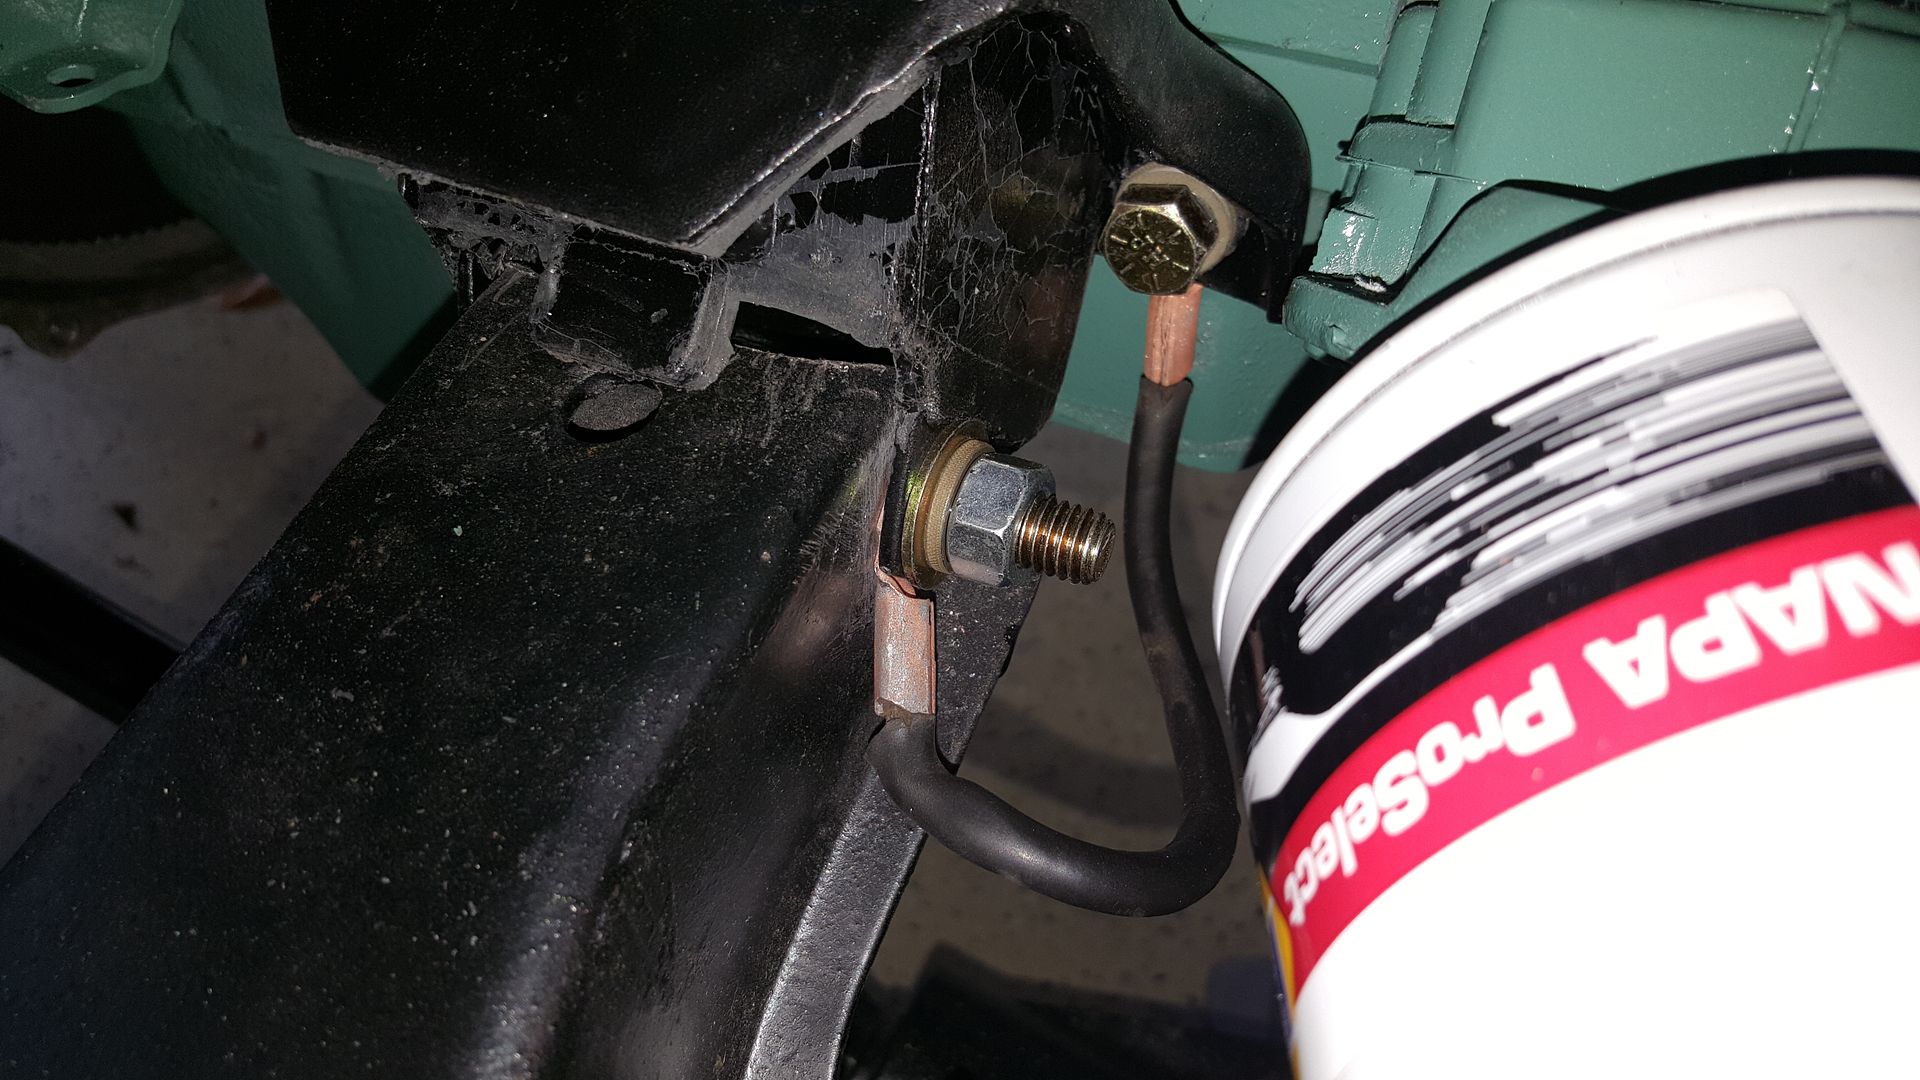
Motor mount and ground strap
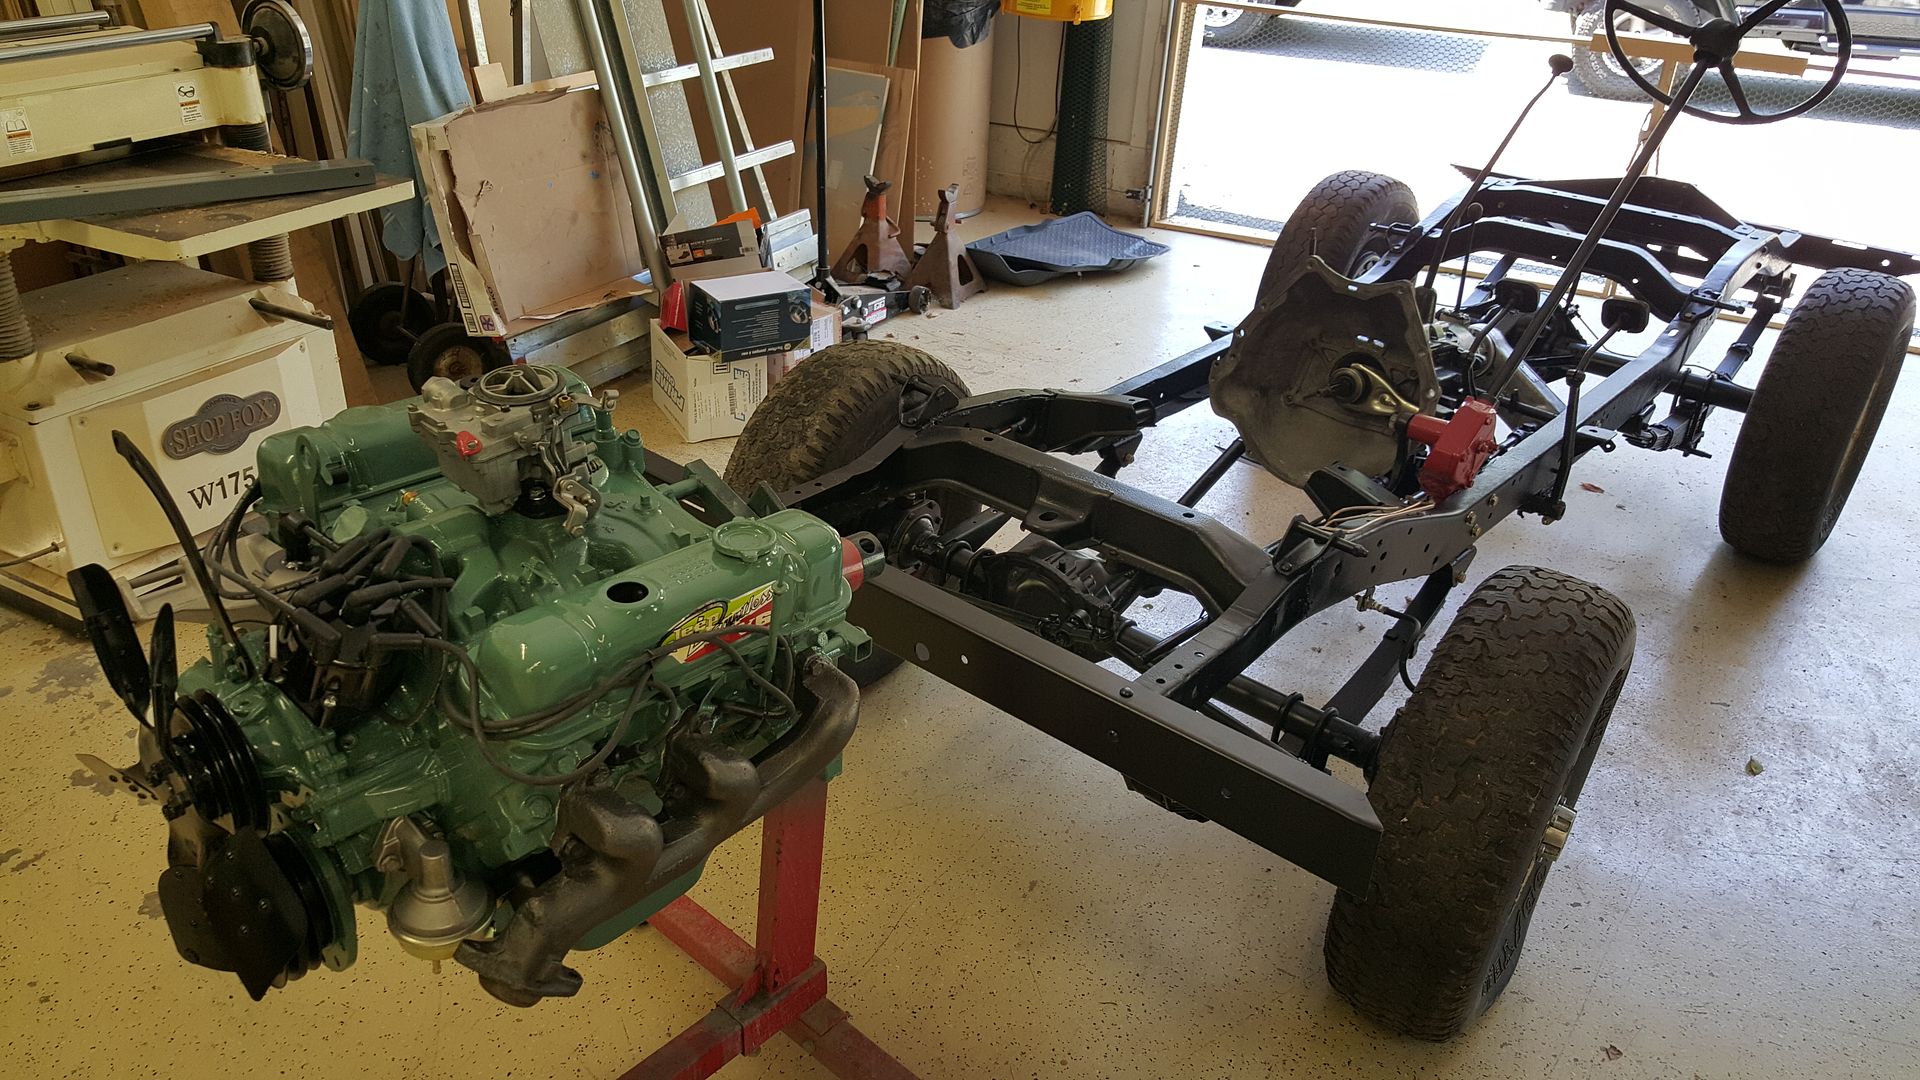
This wasnt easy doing it alone but a few rachet straps and she popped right in
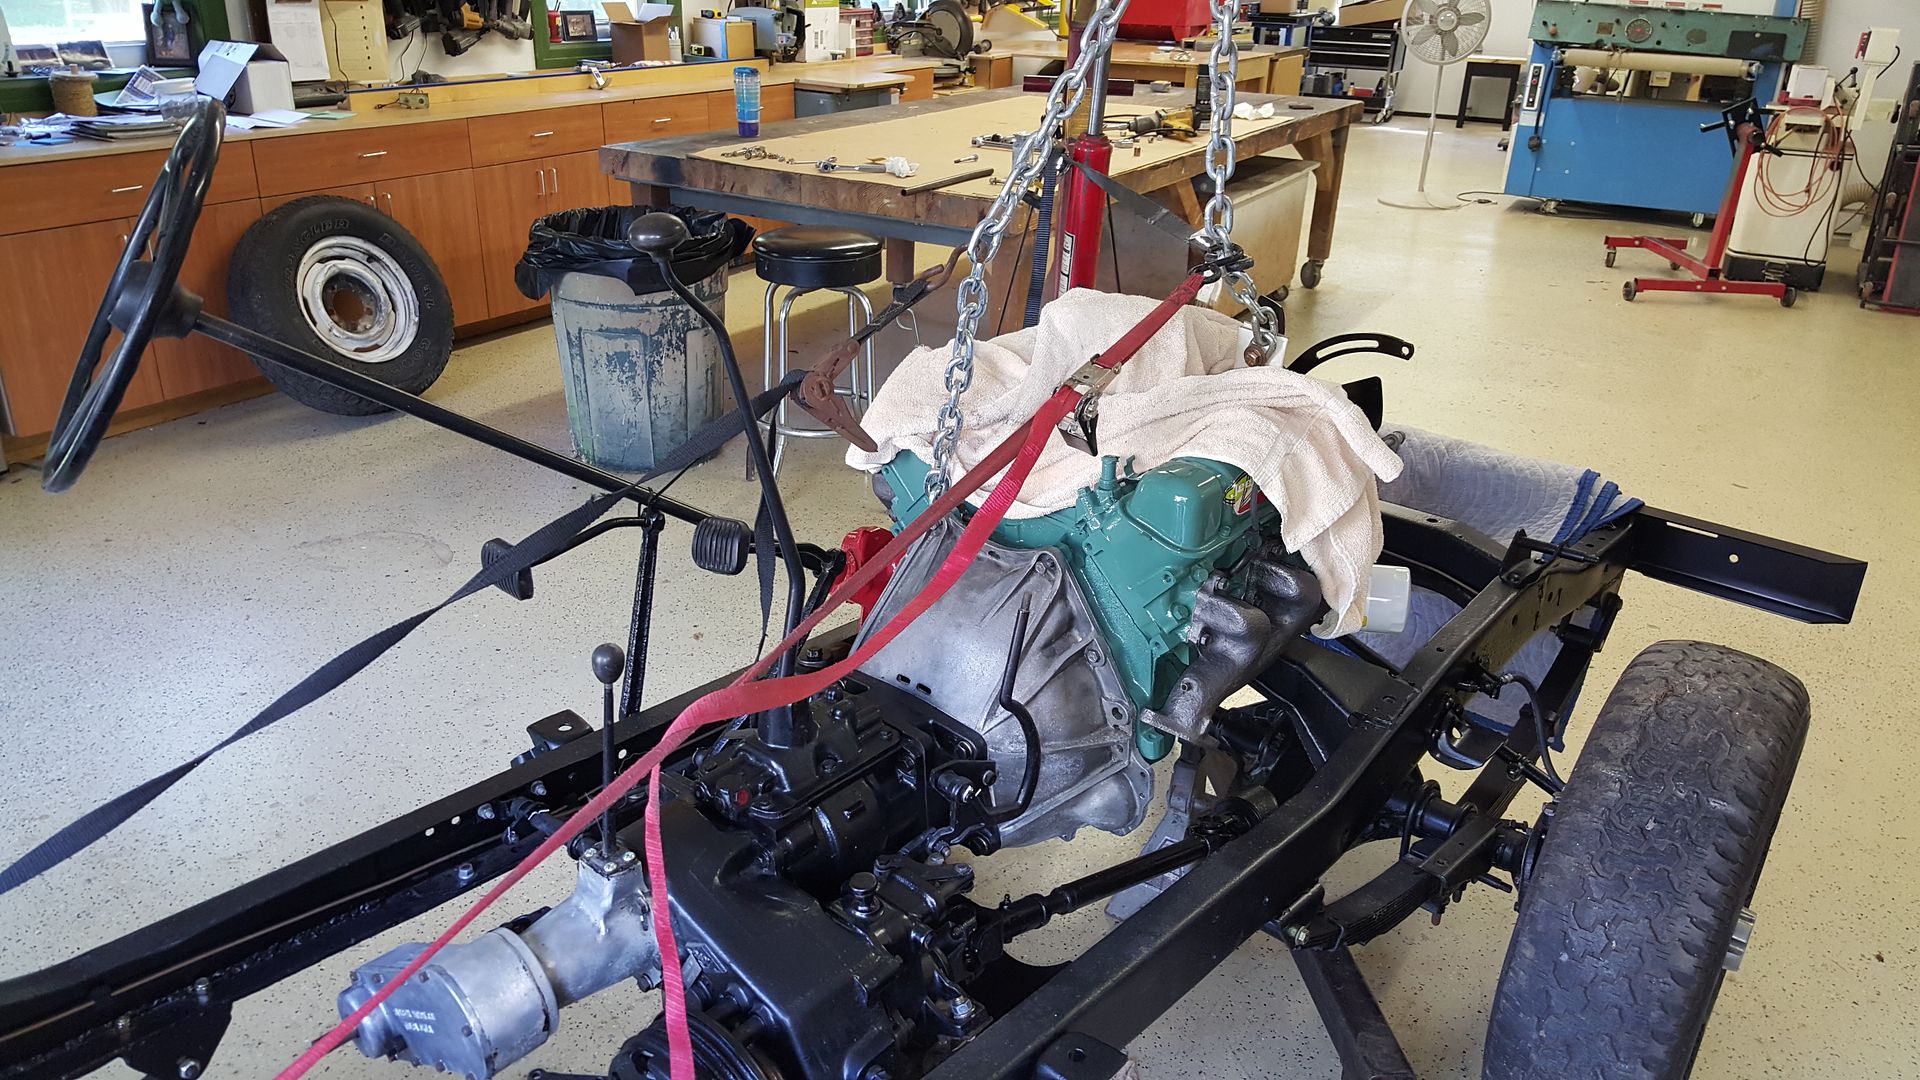
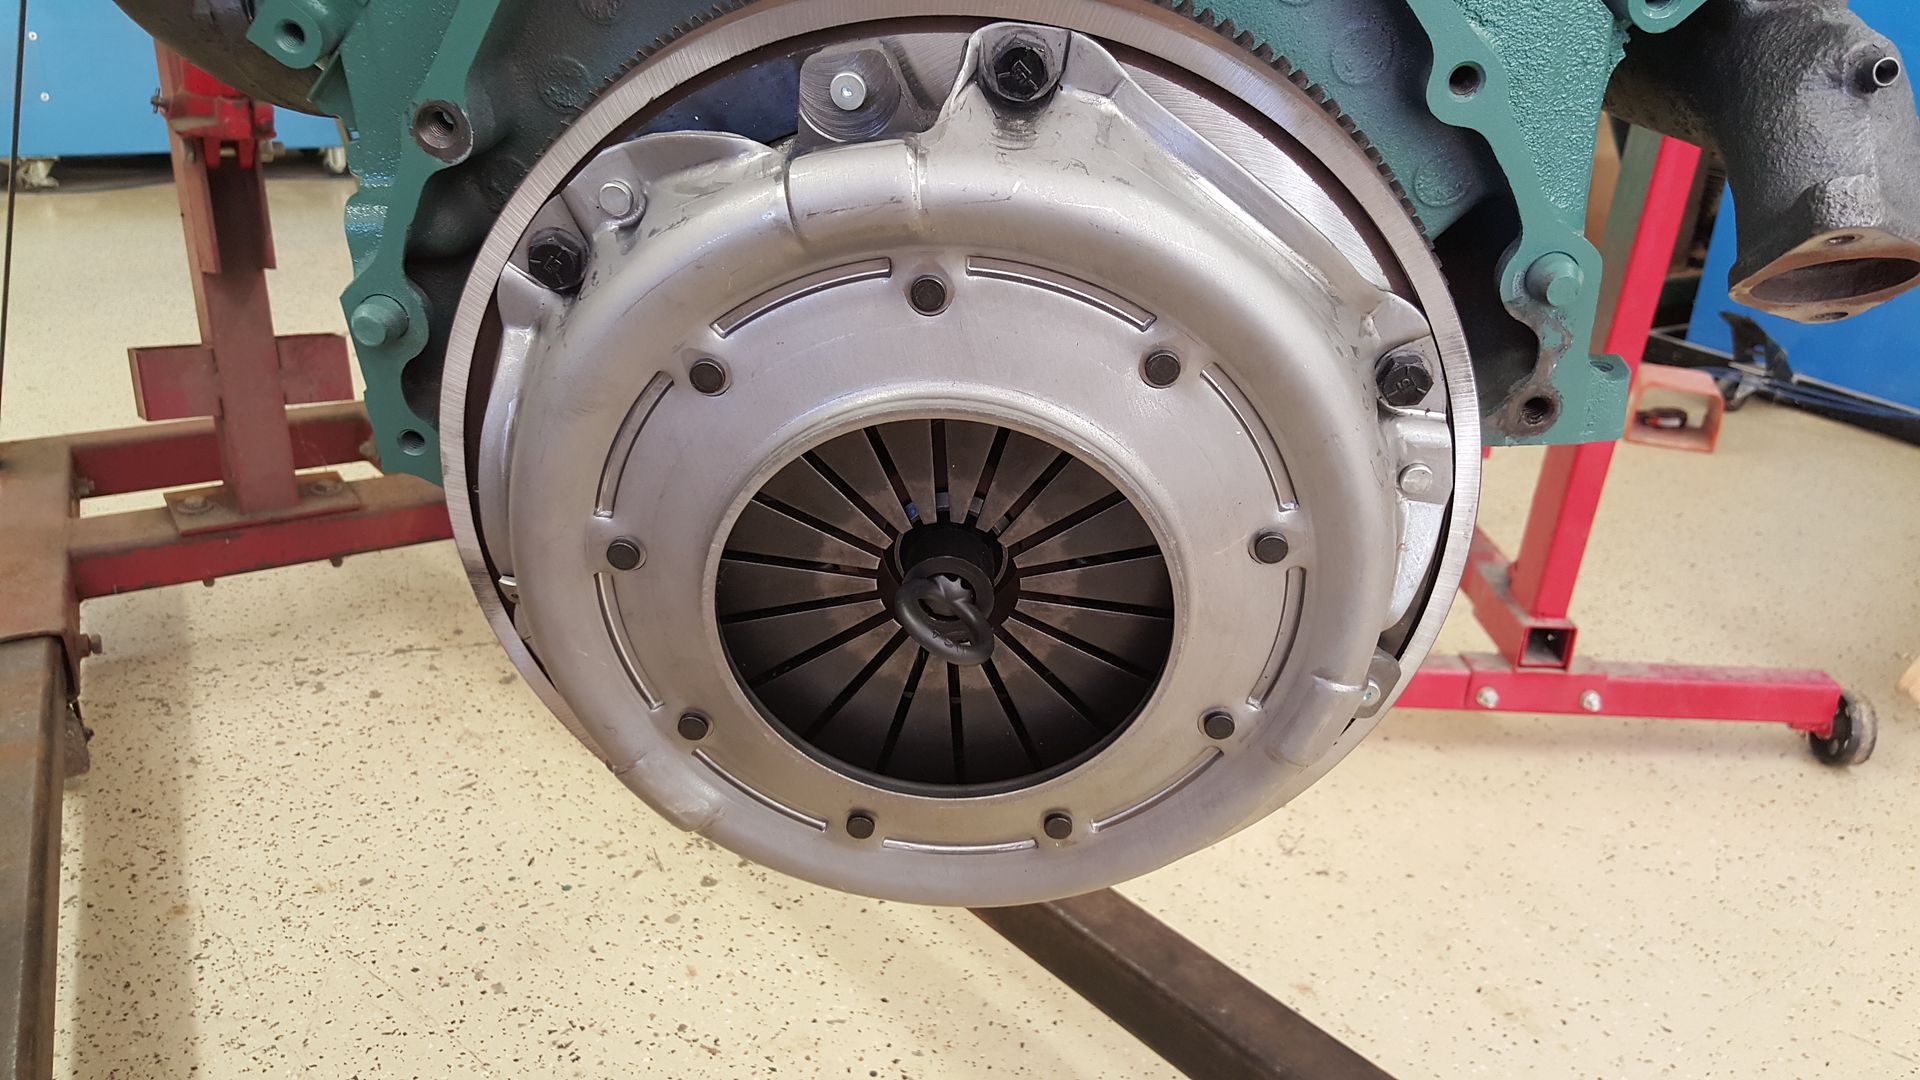
Back together again

-
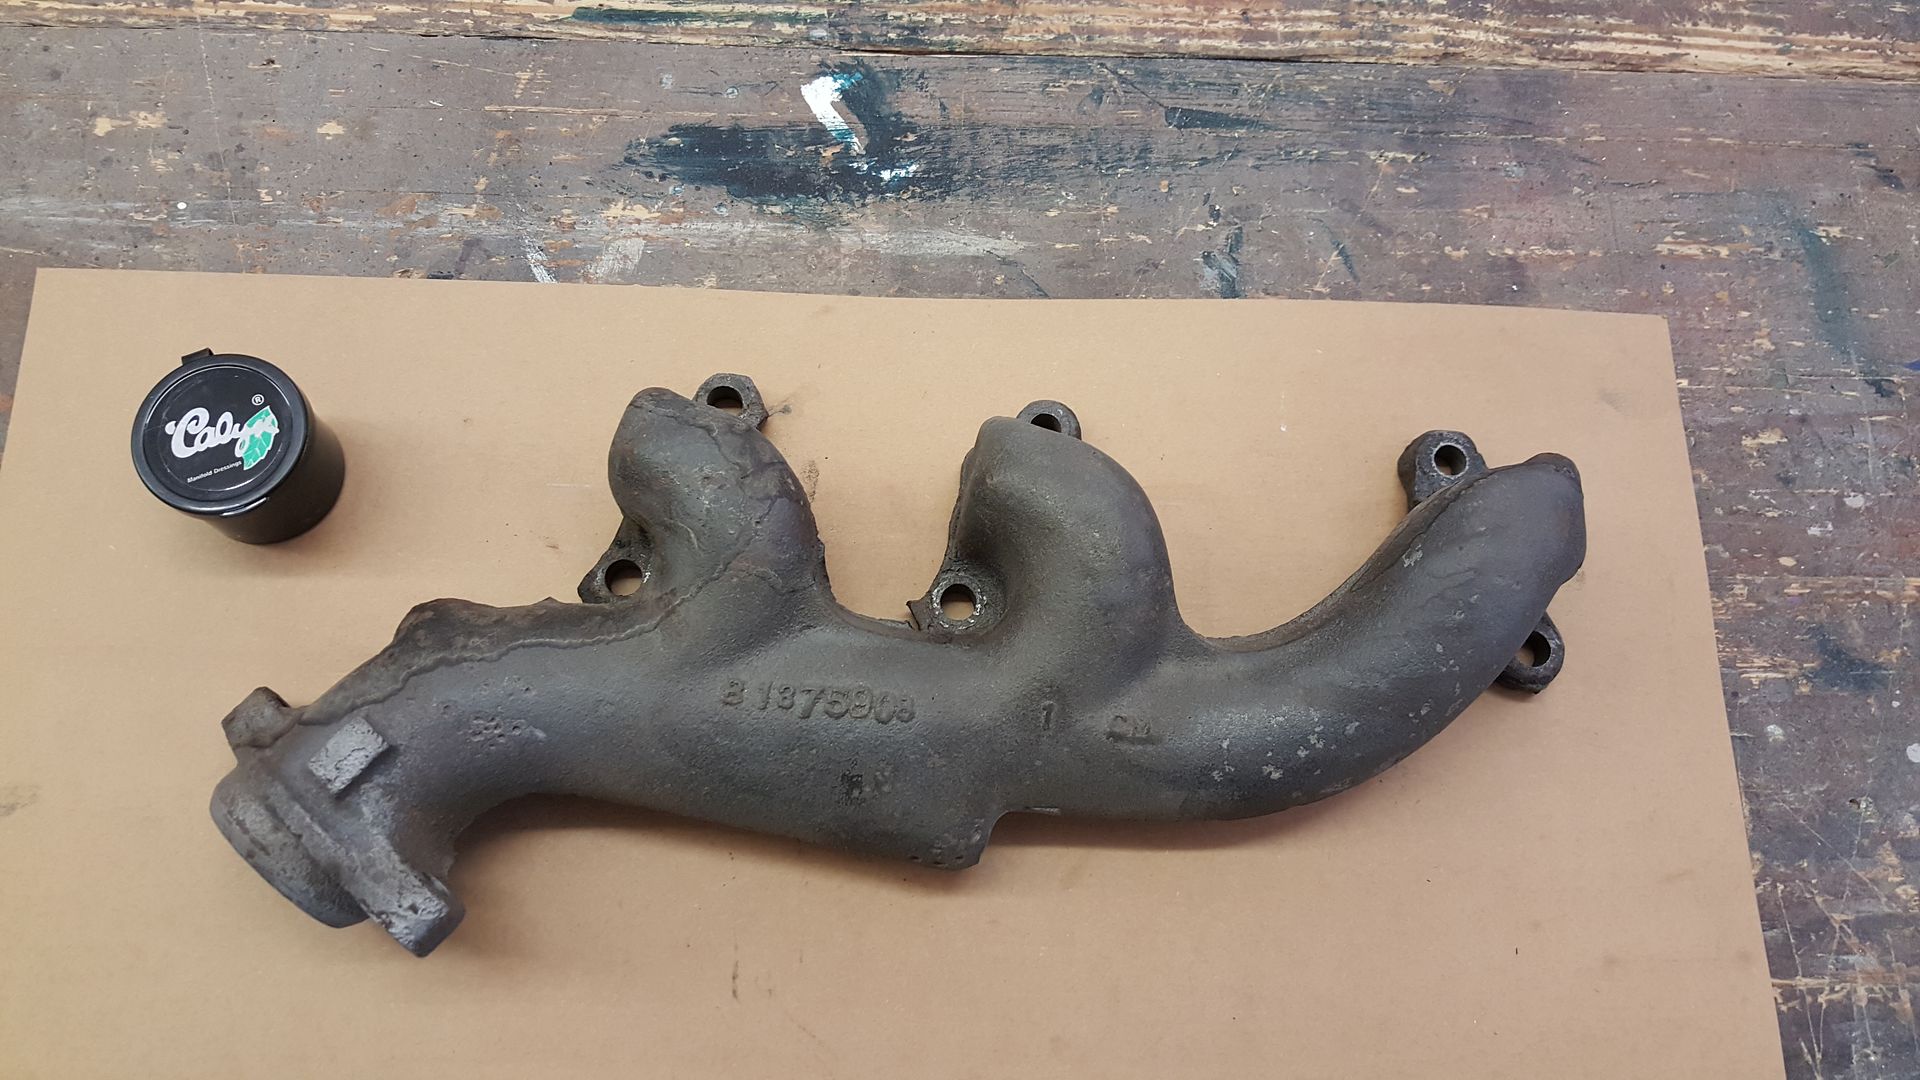
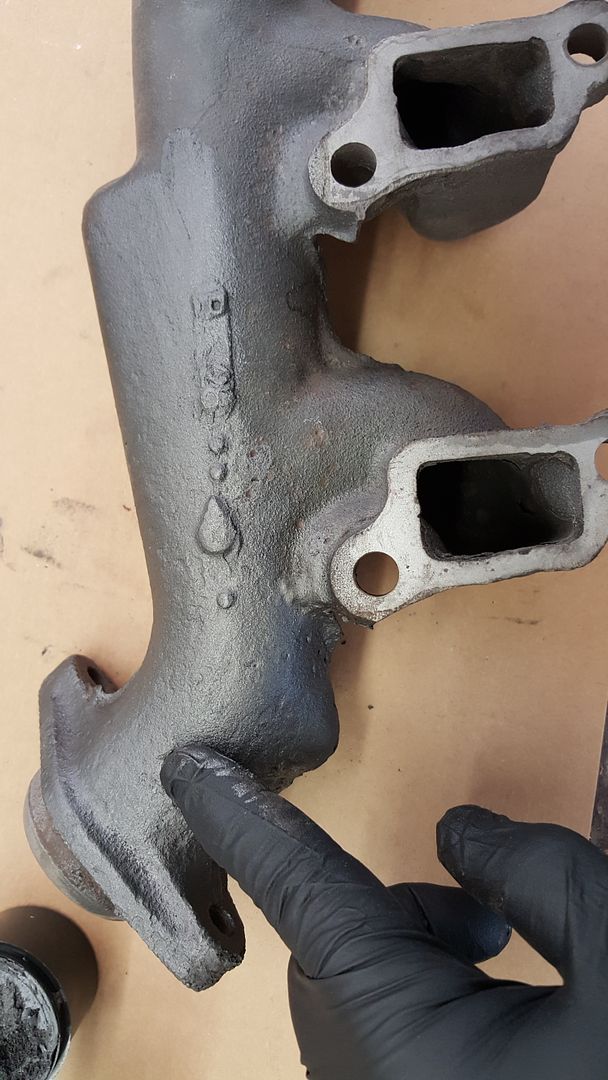
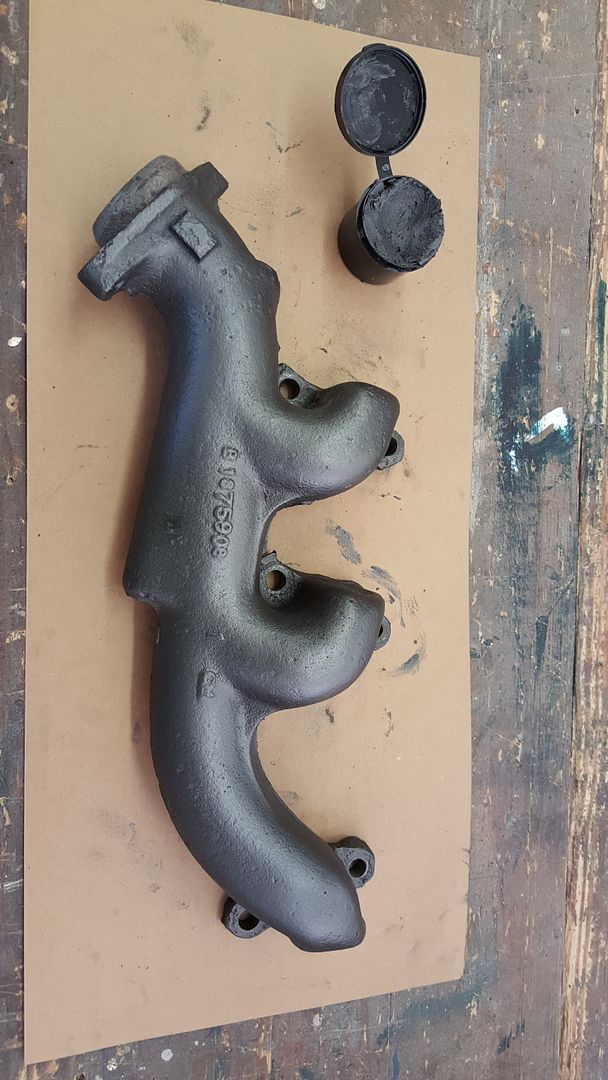
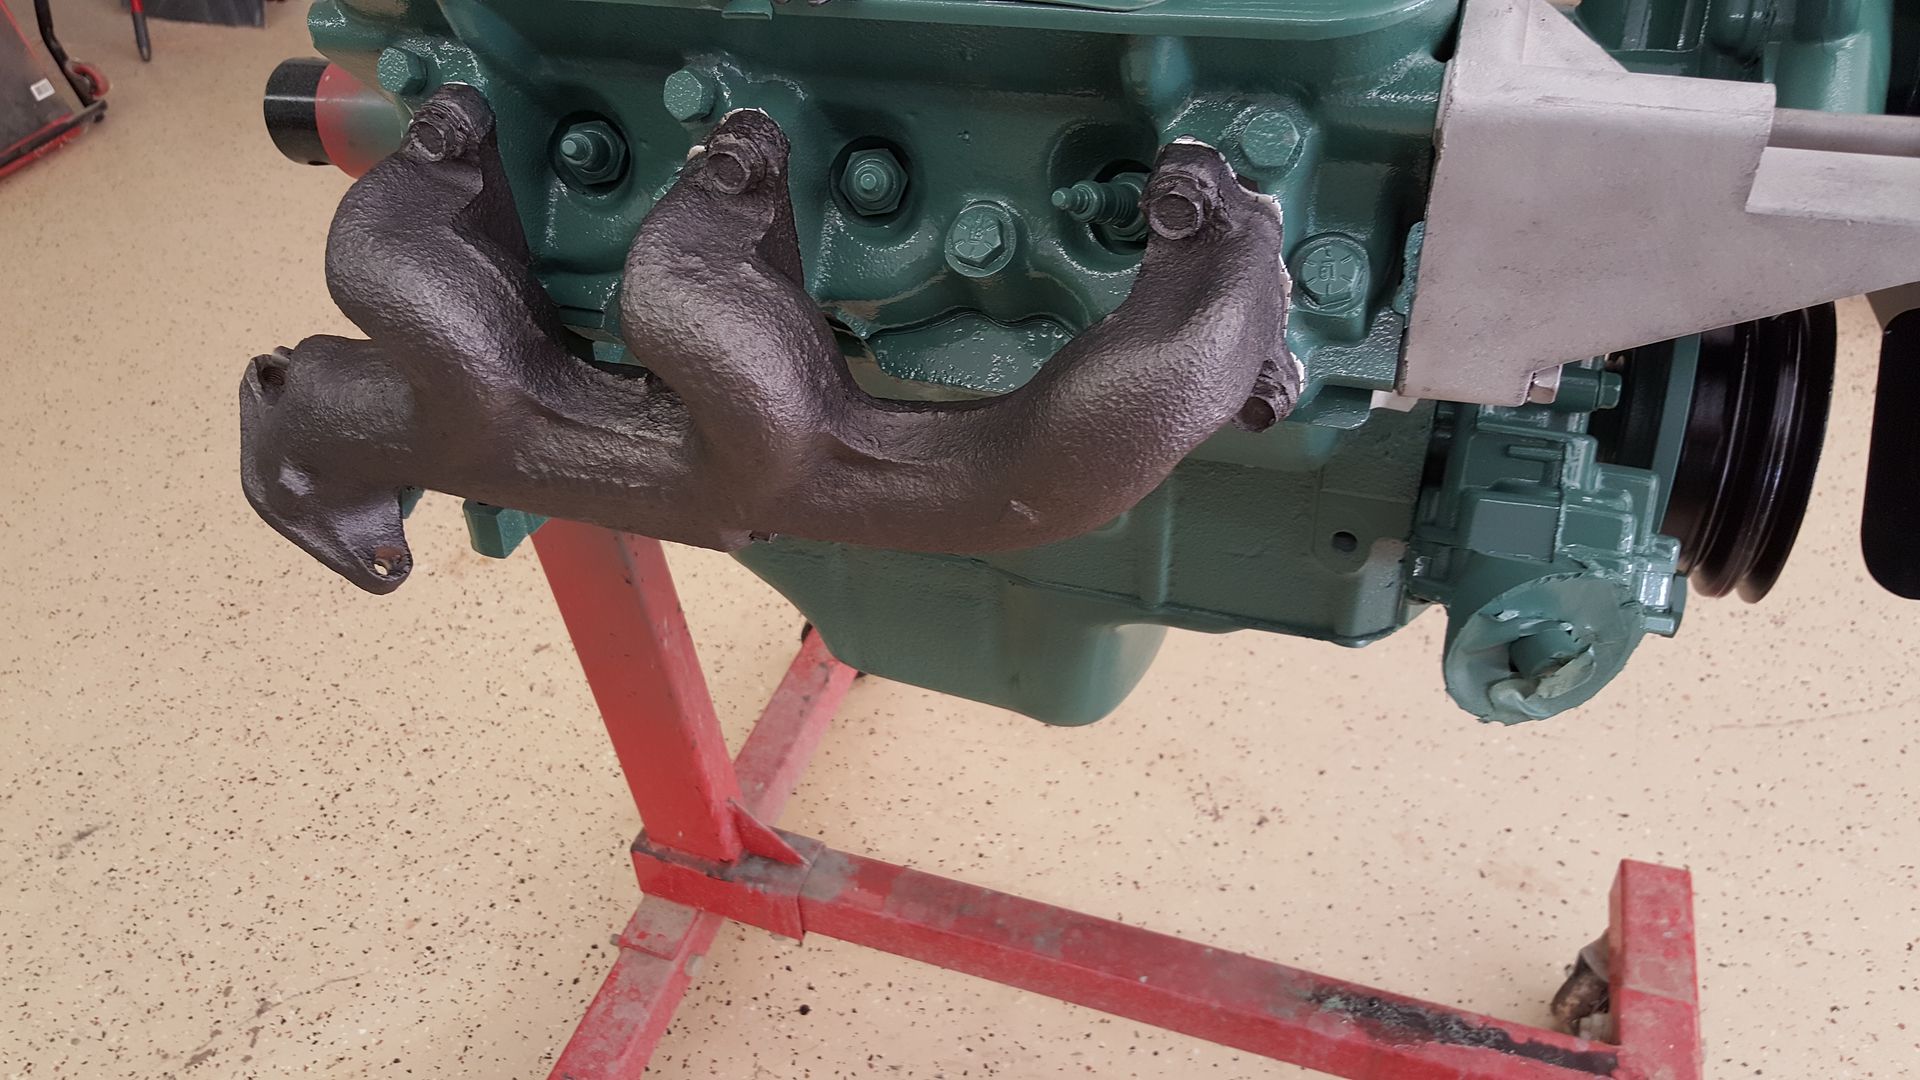
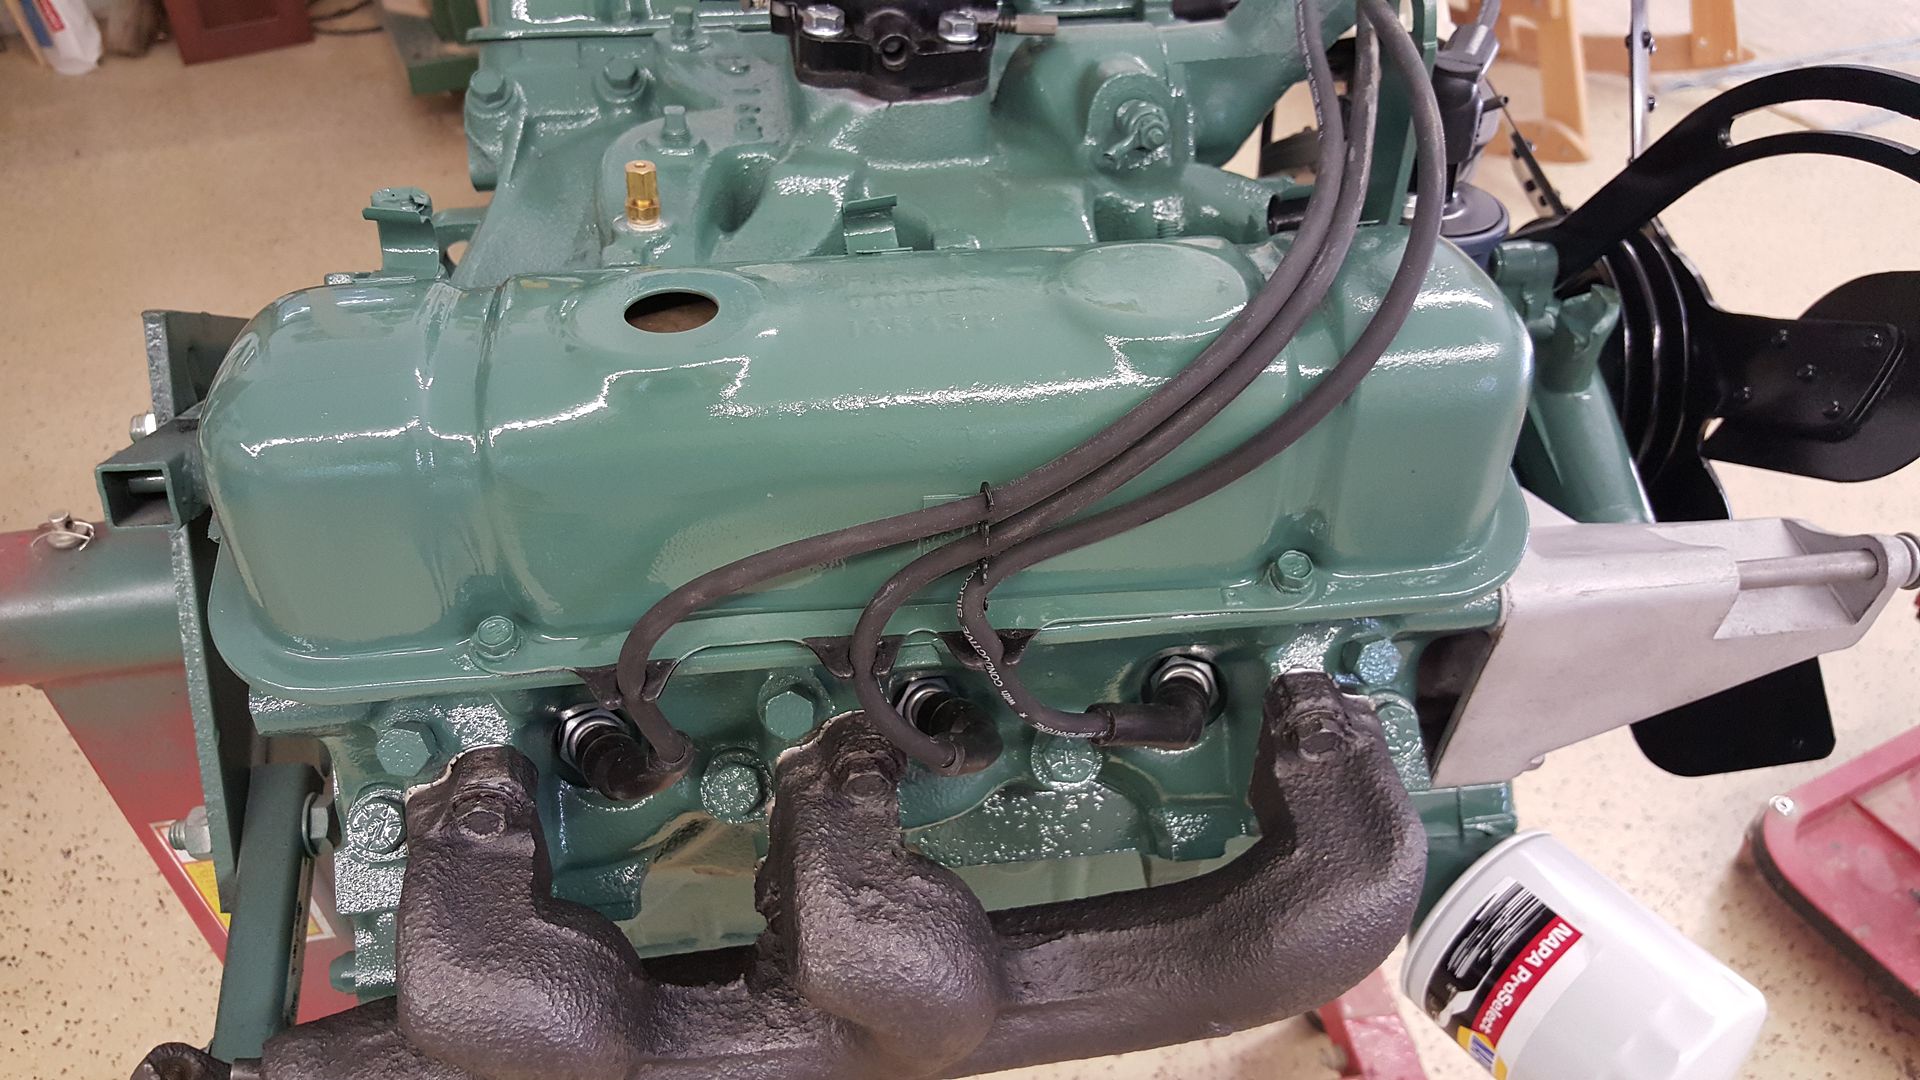
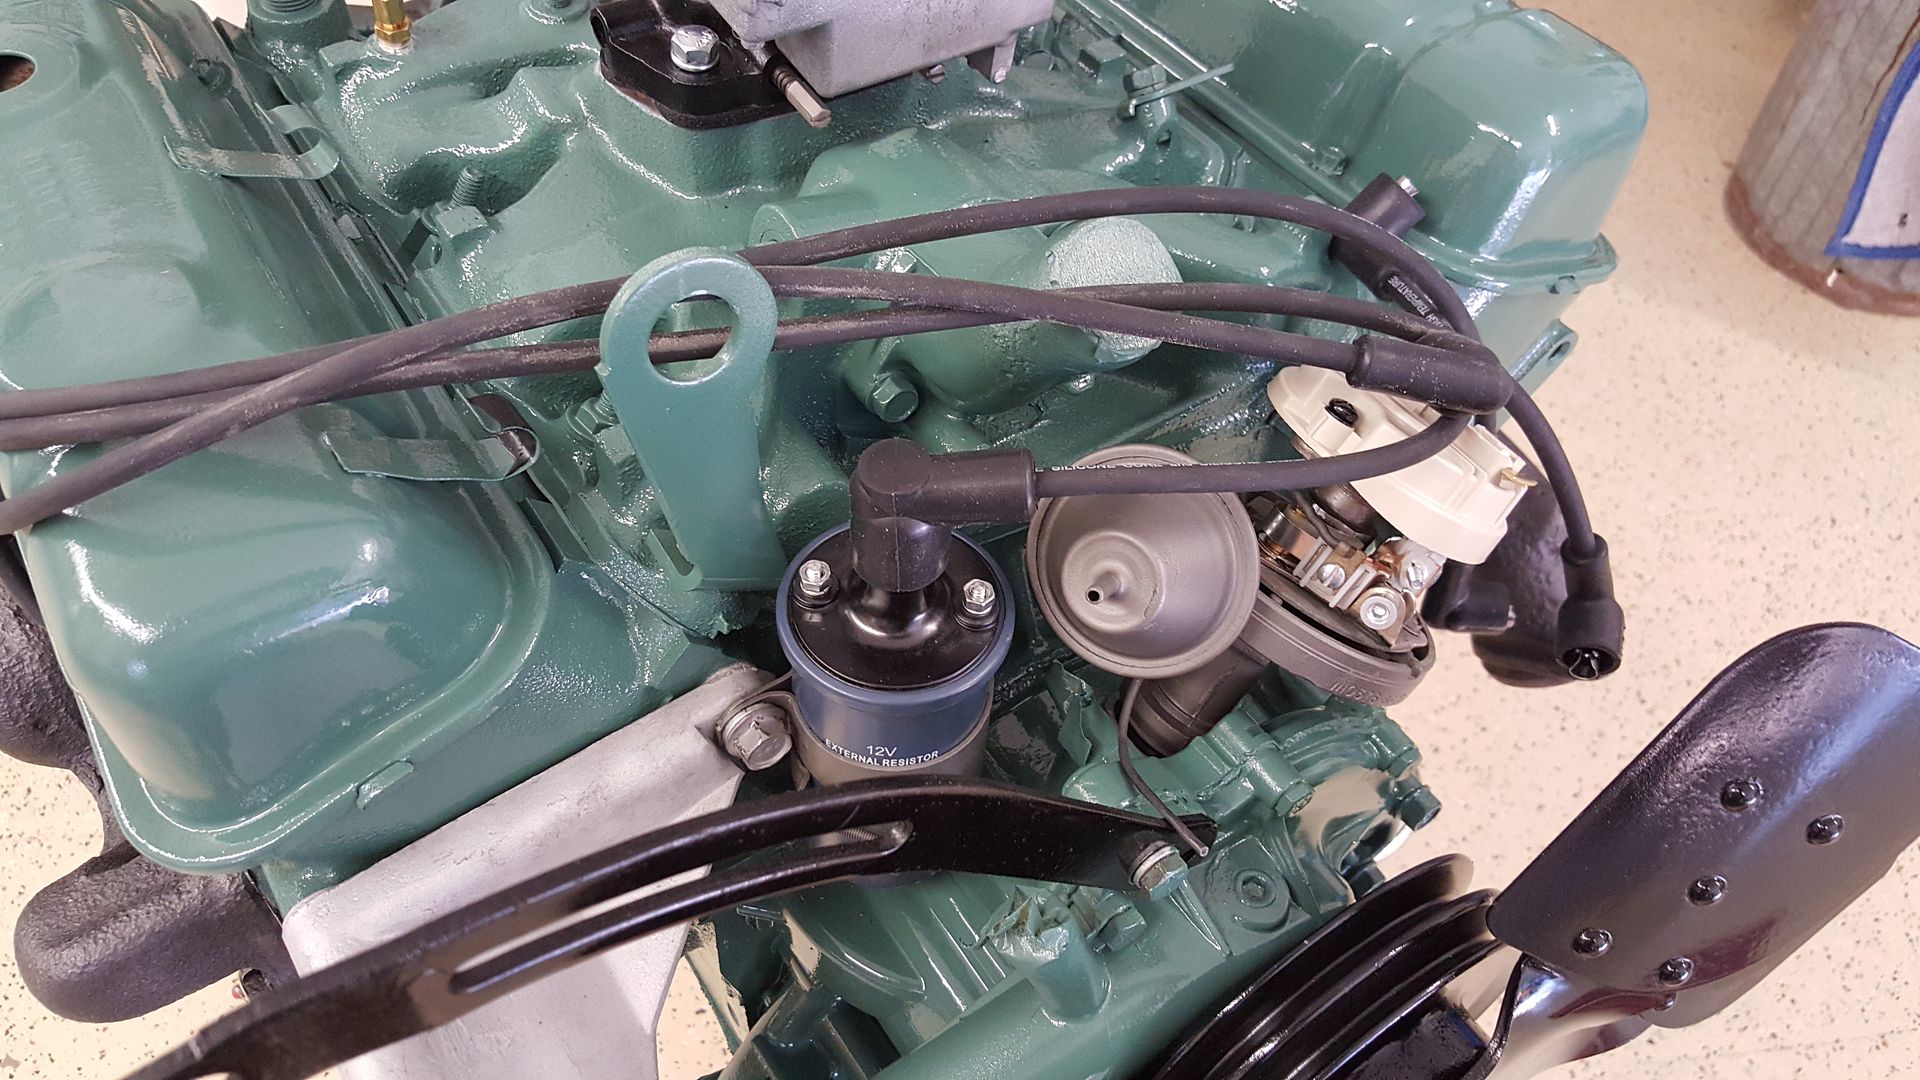
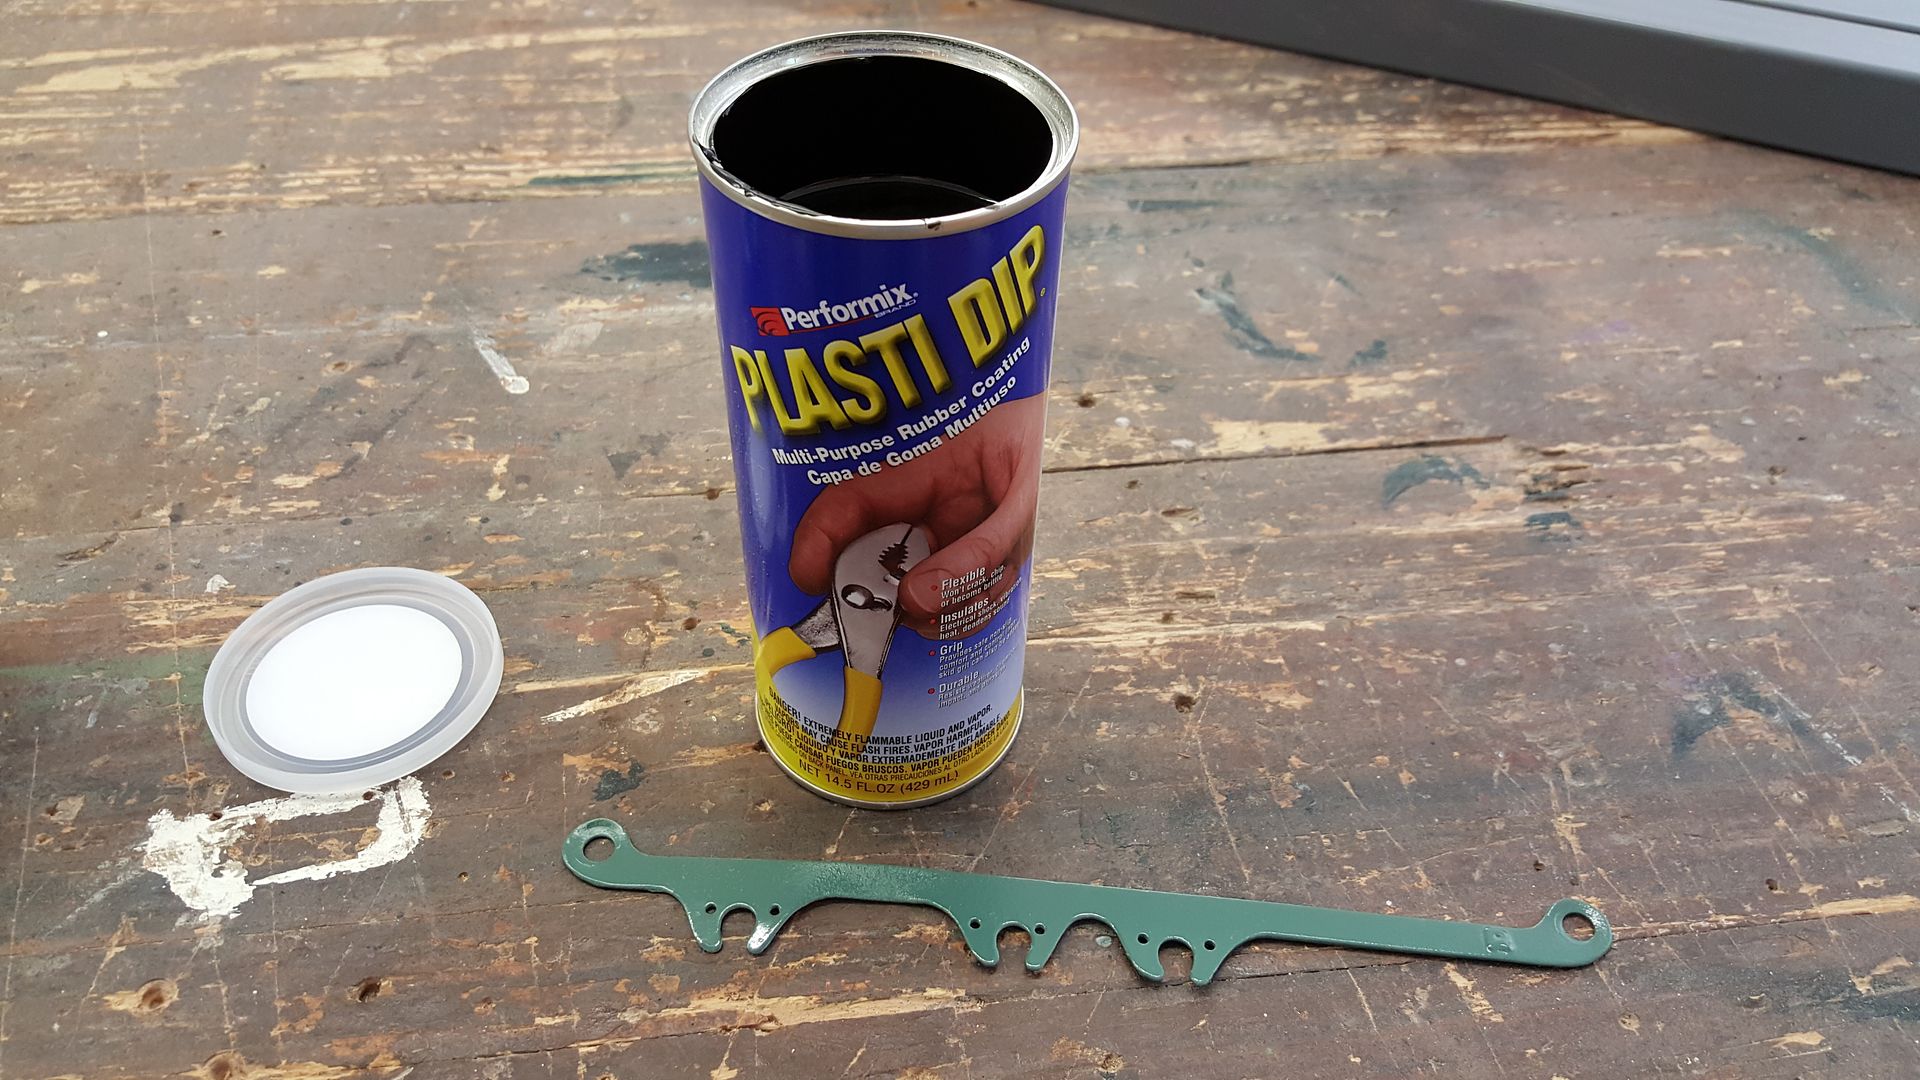
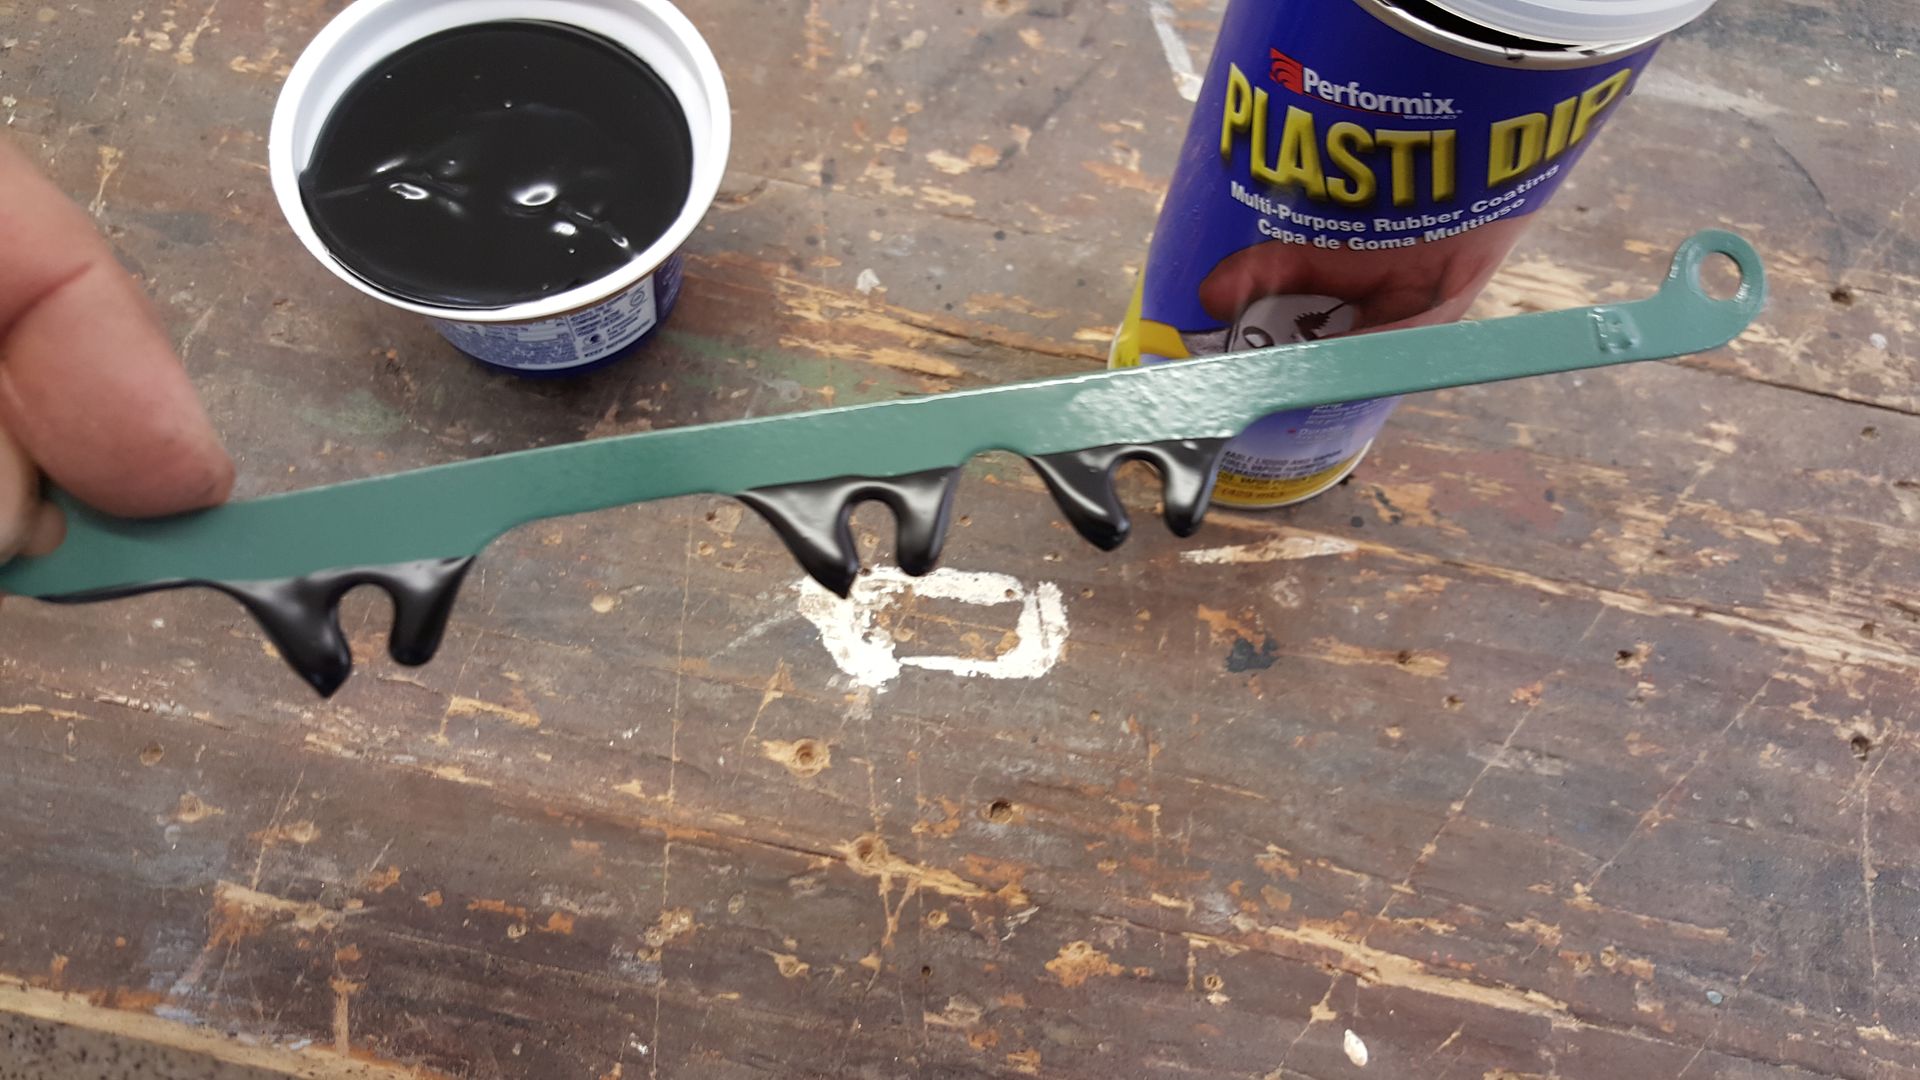
Applying the manifold coating
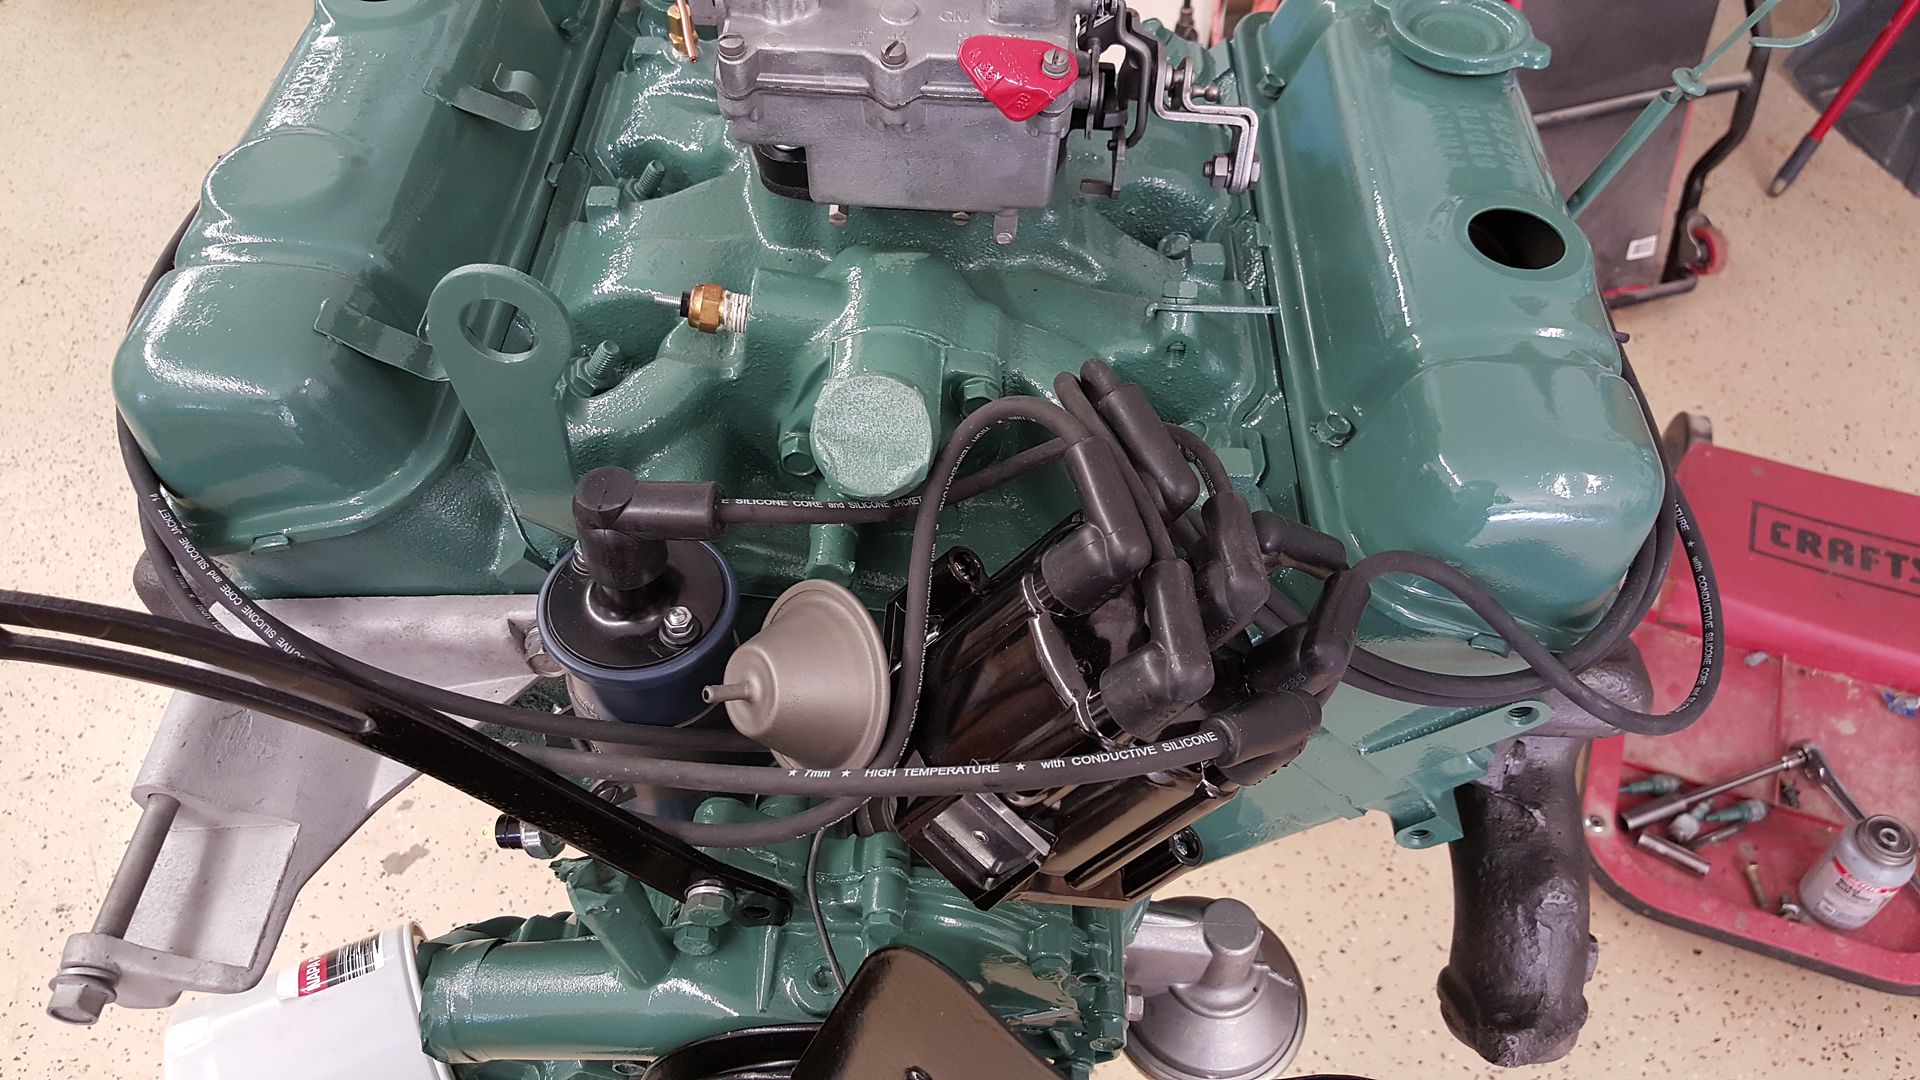
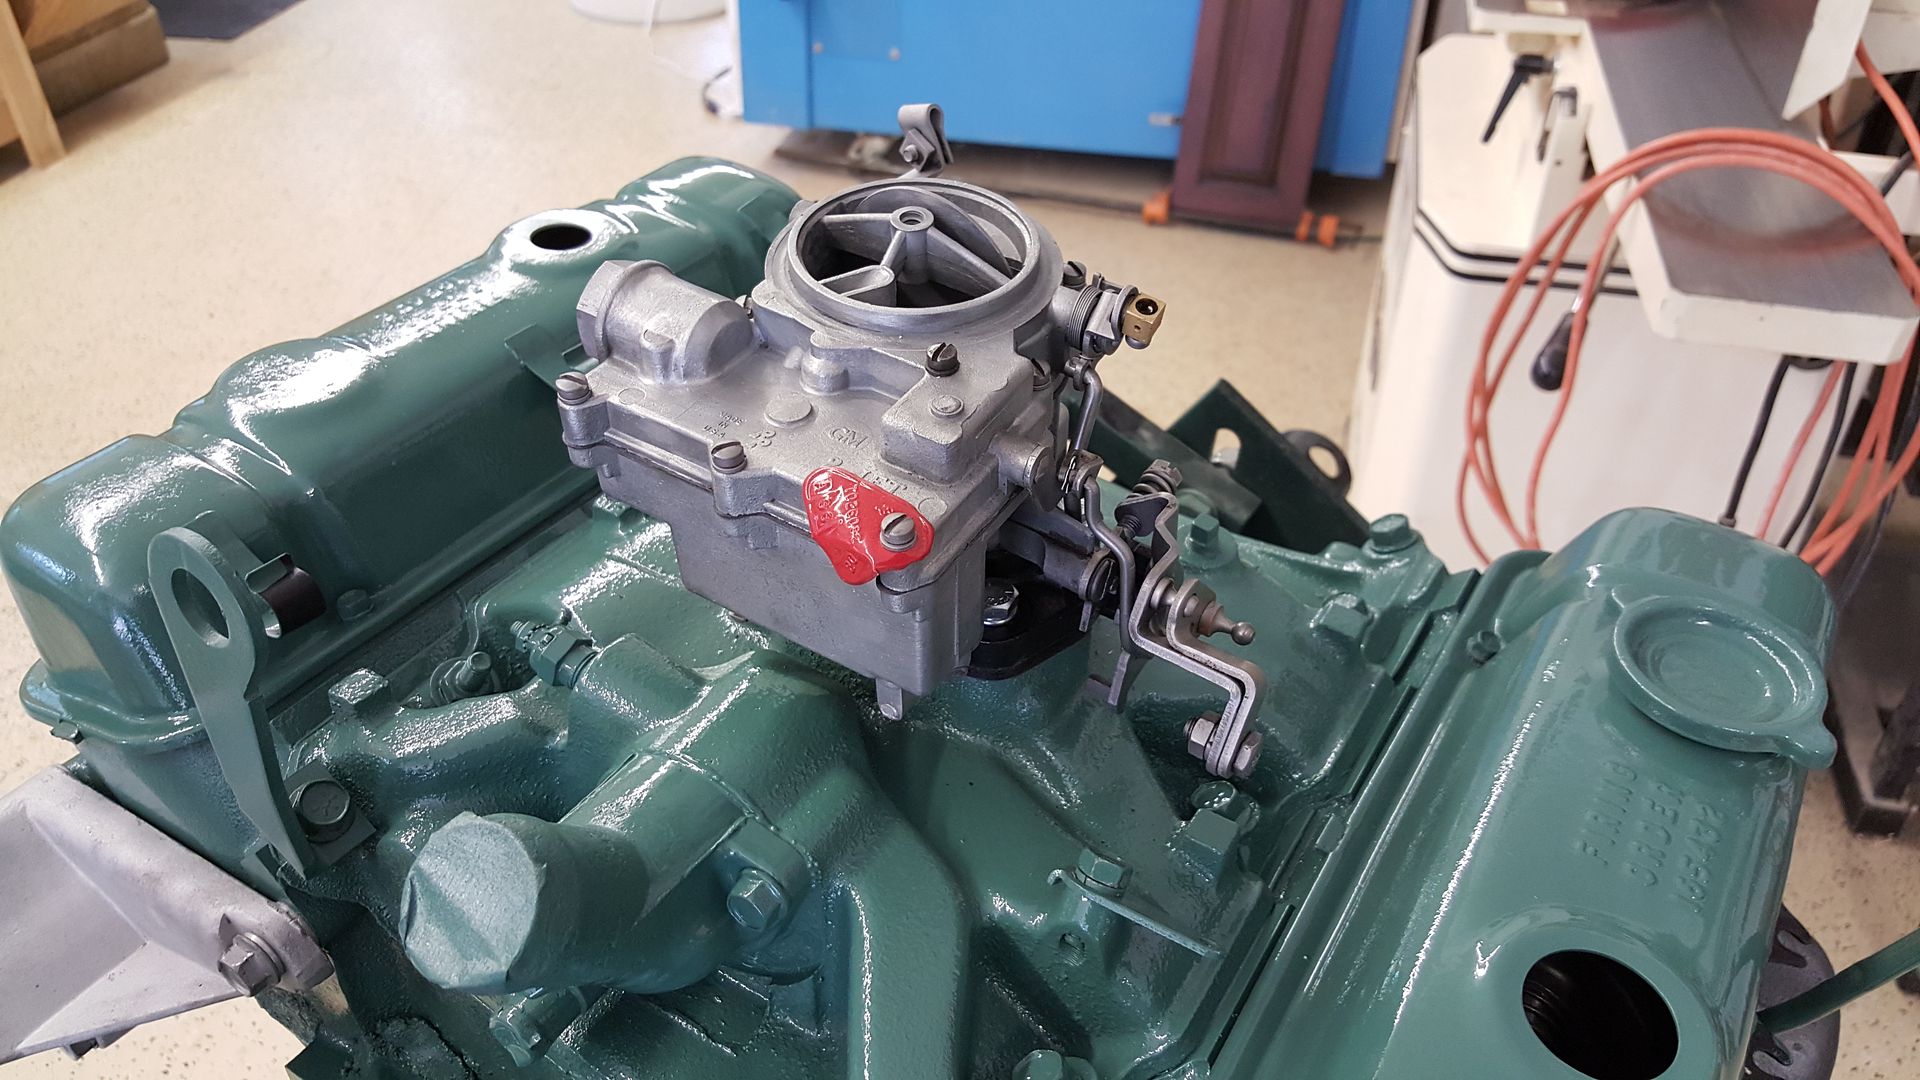
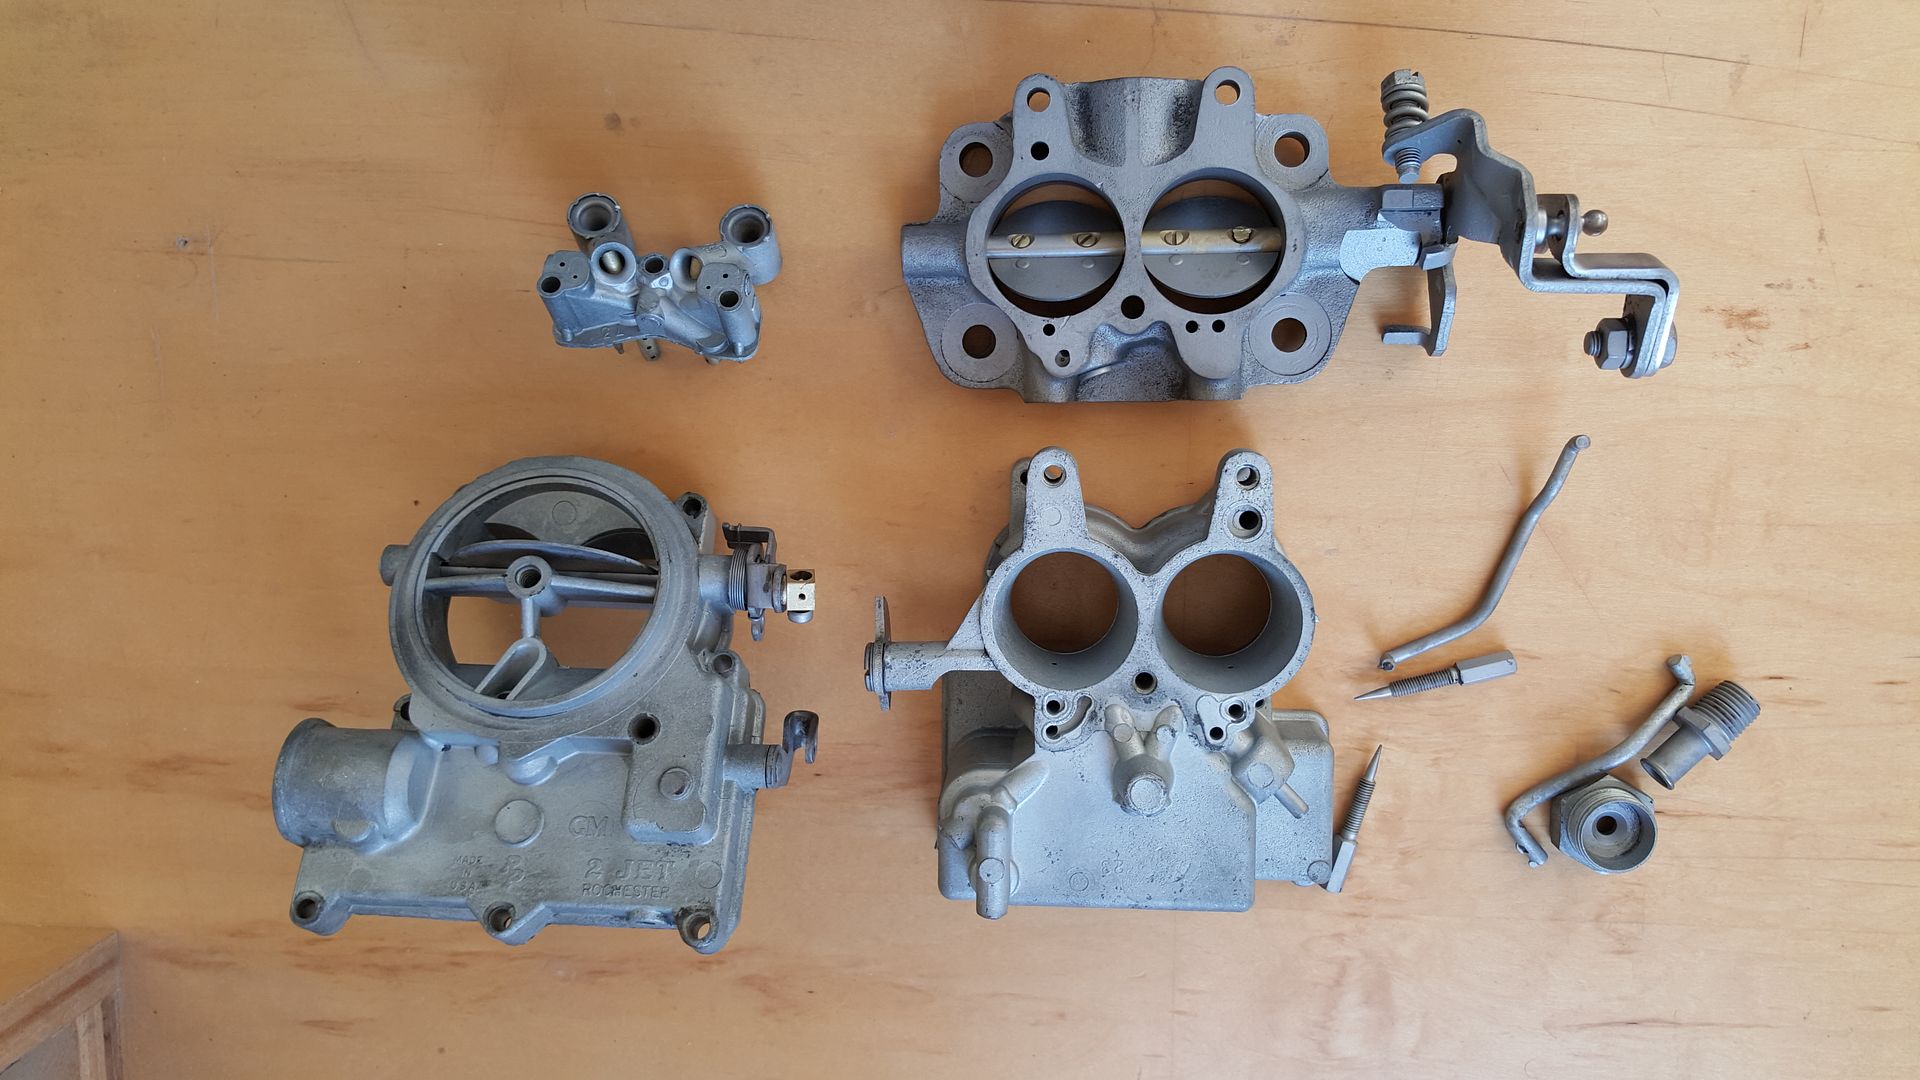
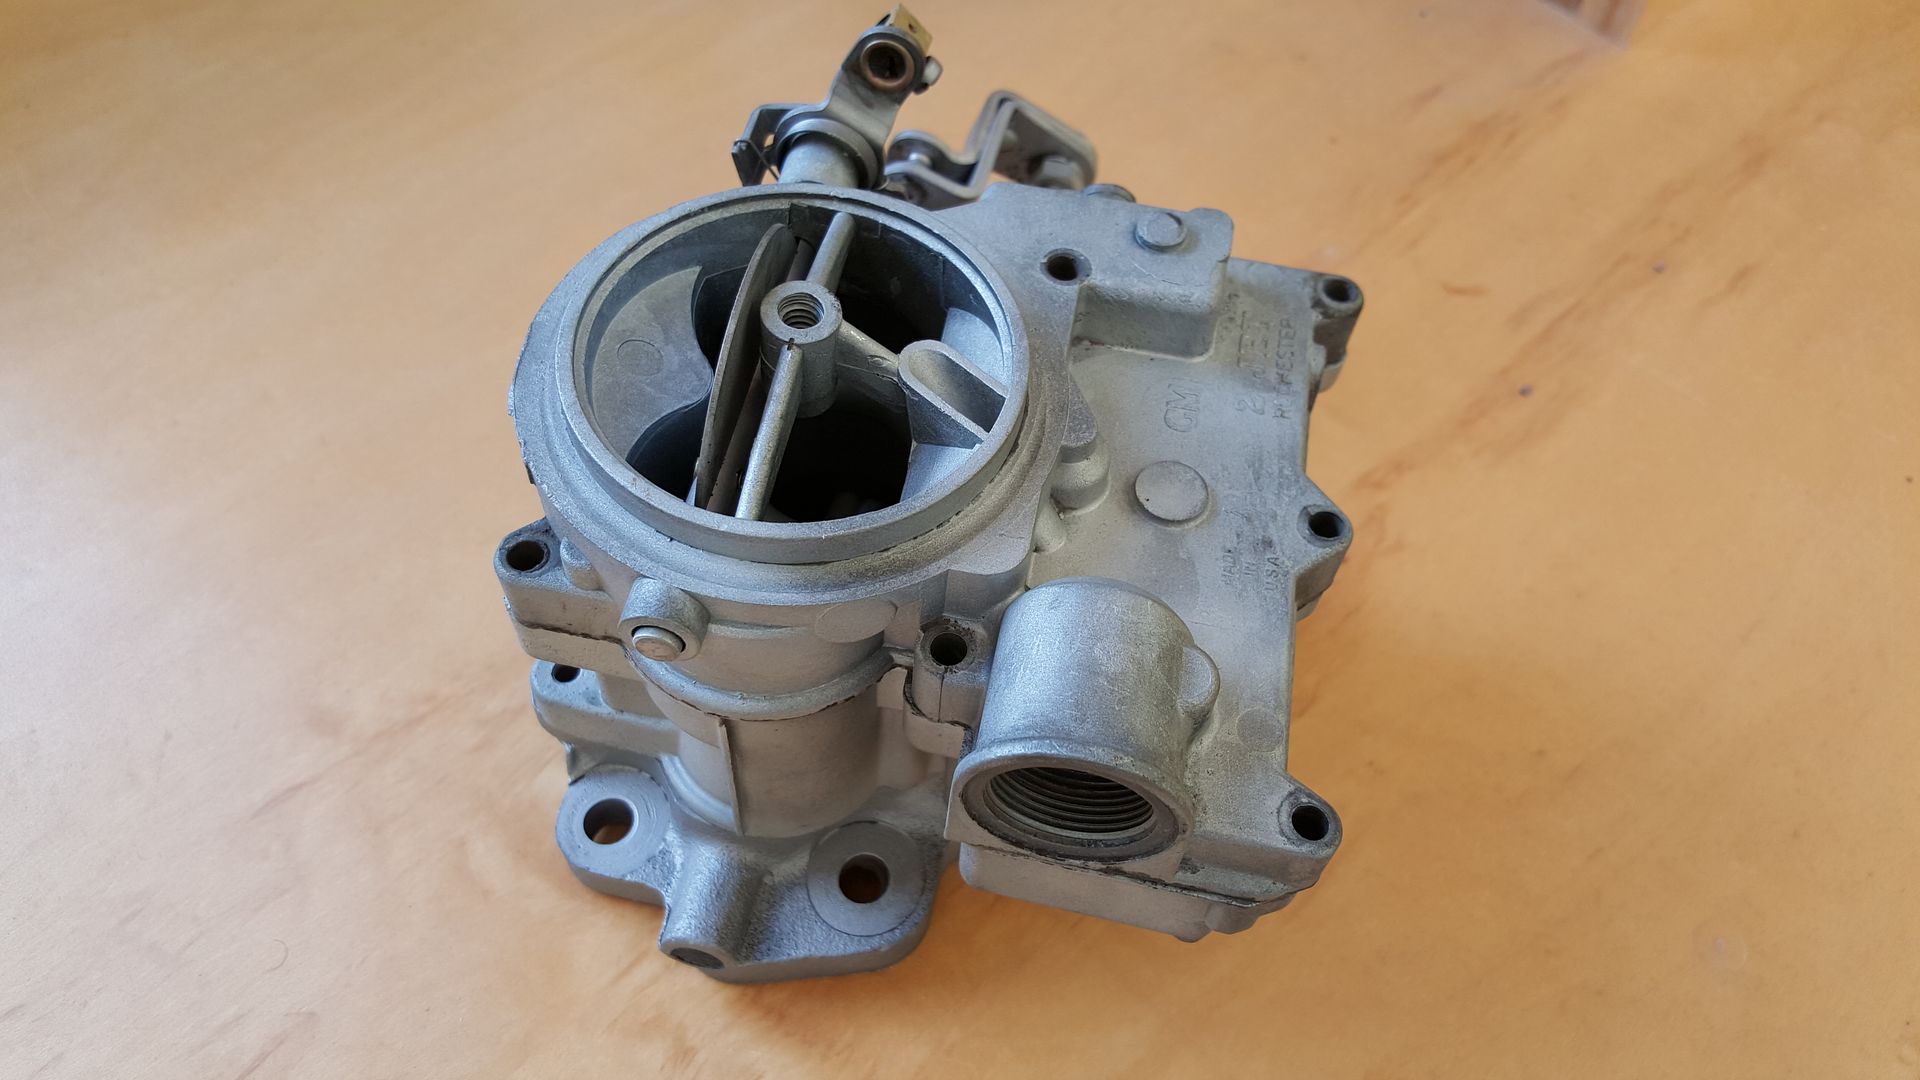
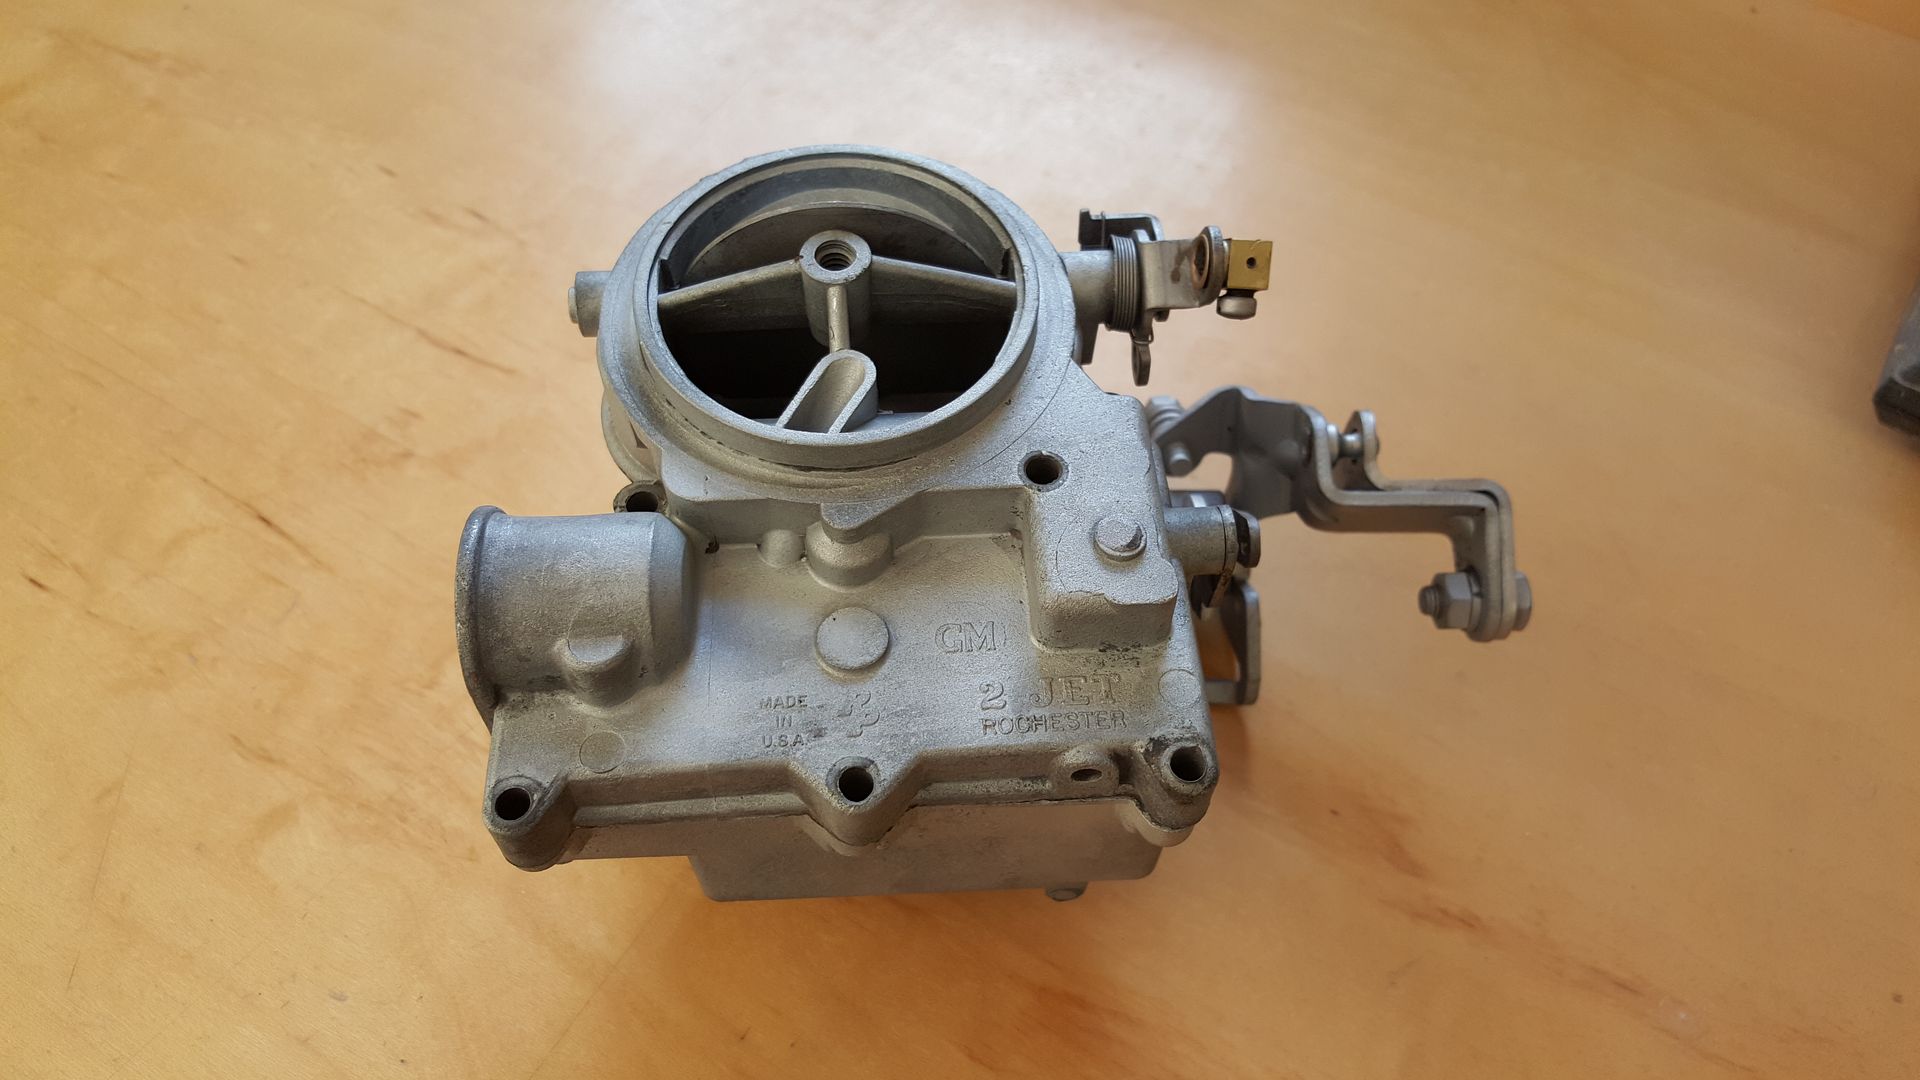
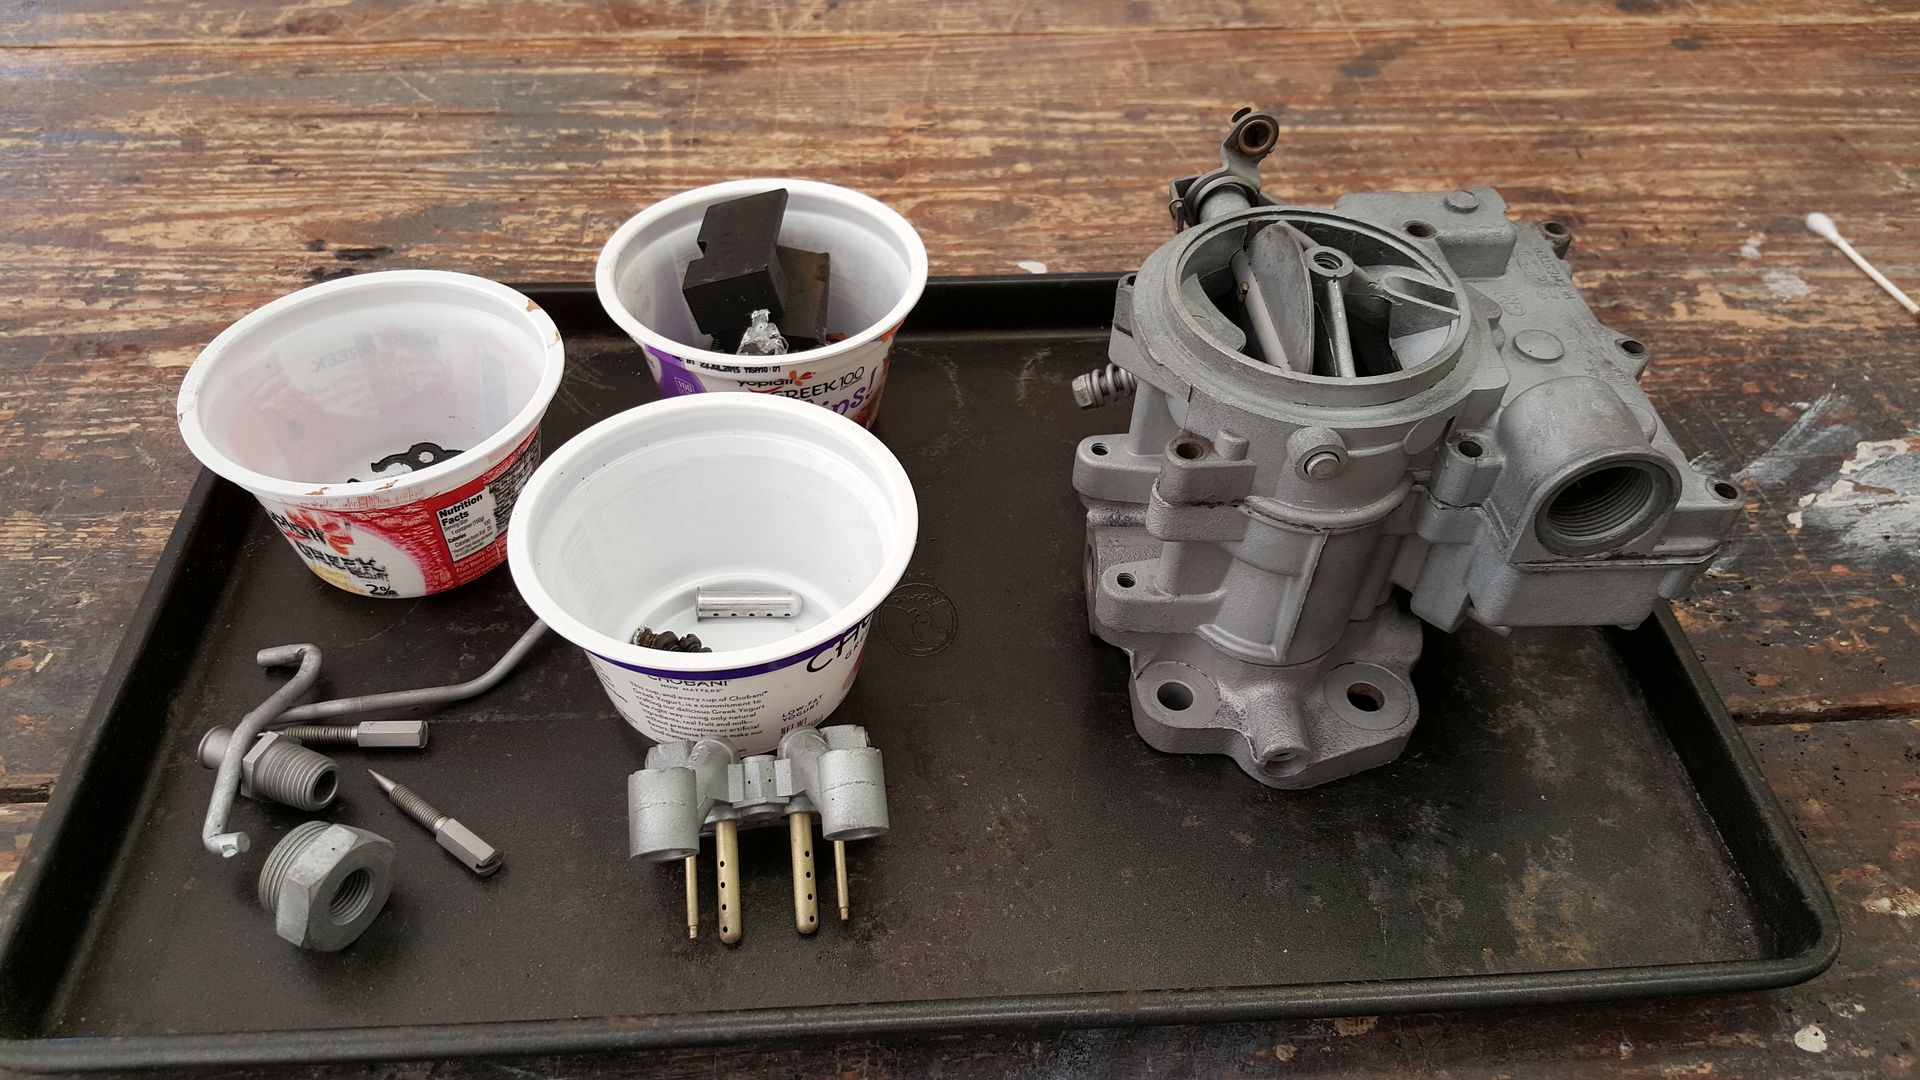
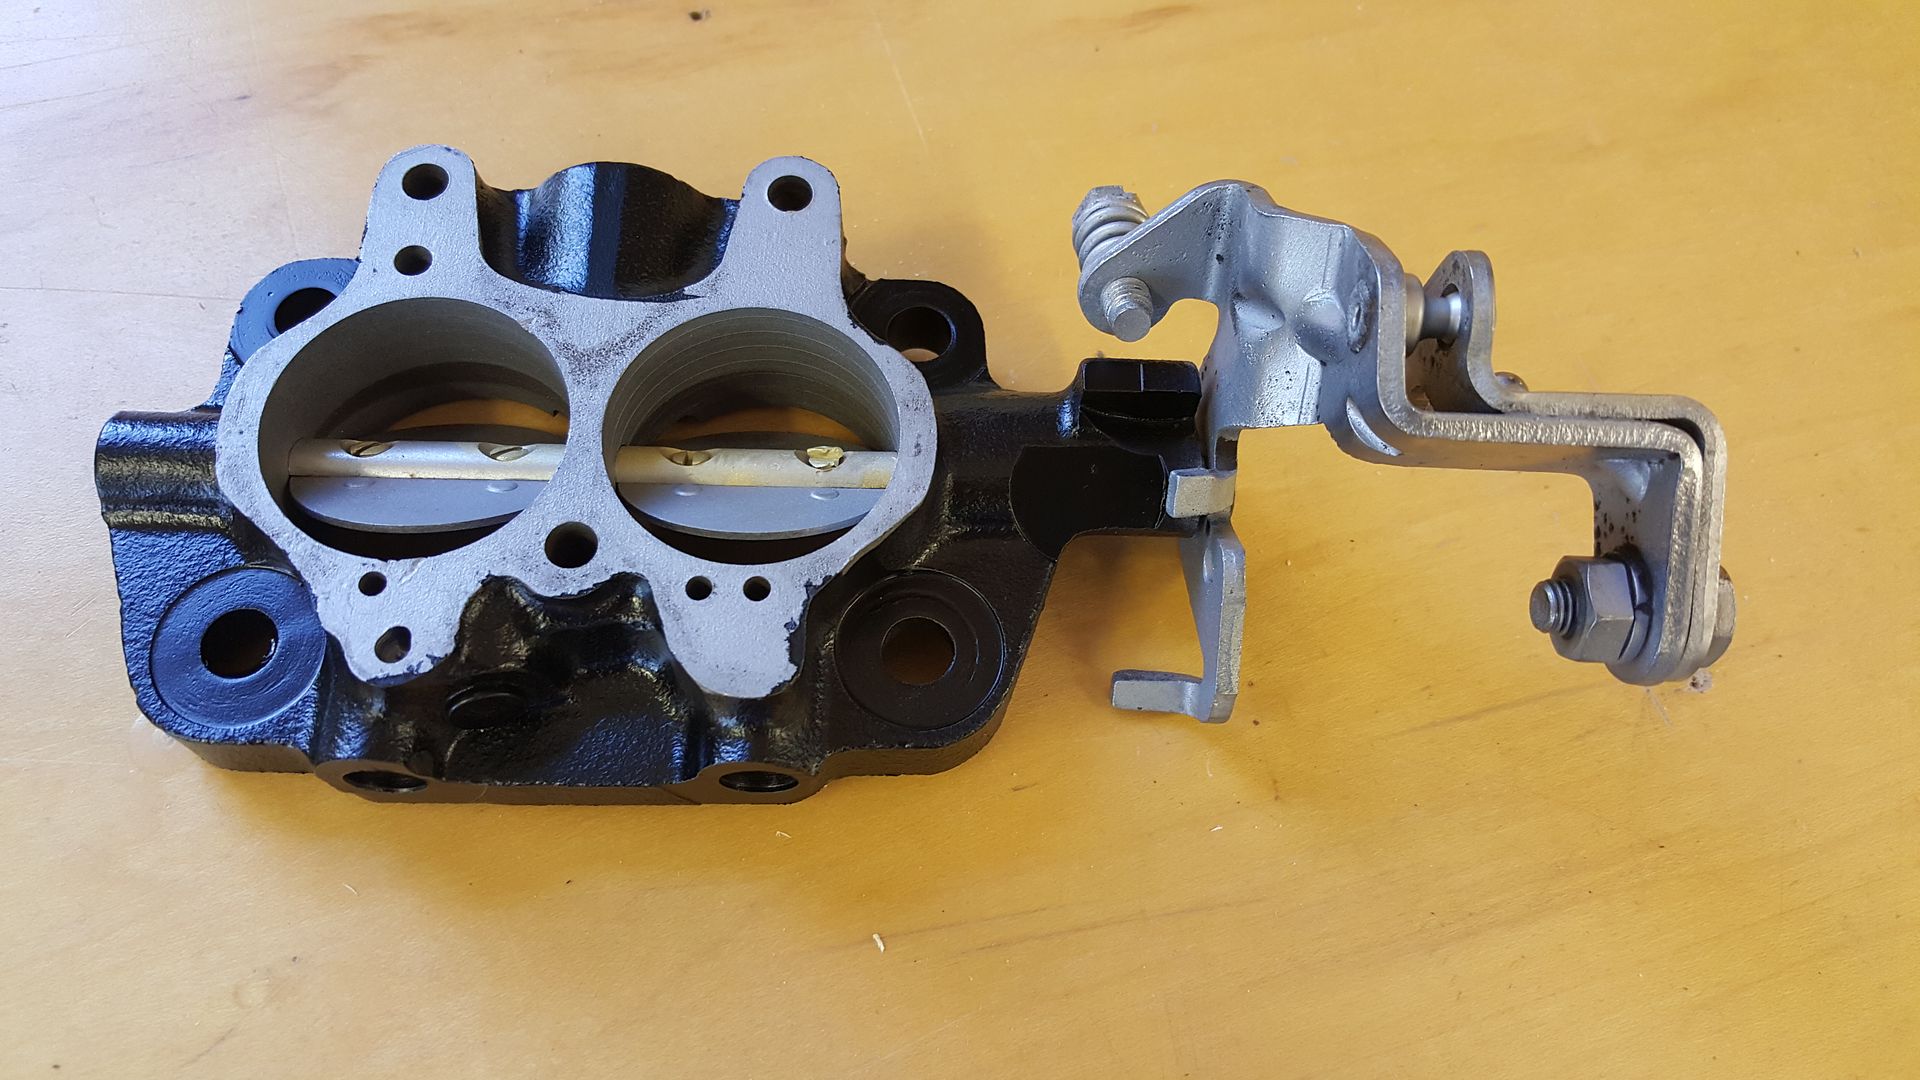
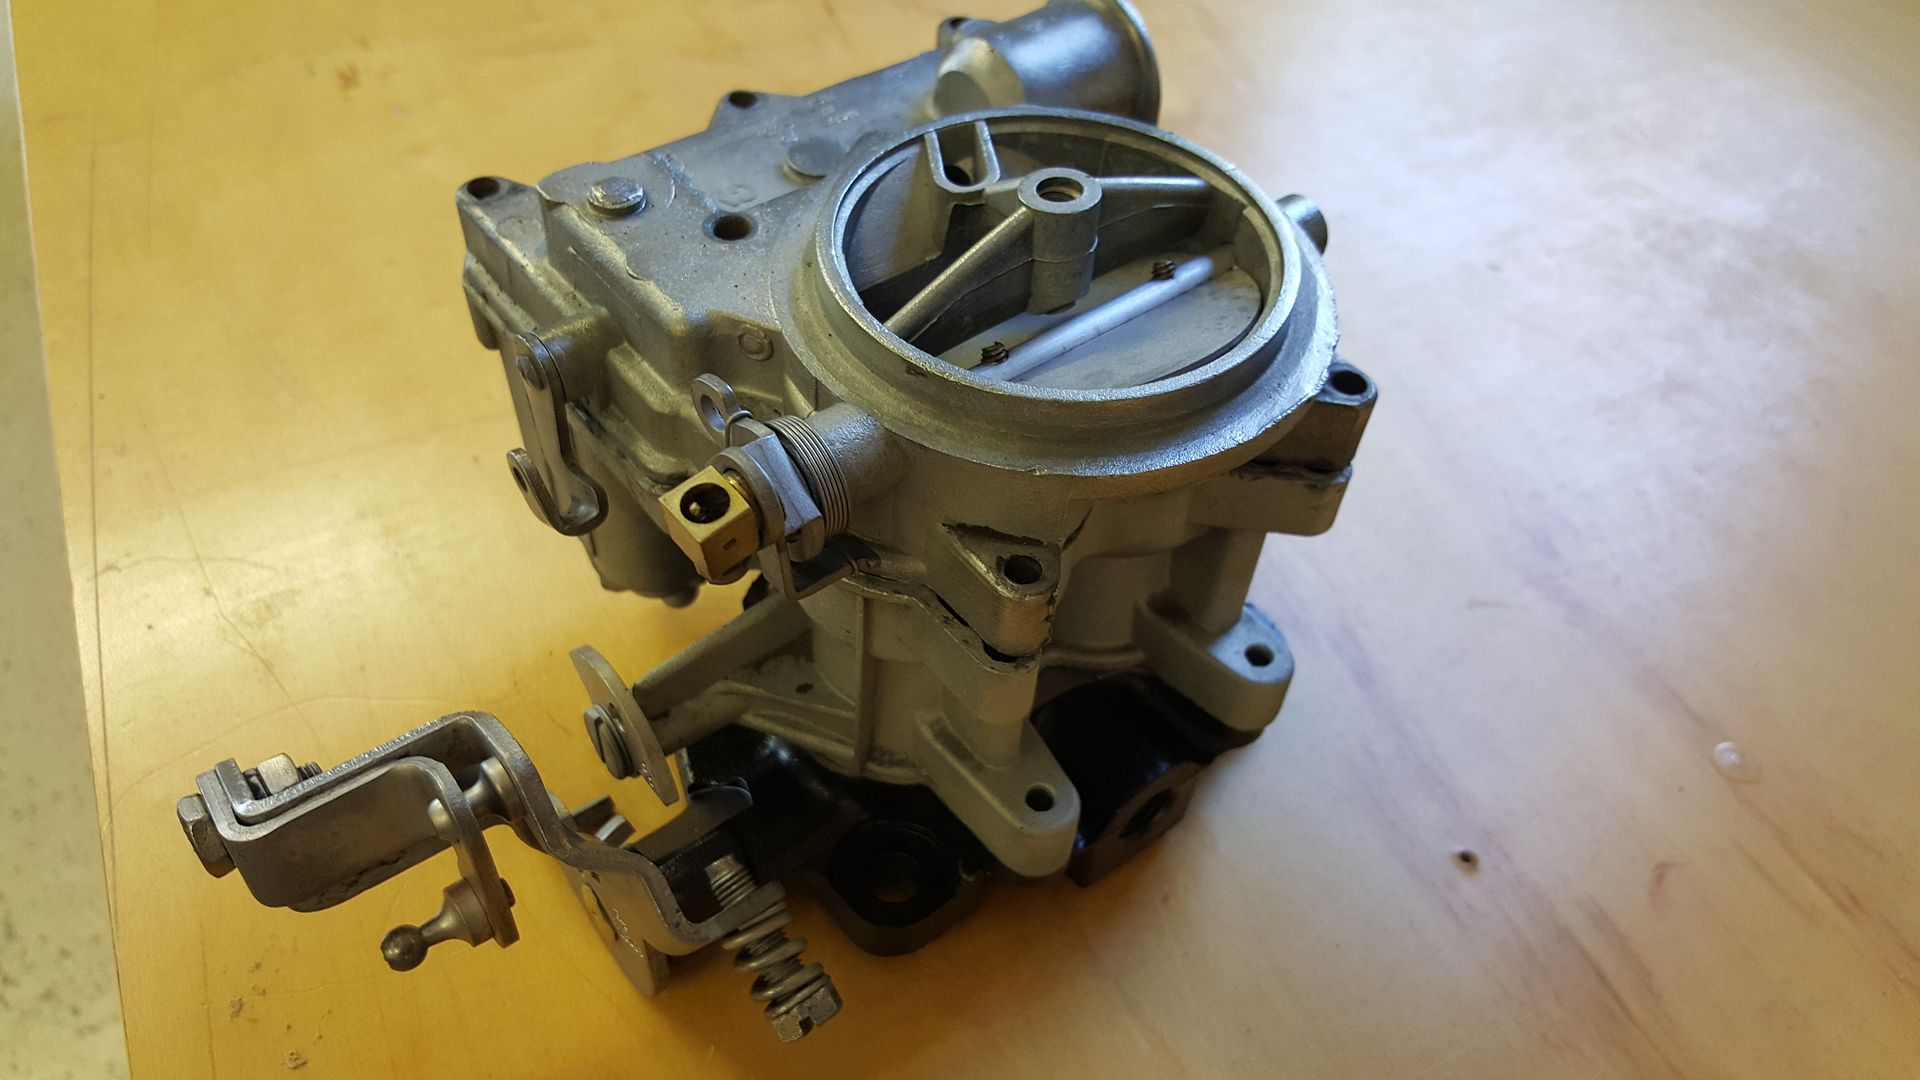
rebuilt carb on
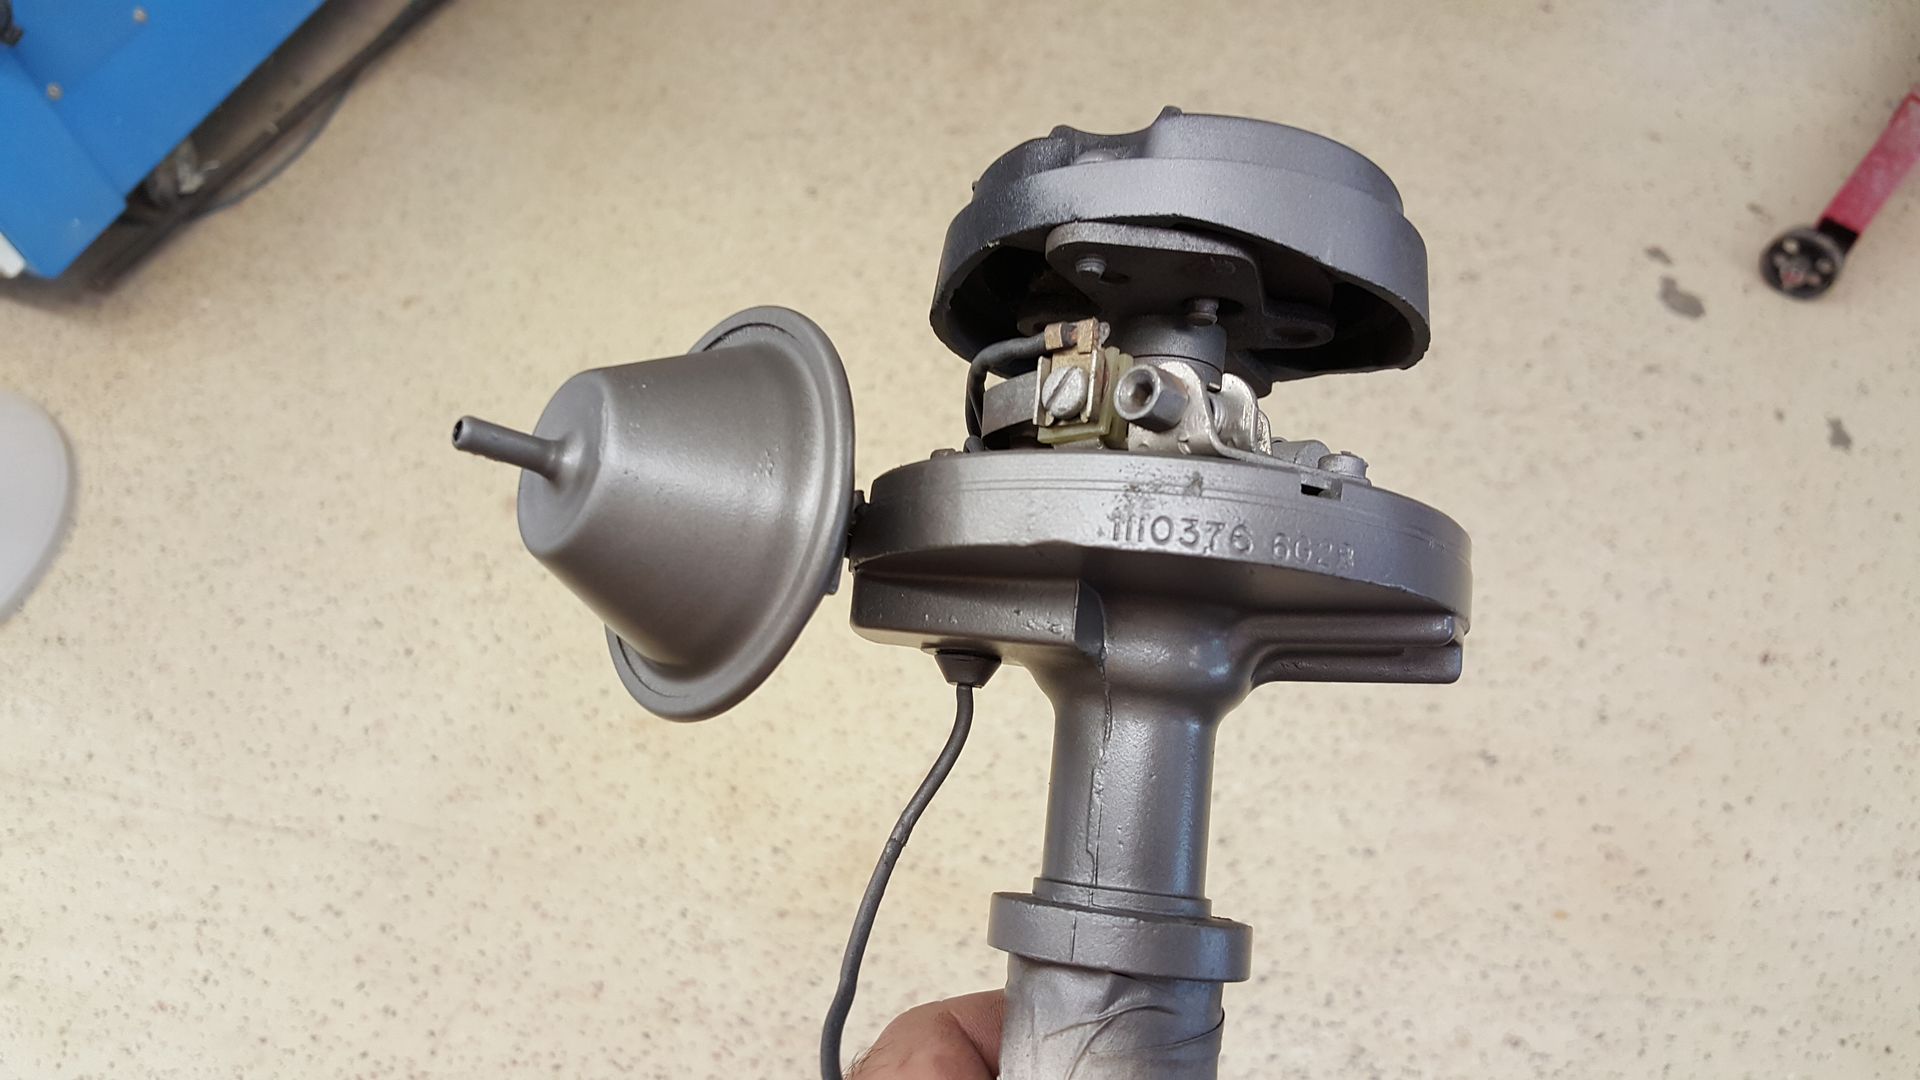
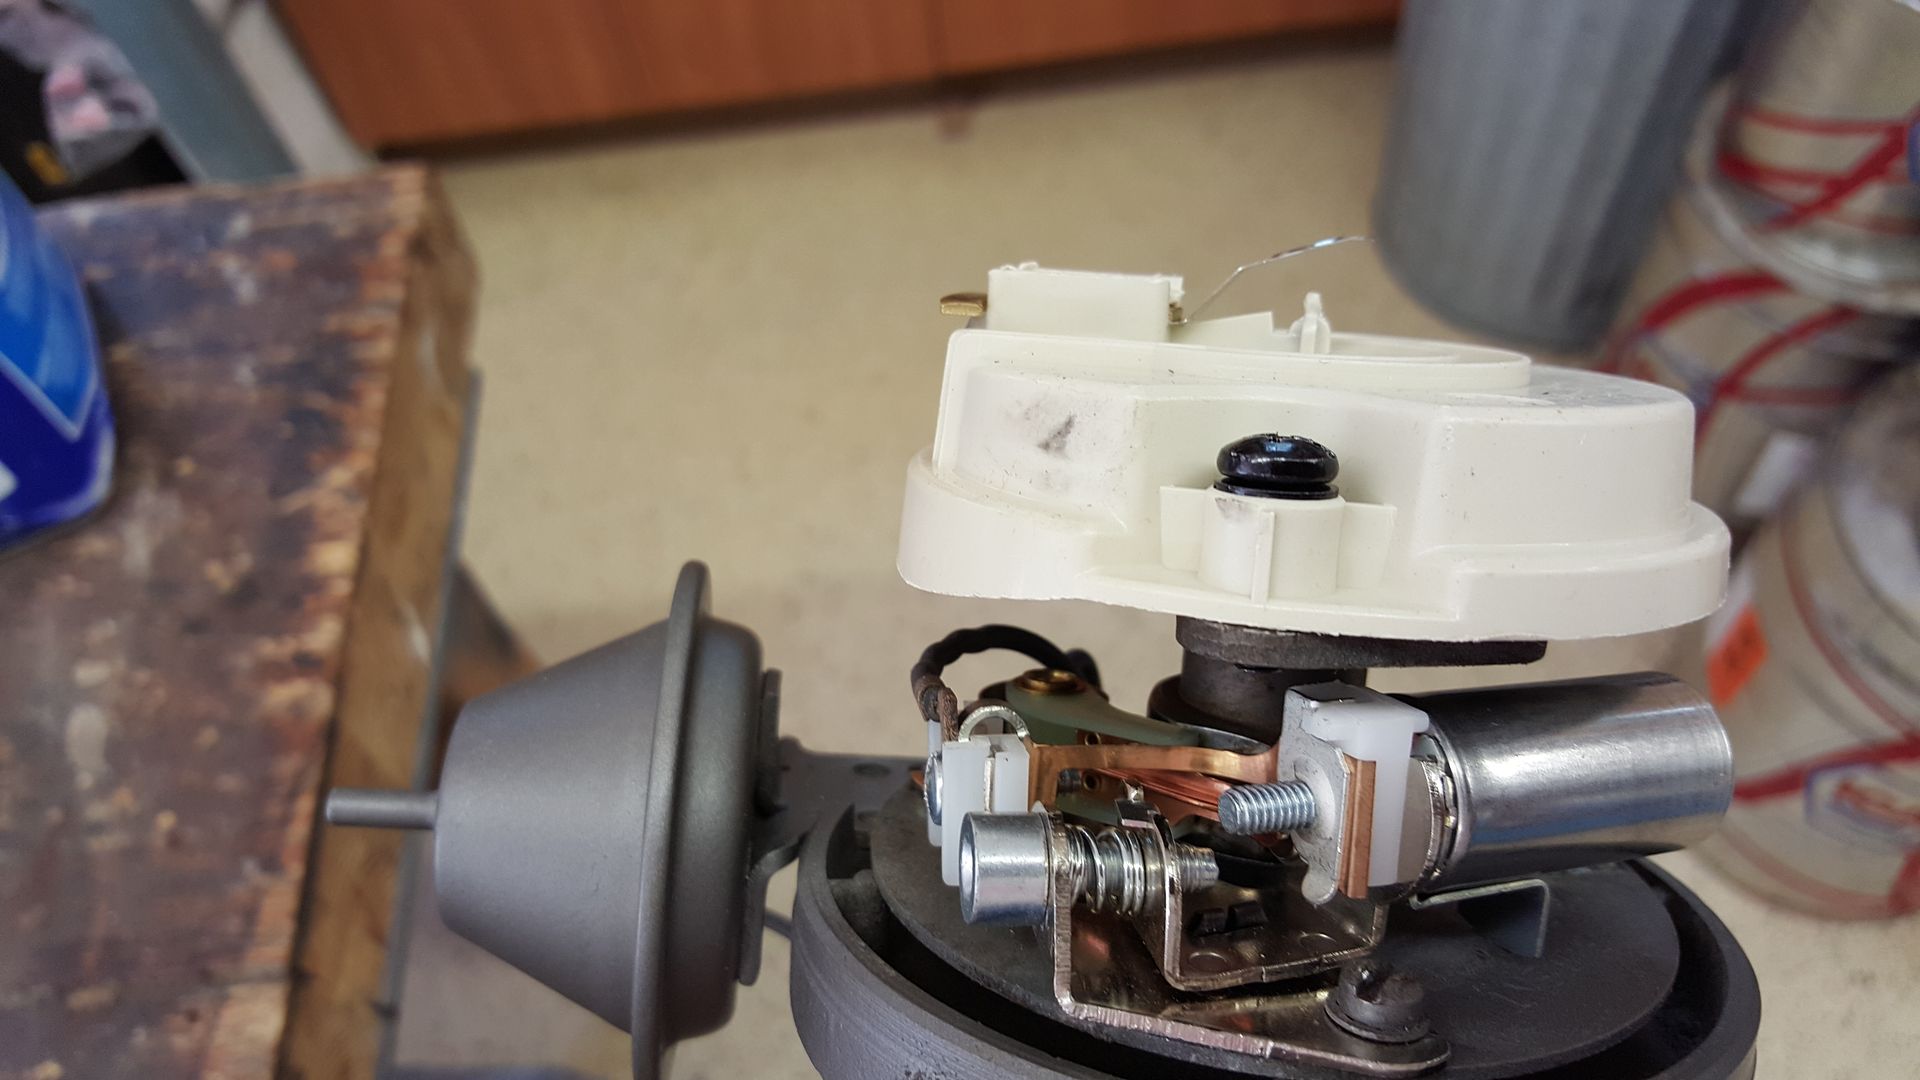
Distributor cleaned up and painted
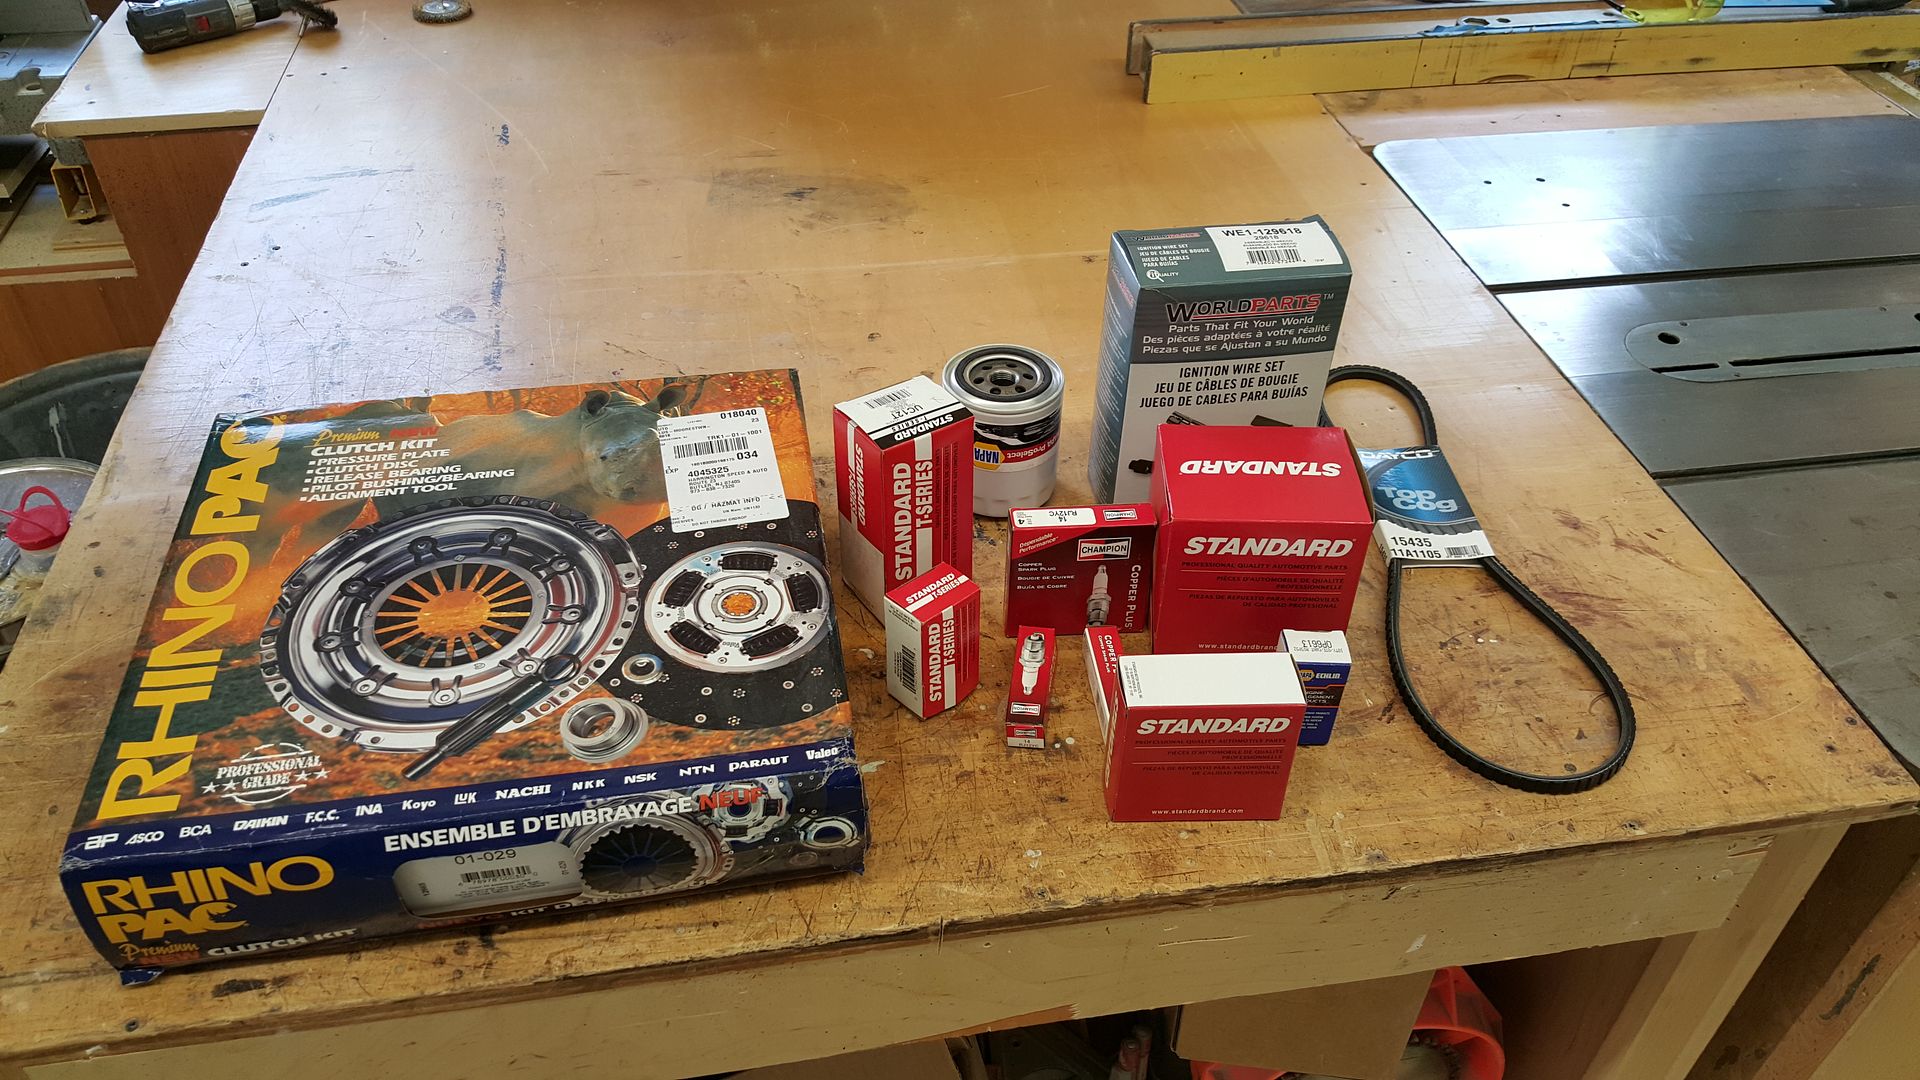
Tune up kit and clutch
-
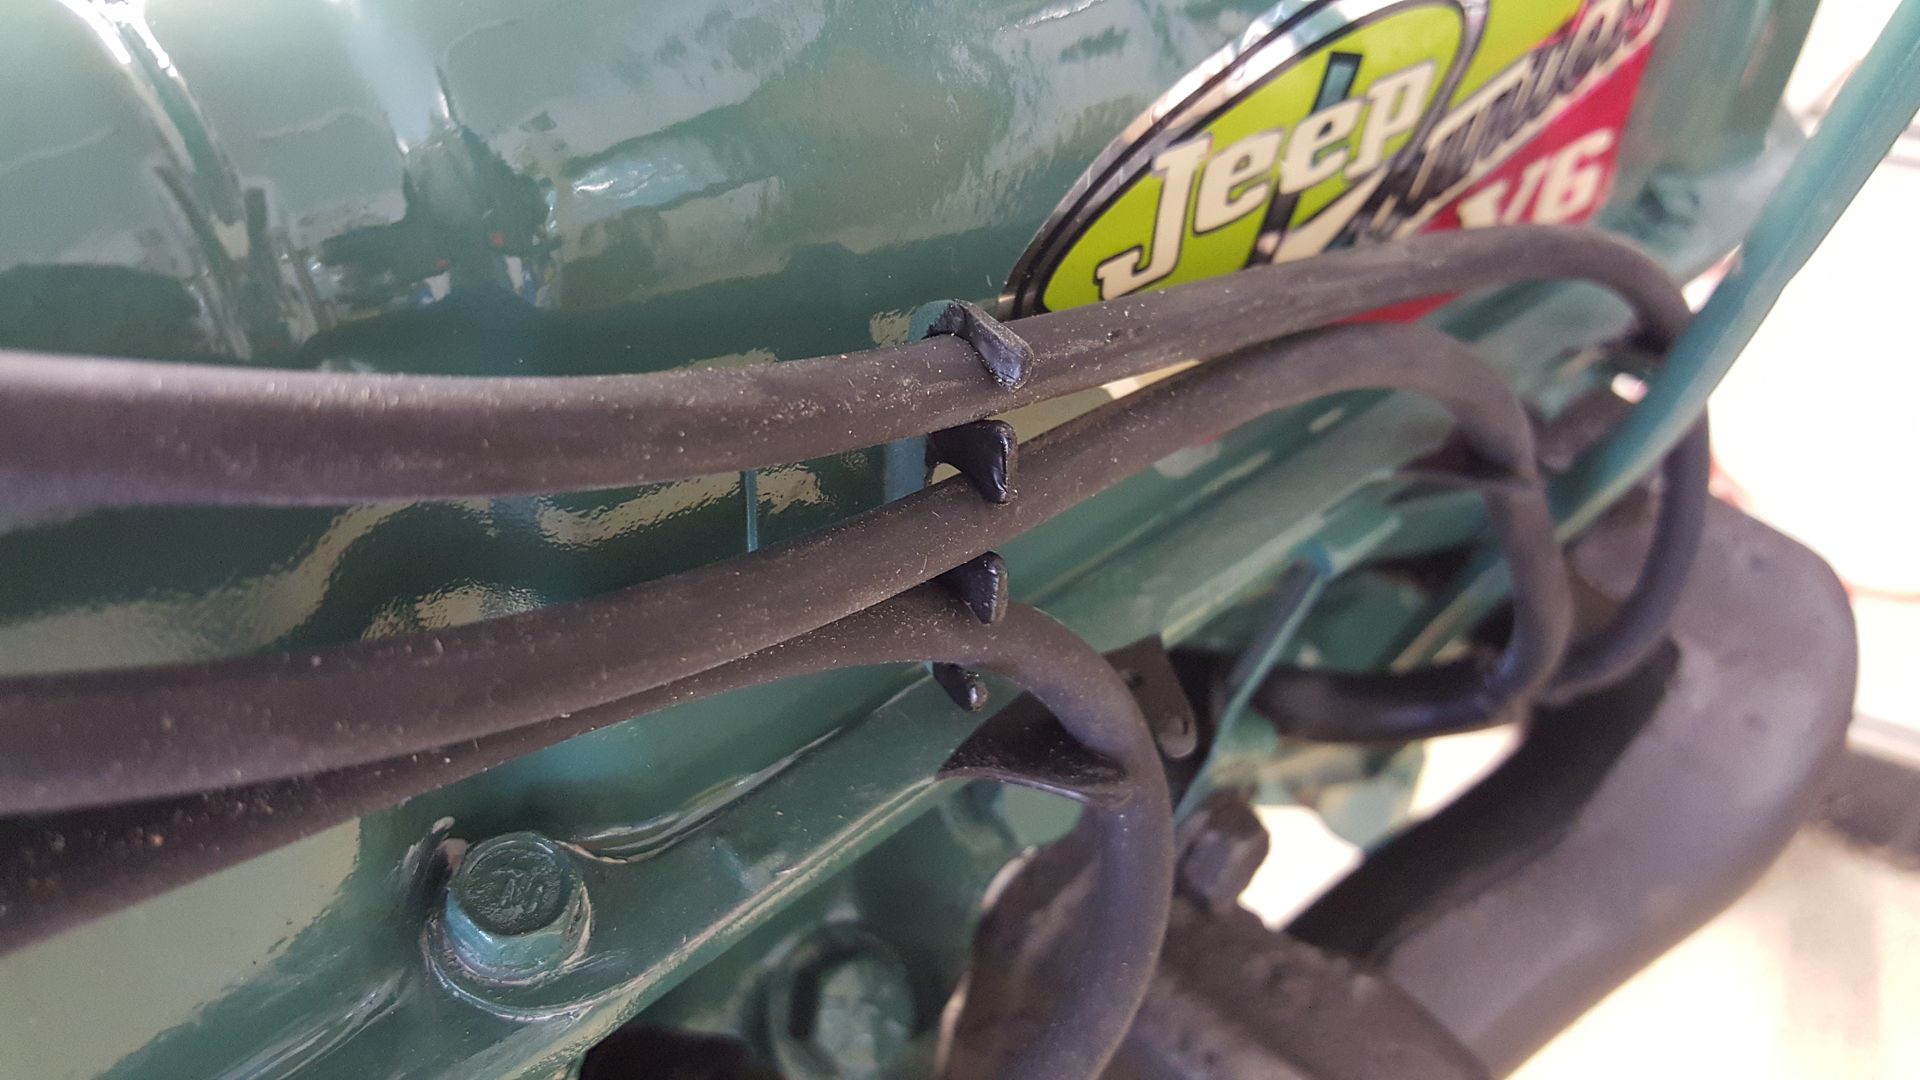
Its all about the details. My spark plug wire holder and some plastic dip
couldnt find the oil bath decal repro anywhere so I went on a bumper sticker site and had a bunch made. Selling them on ebay
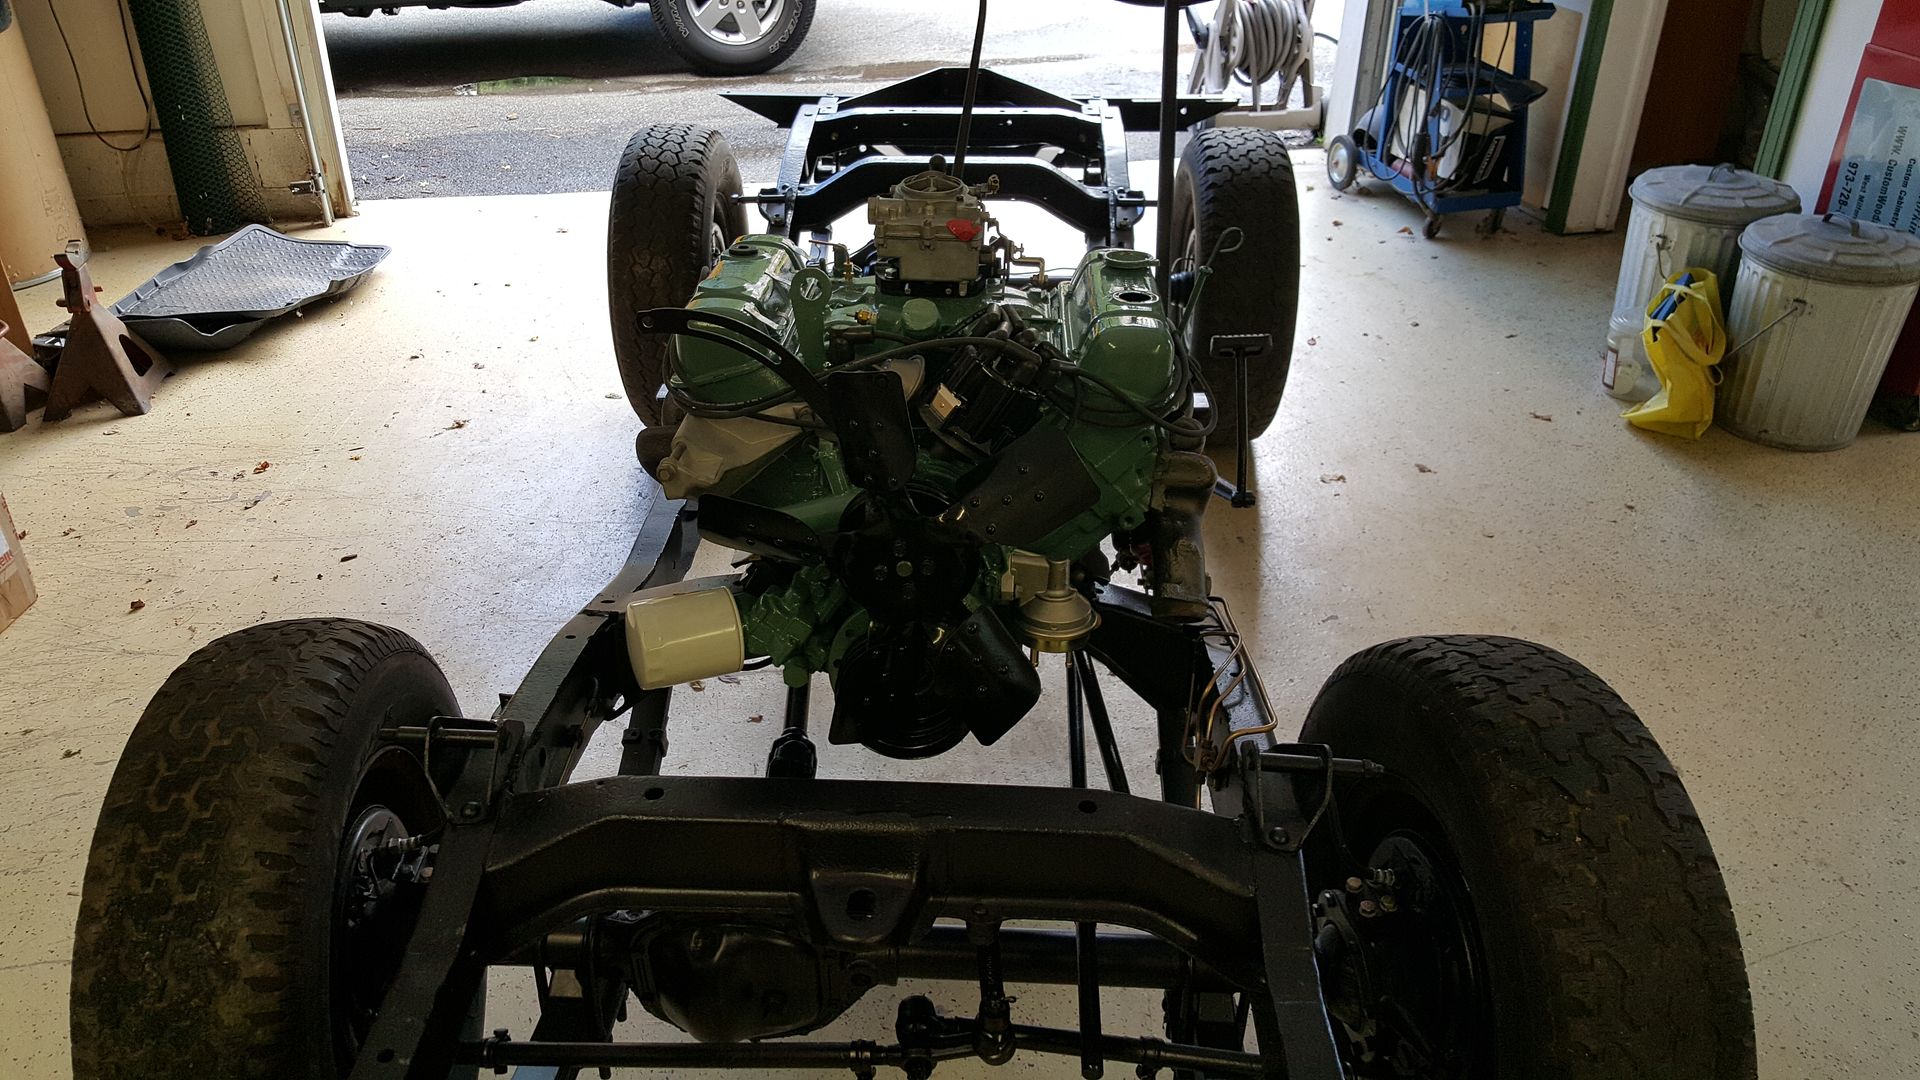
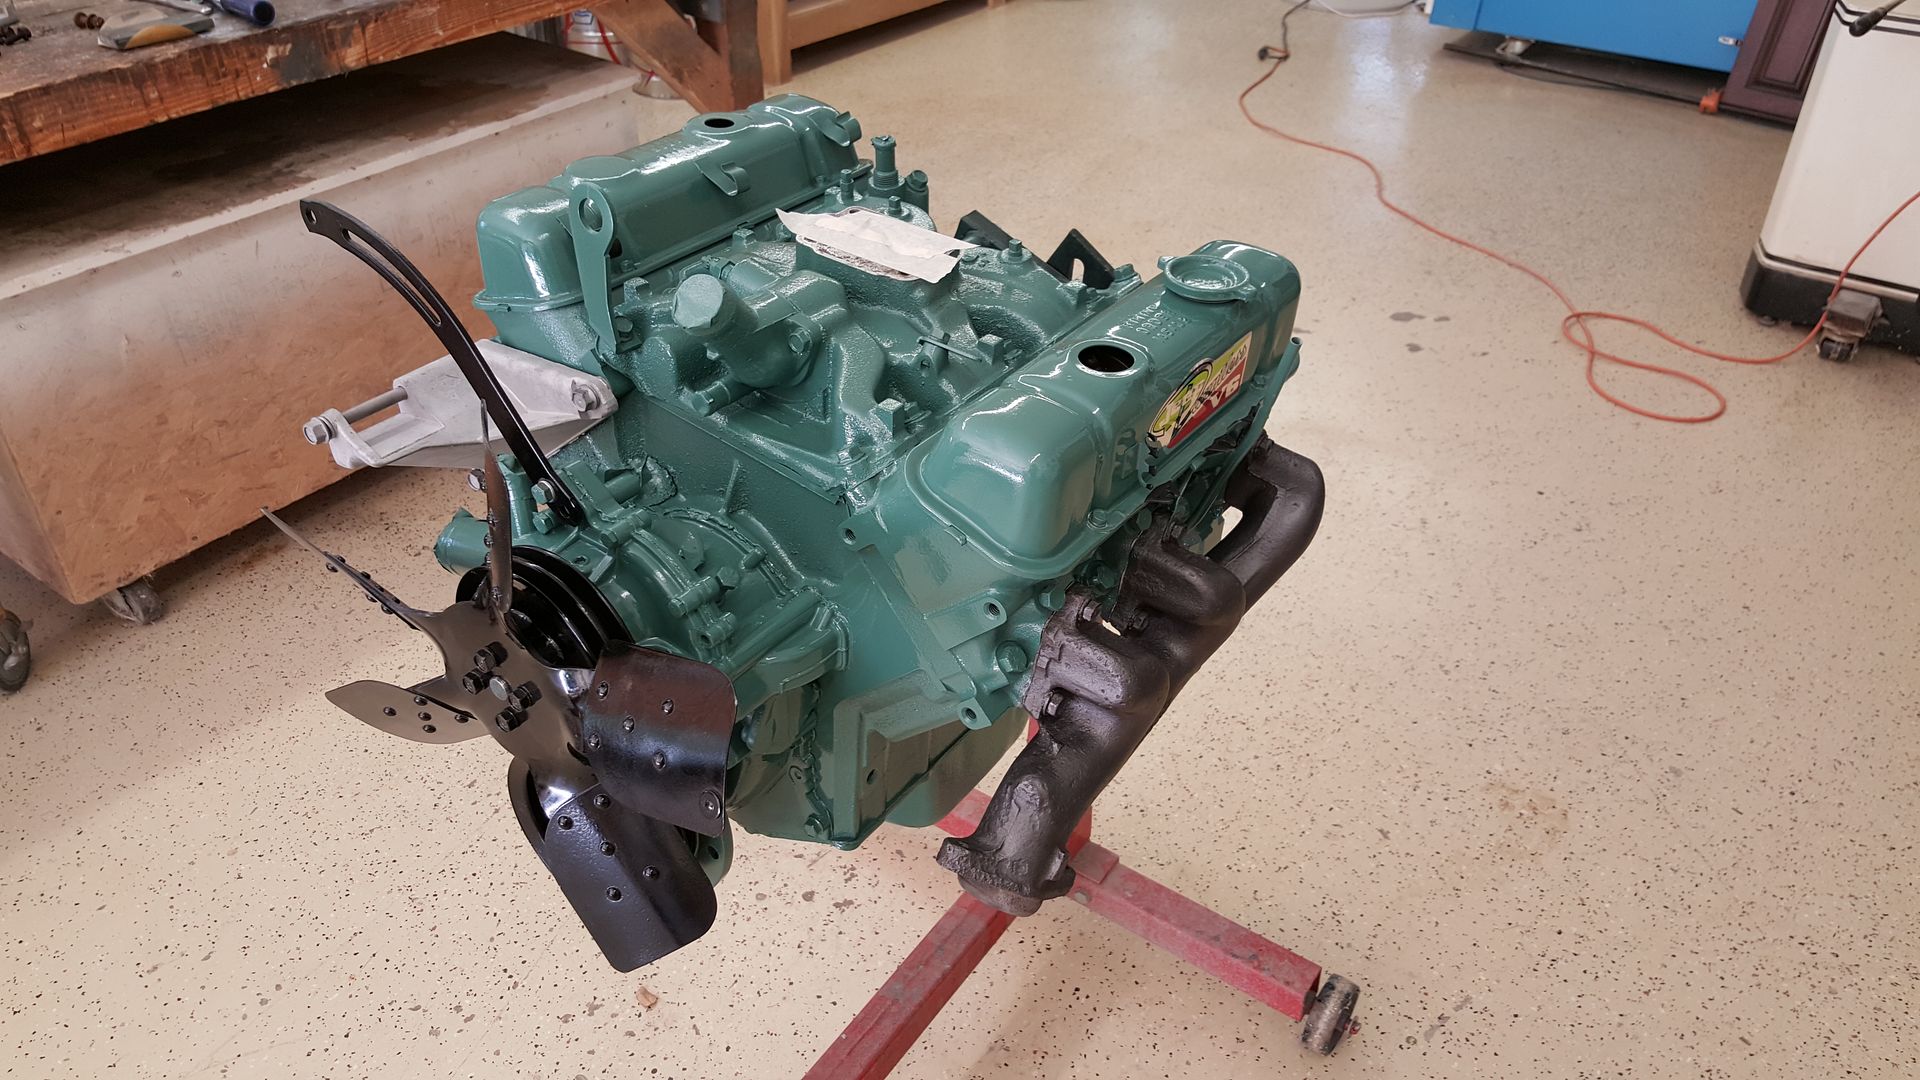
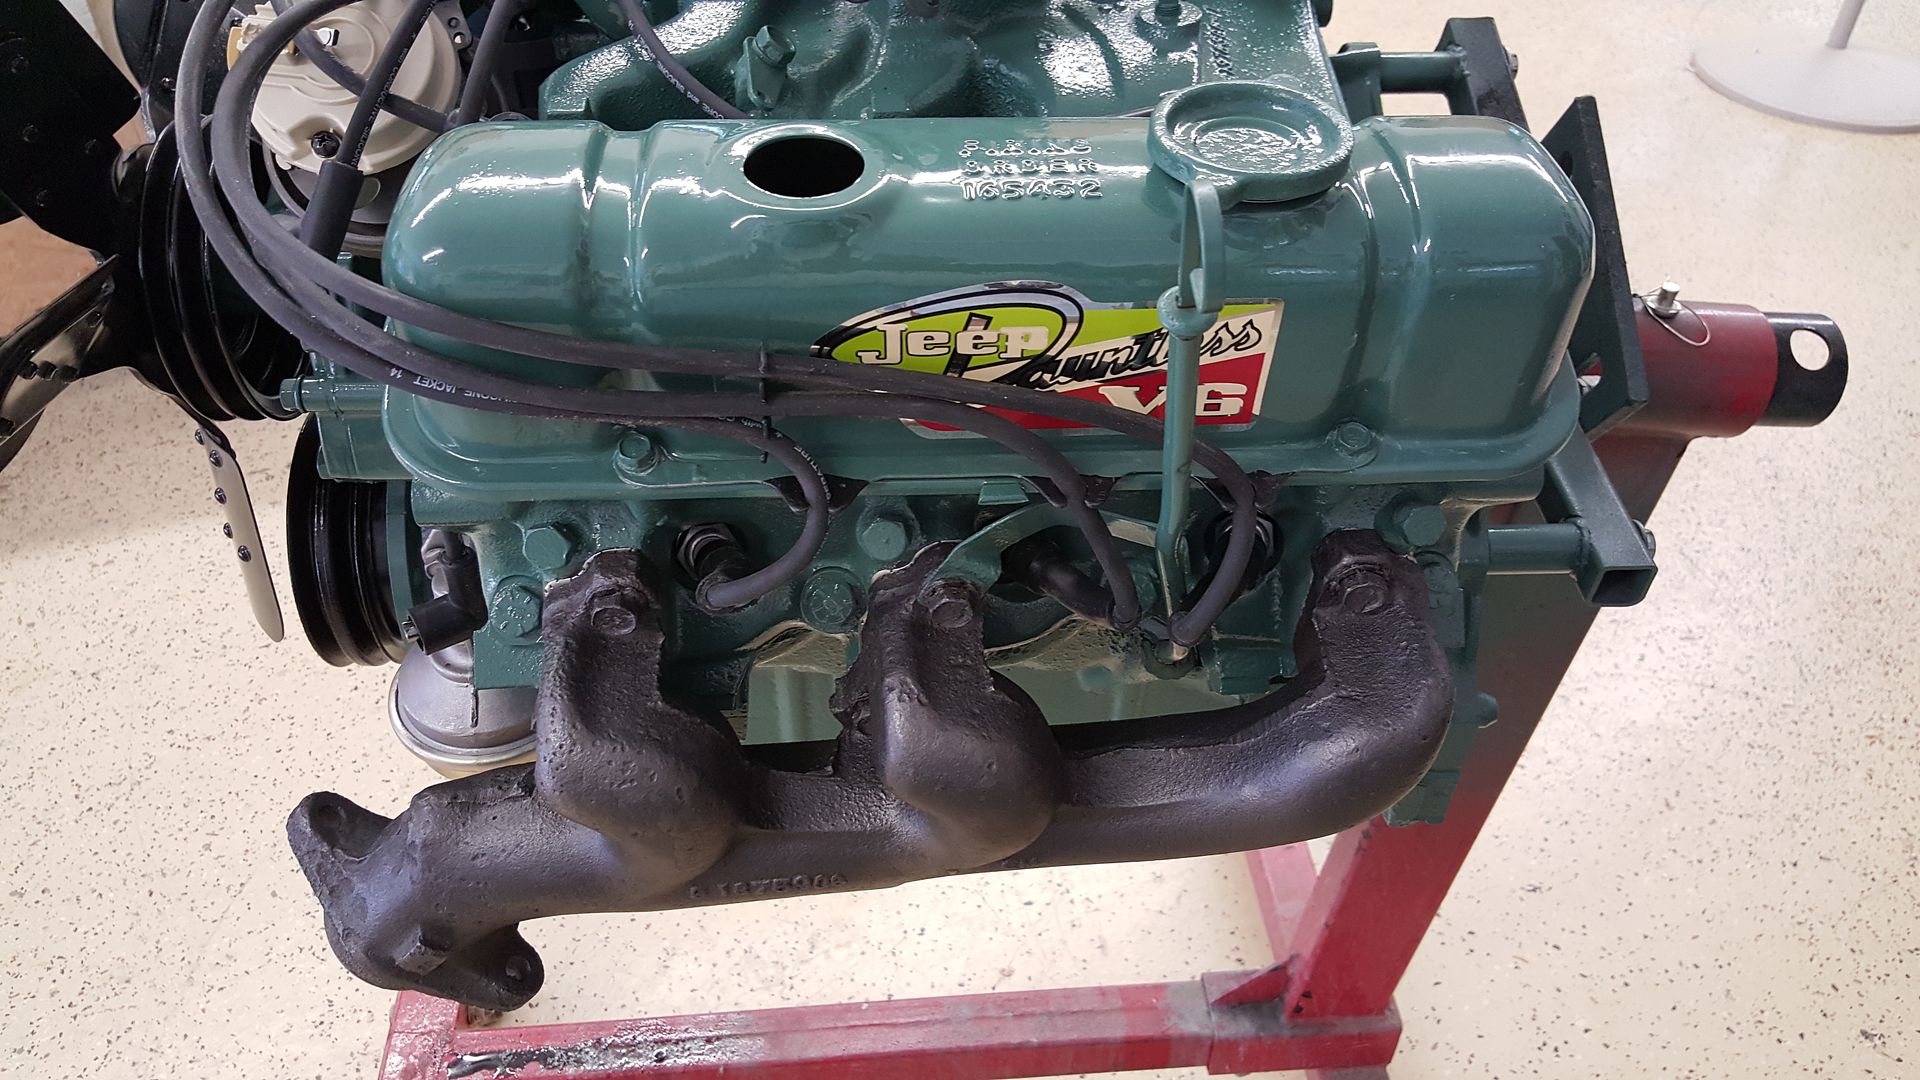
starting to look good
starting to put stuff together
-
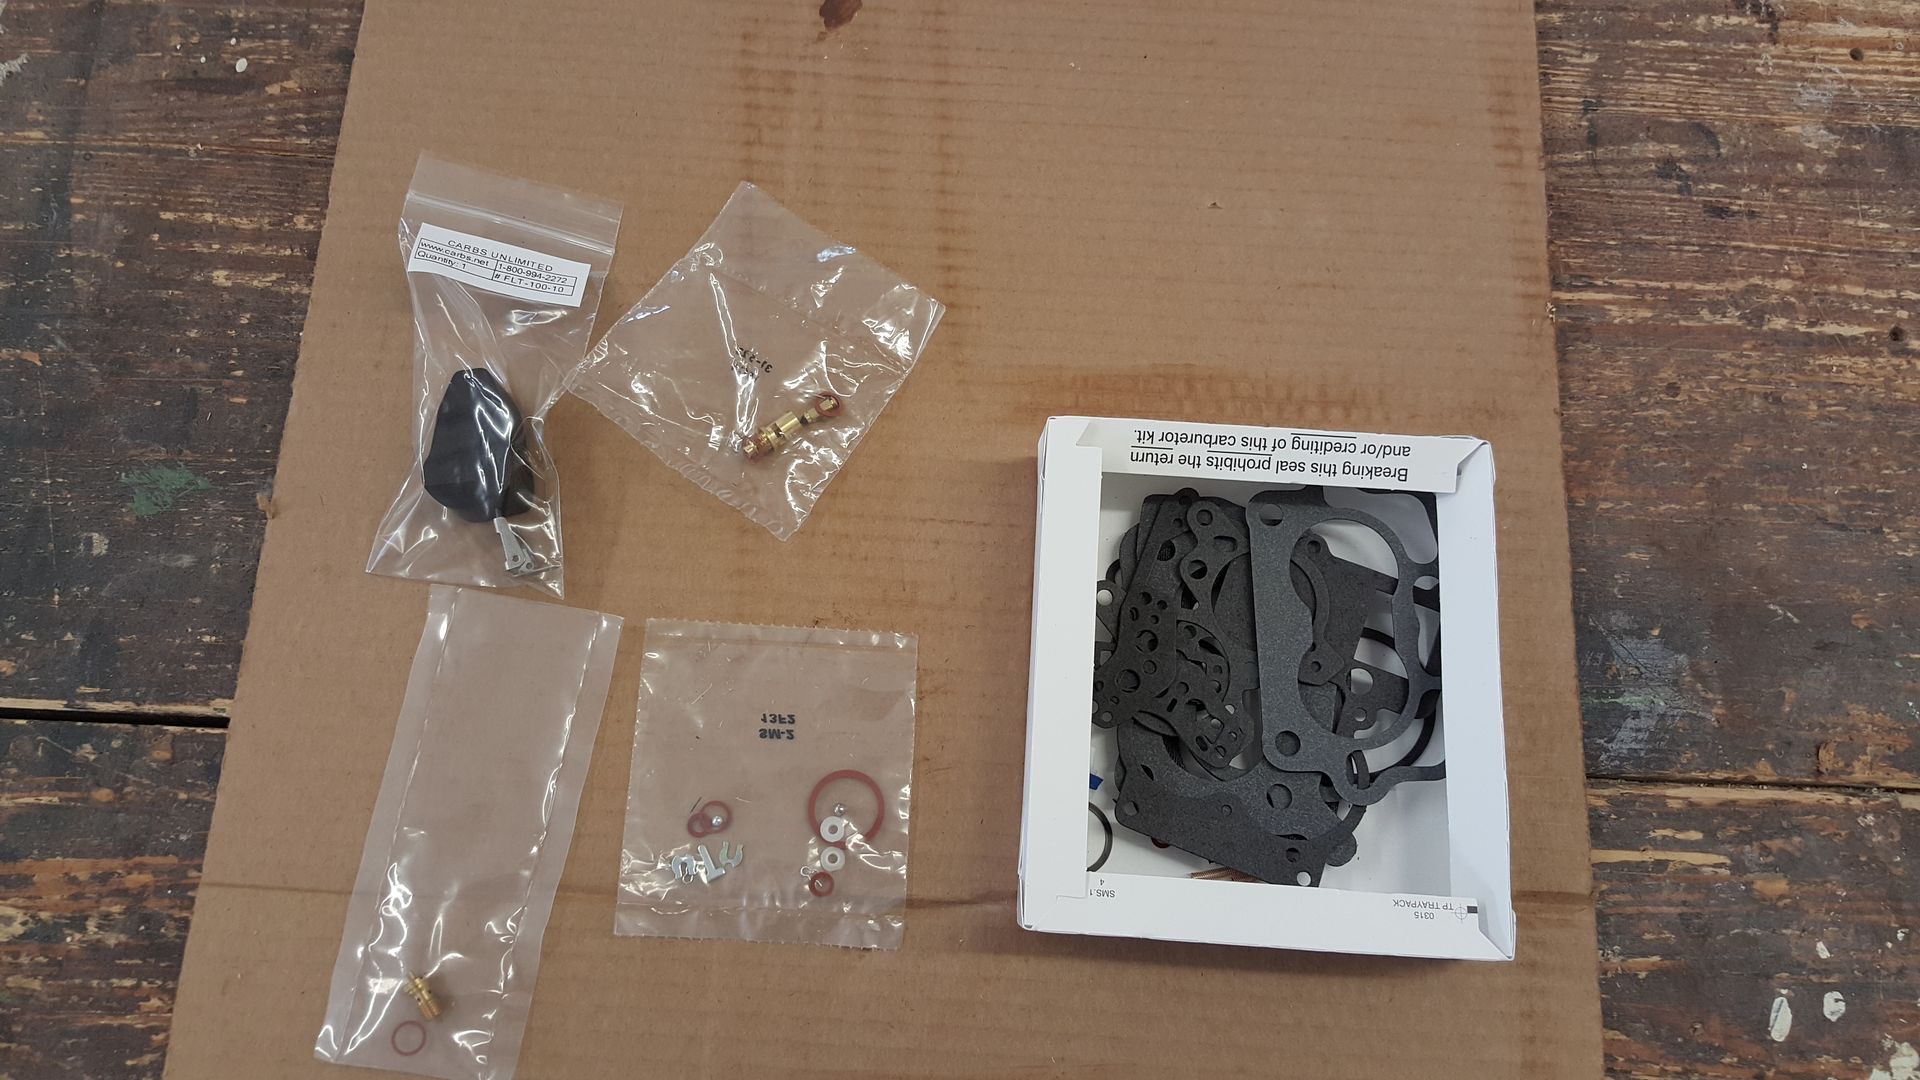
I took the carb apart and glass beaded it then got a rebuild kit and rebuilt it
-
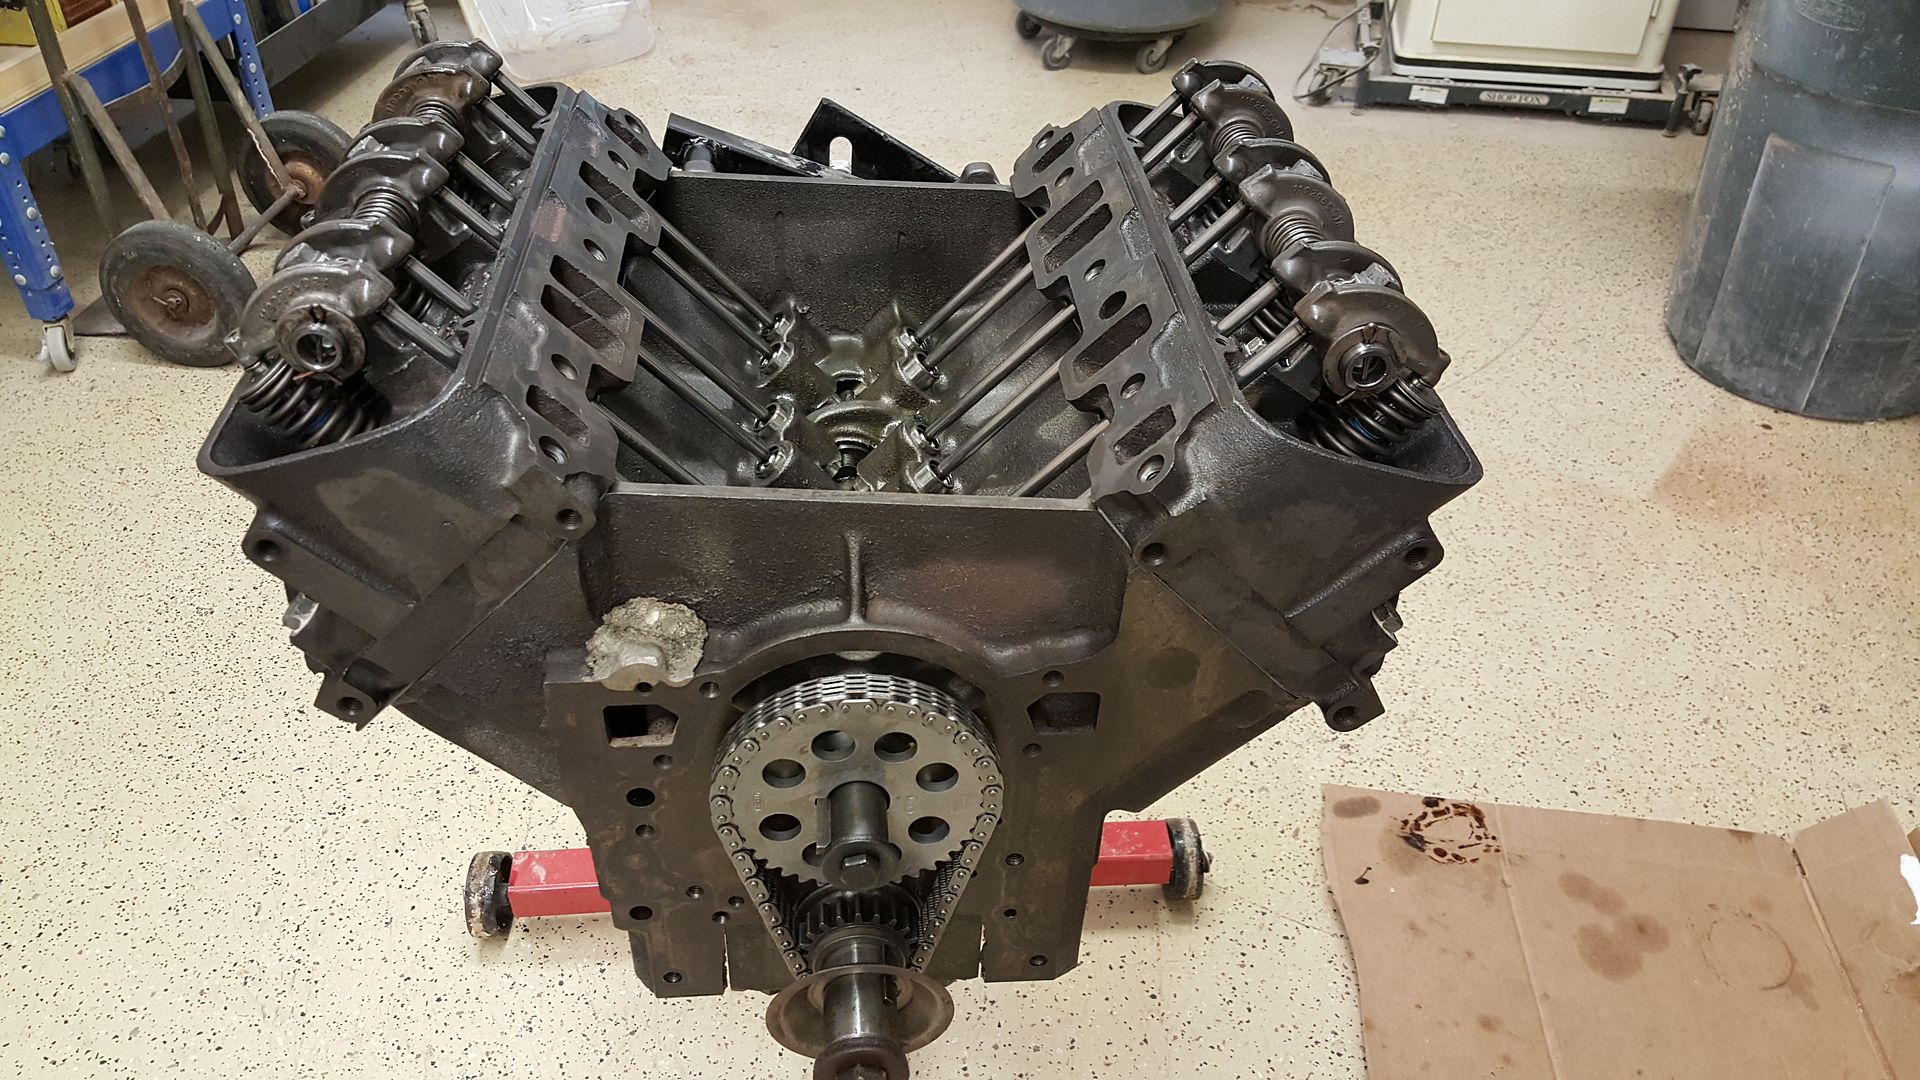
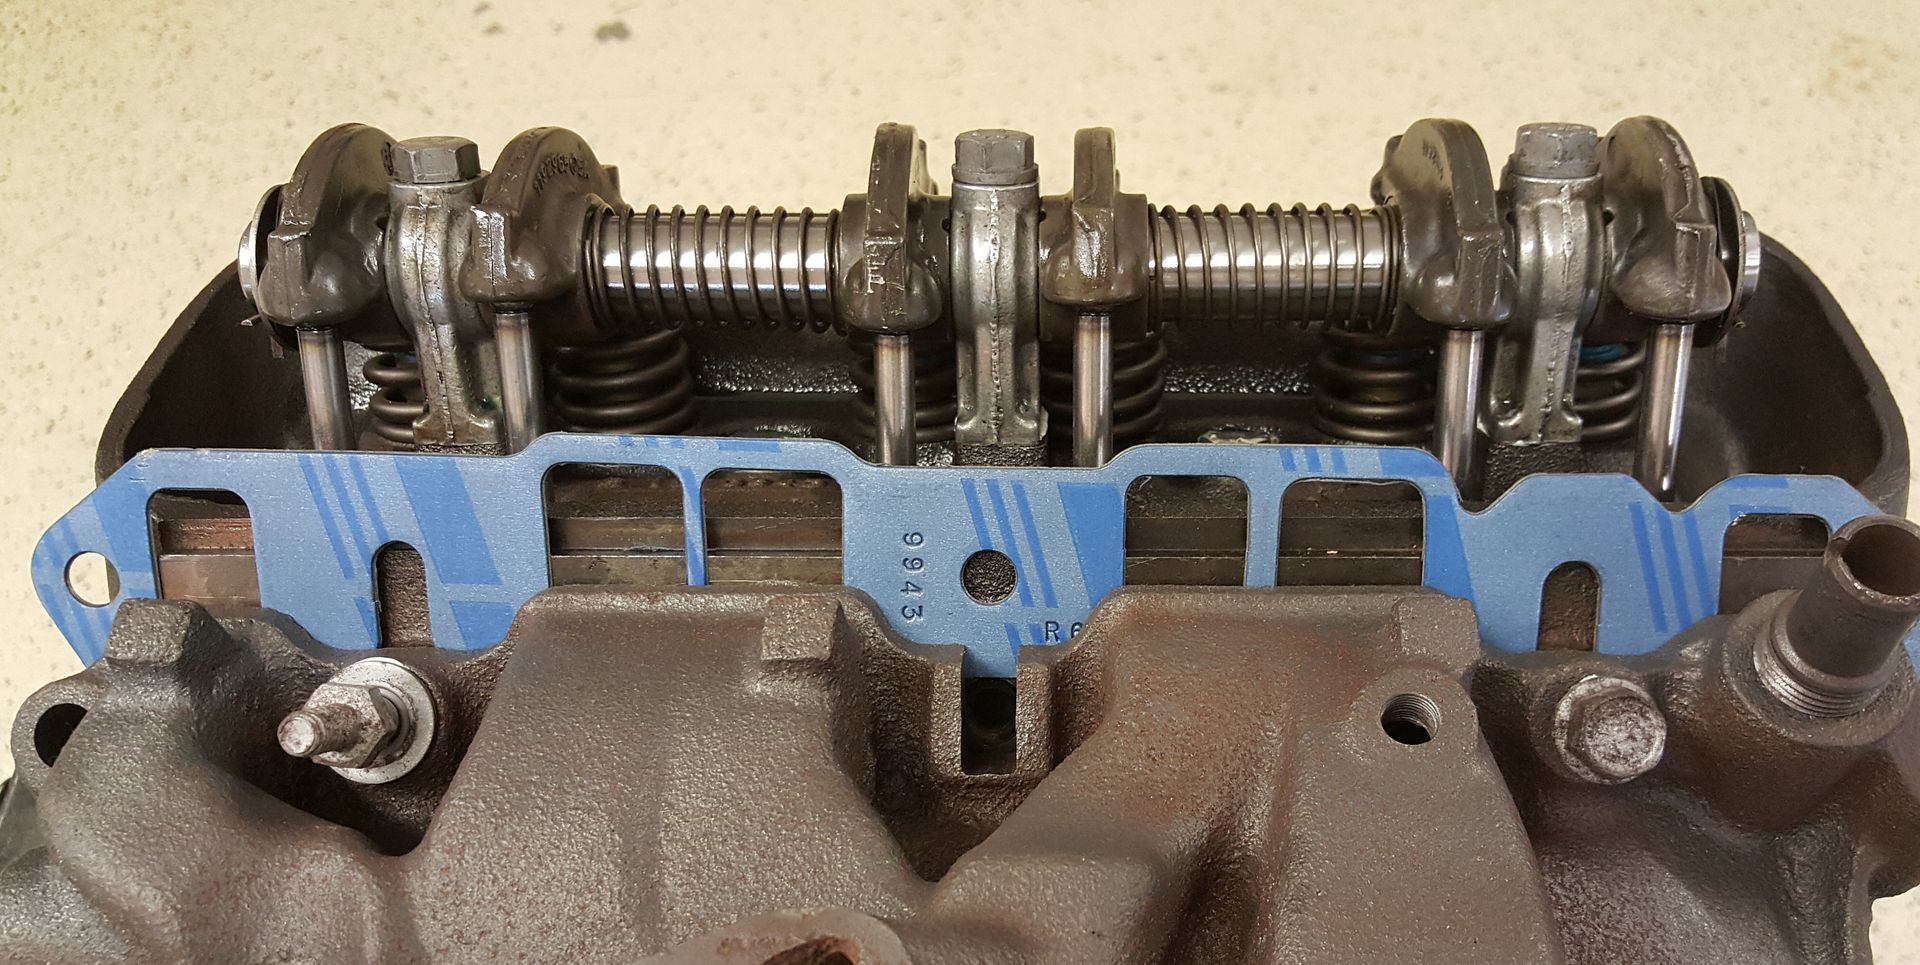
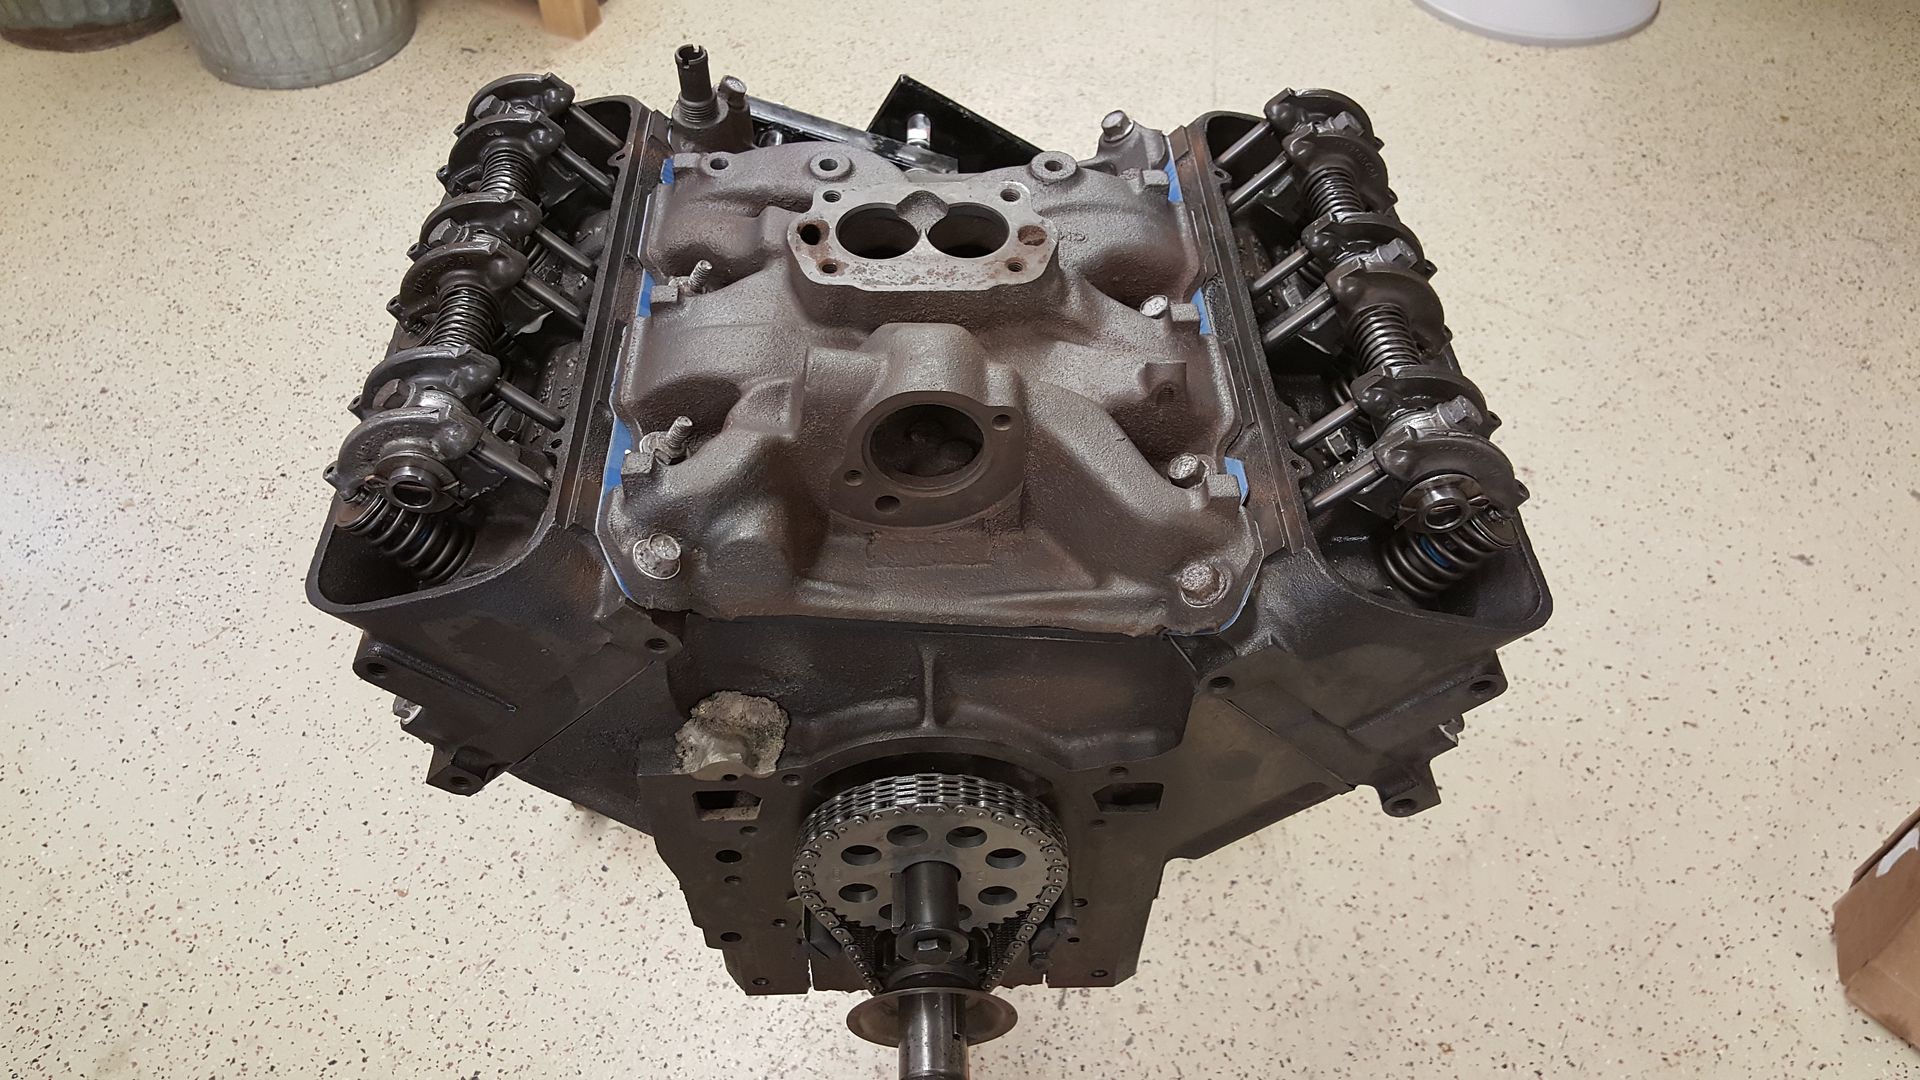
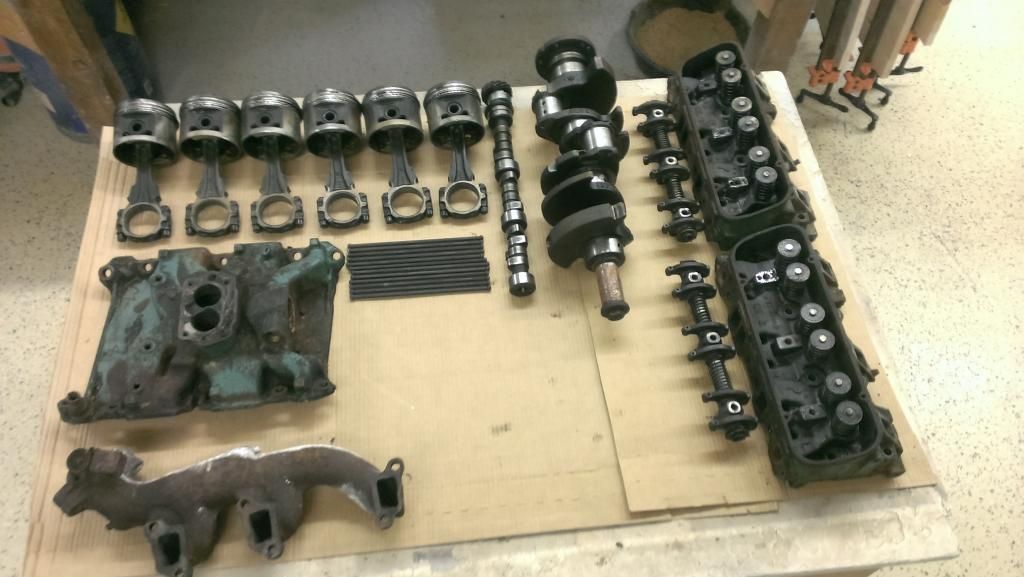
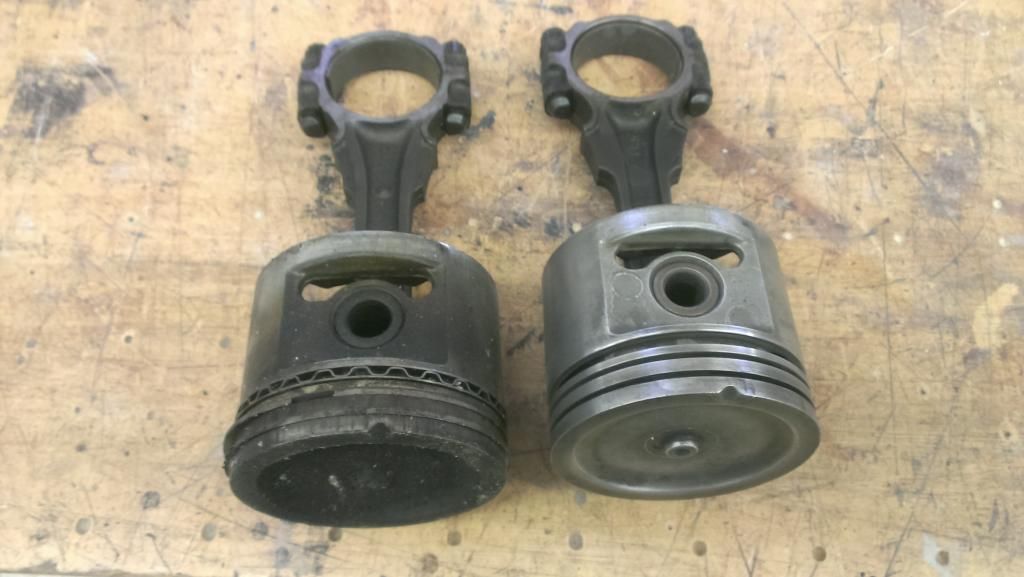
Sorry or the lack of updates, I'll try to get updated here. The block was just honed not bored and this was a low mile engine so I had the machine shop check the pistons and connecting rods and I reused them. I got a re ring kit, cam kit and gasket set http://www.northernautoparts.com/ProductDetail.cfm?ProductId=3021 I also had the machine shop rebuild the heads. I also got new rocker arm shafts and push rods
New intake manifold gasket
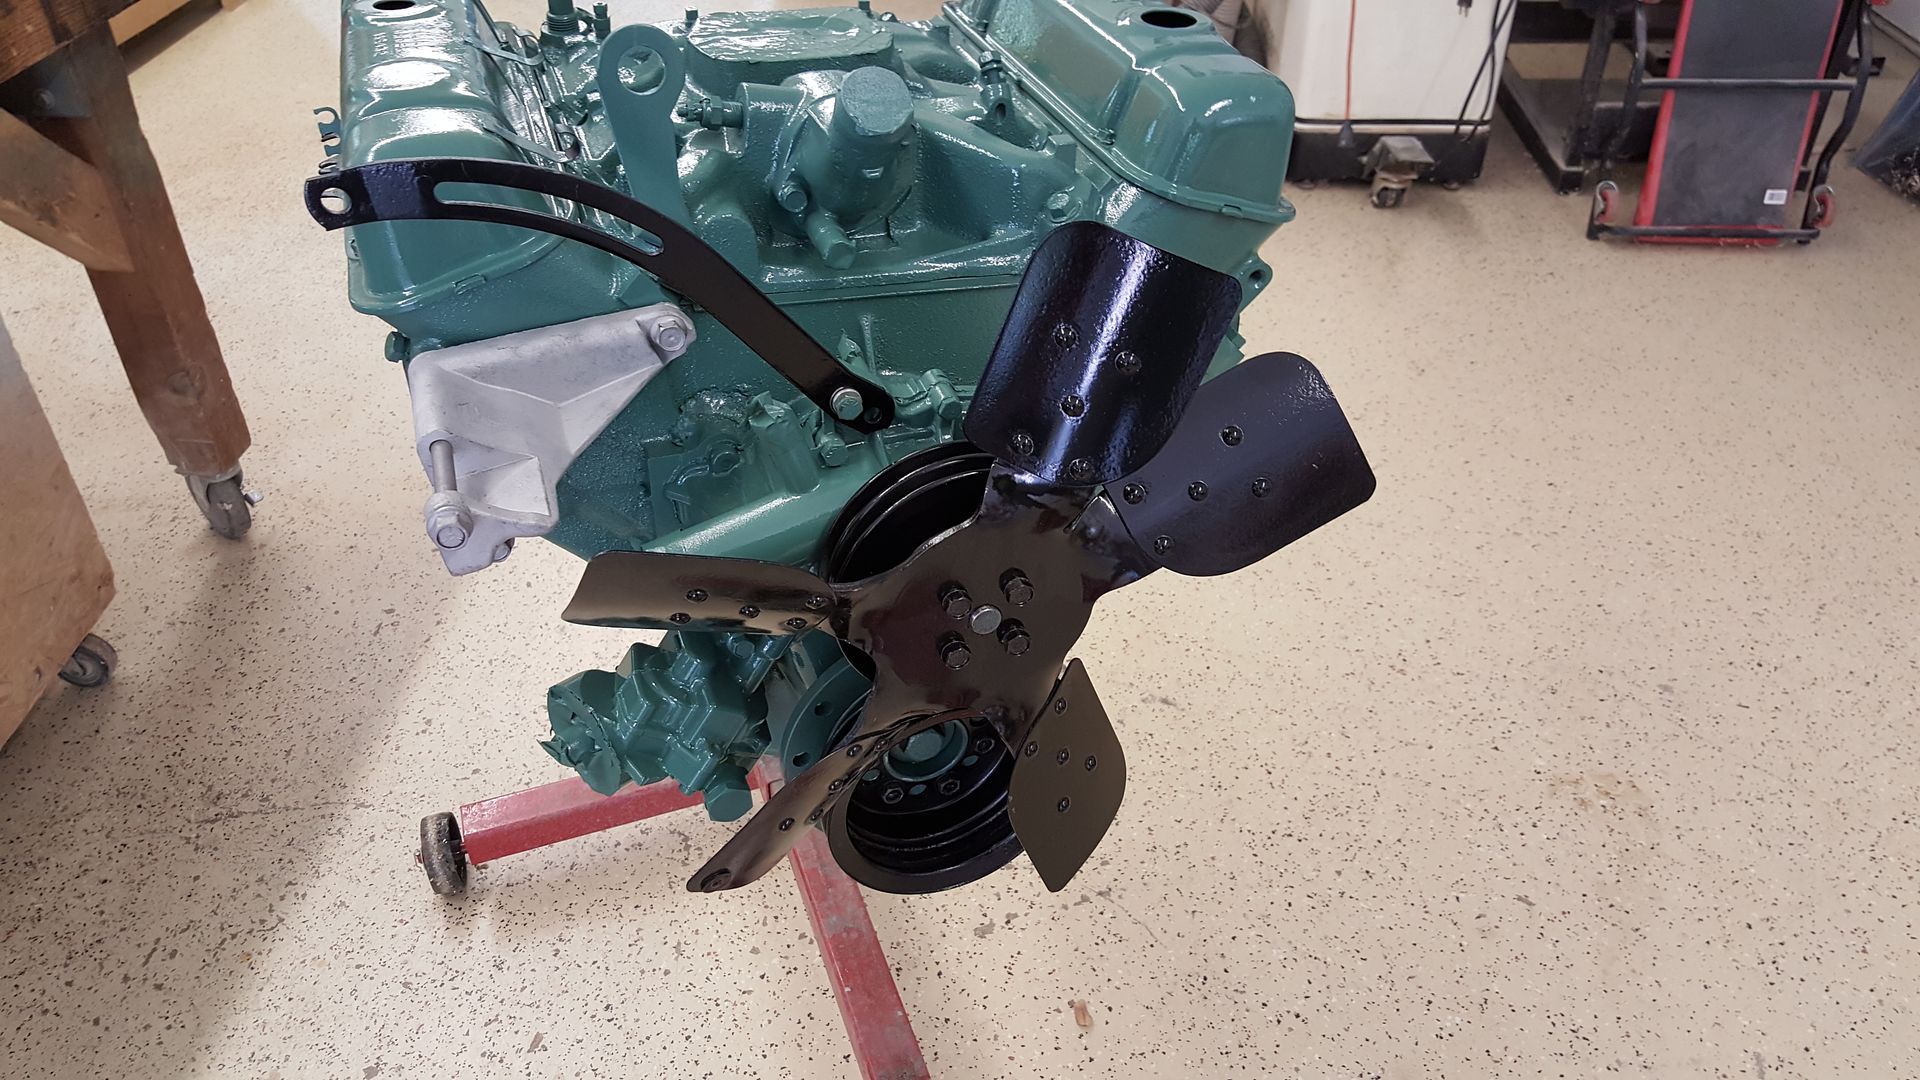
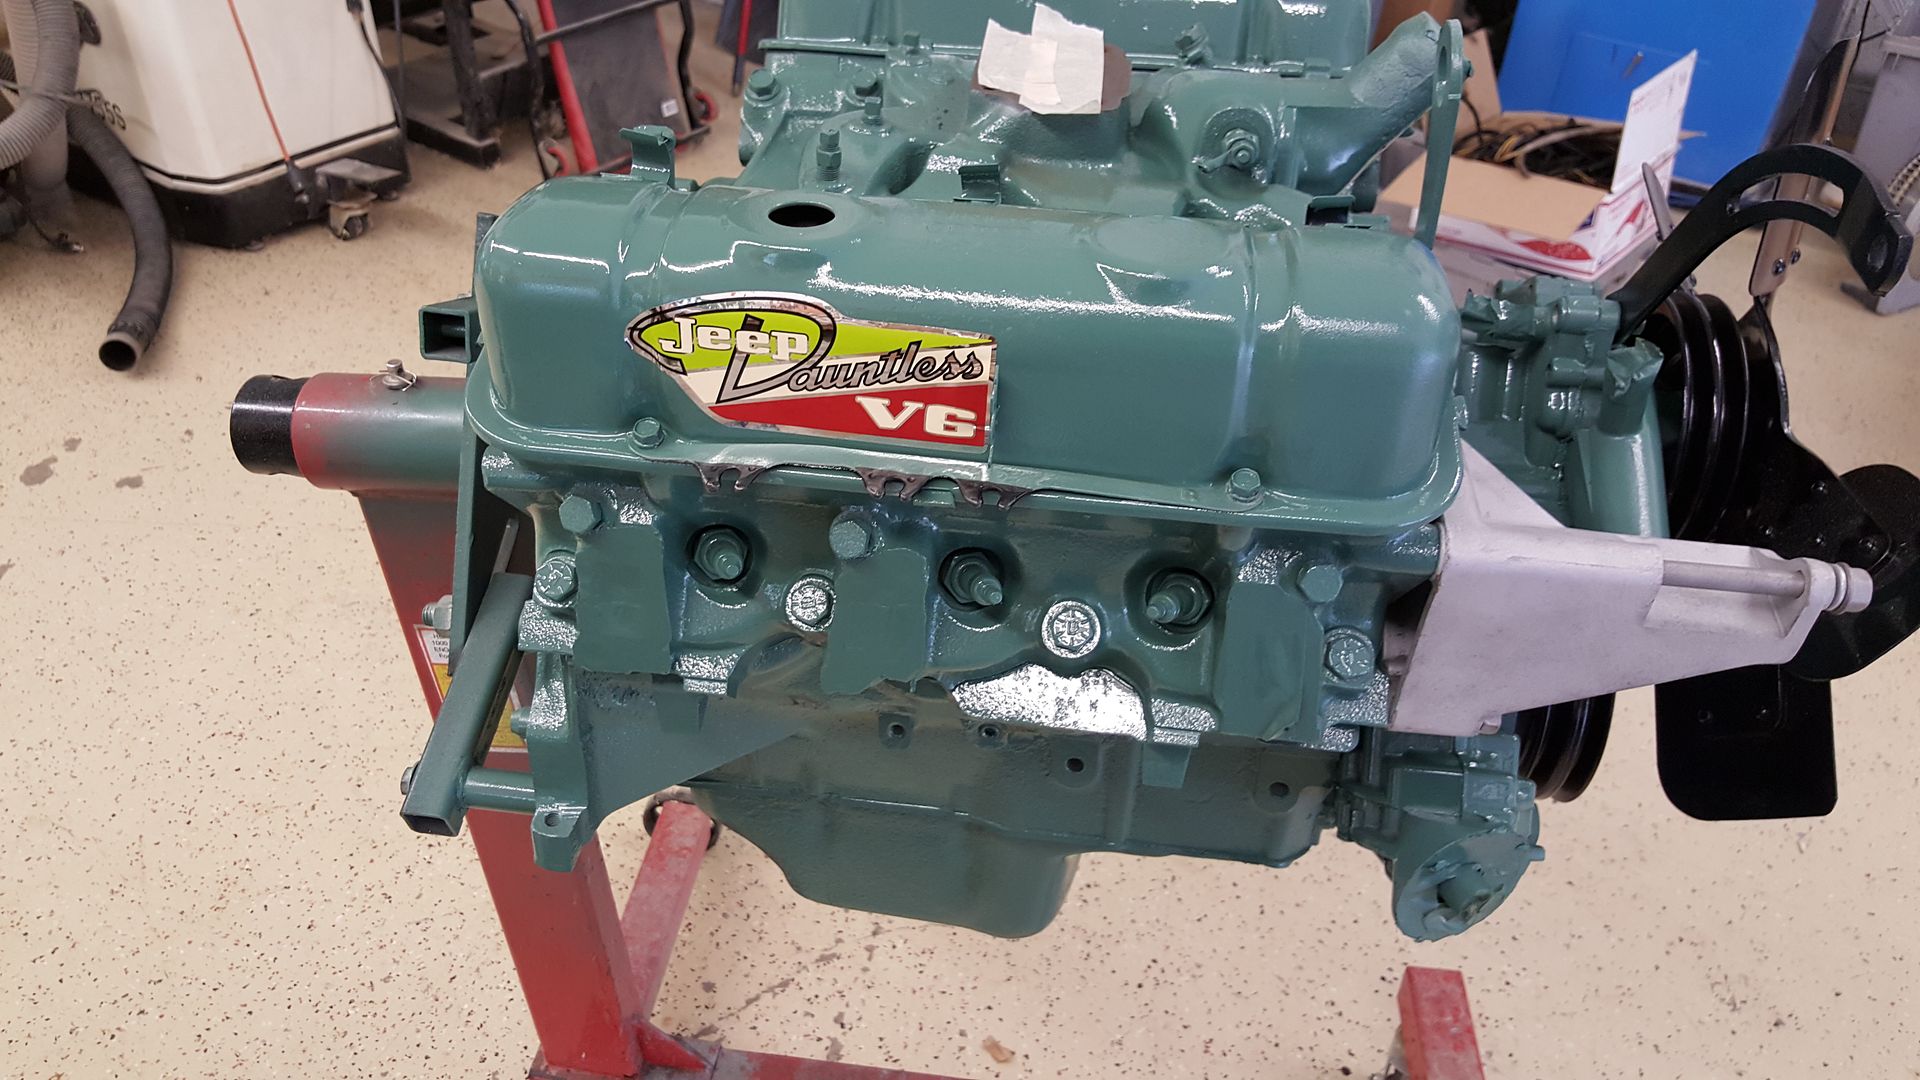
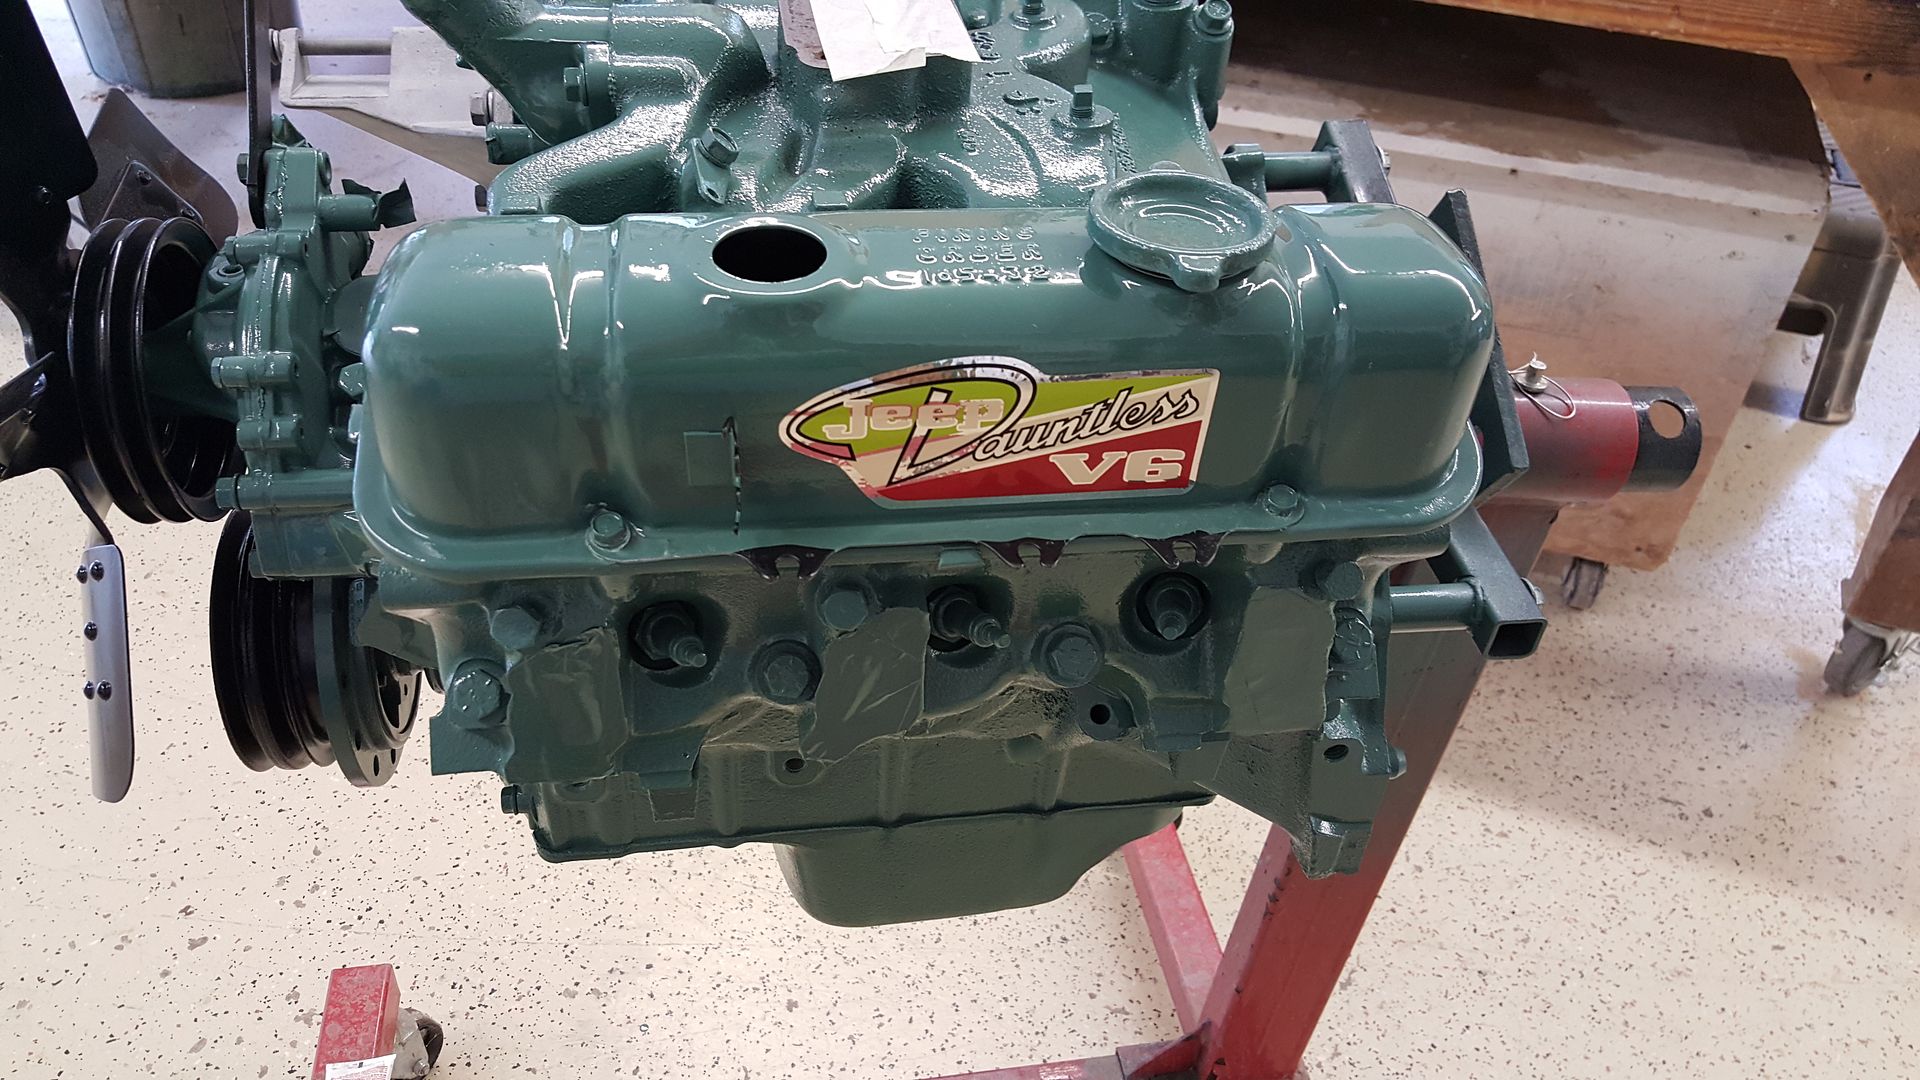
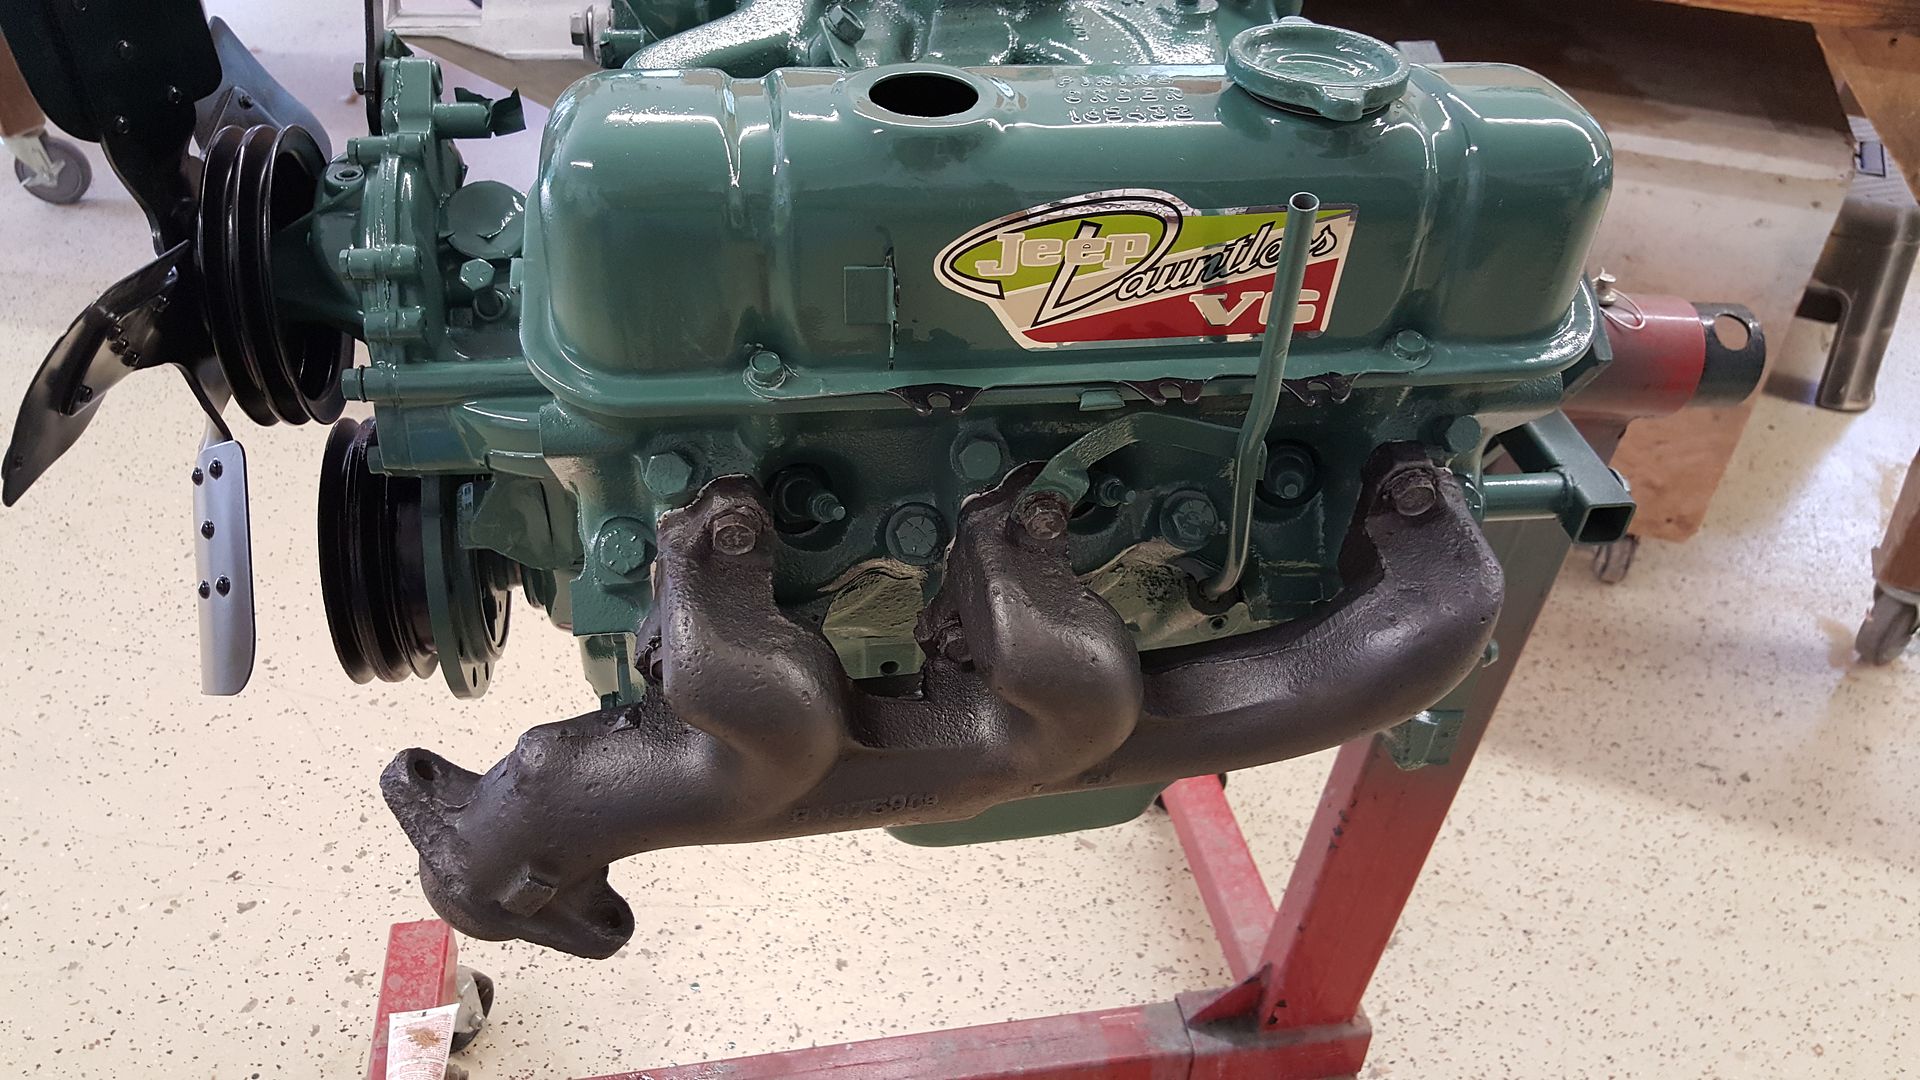
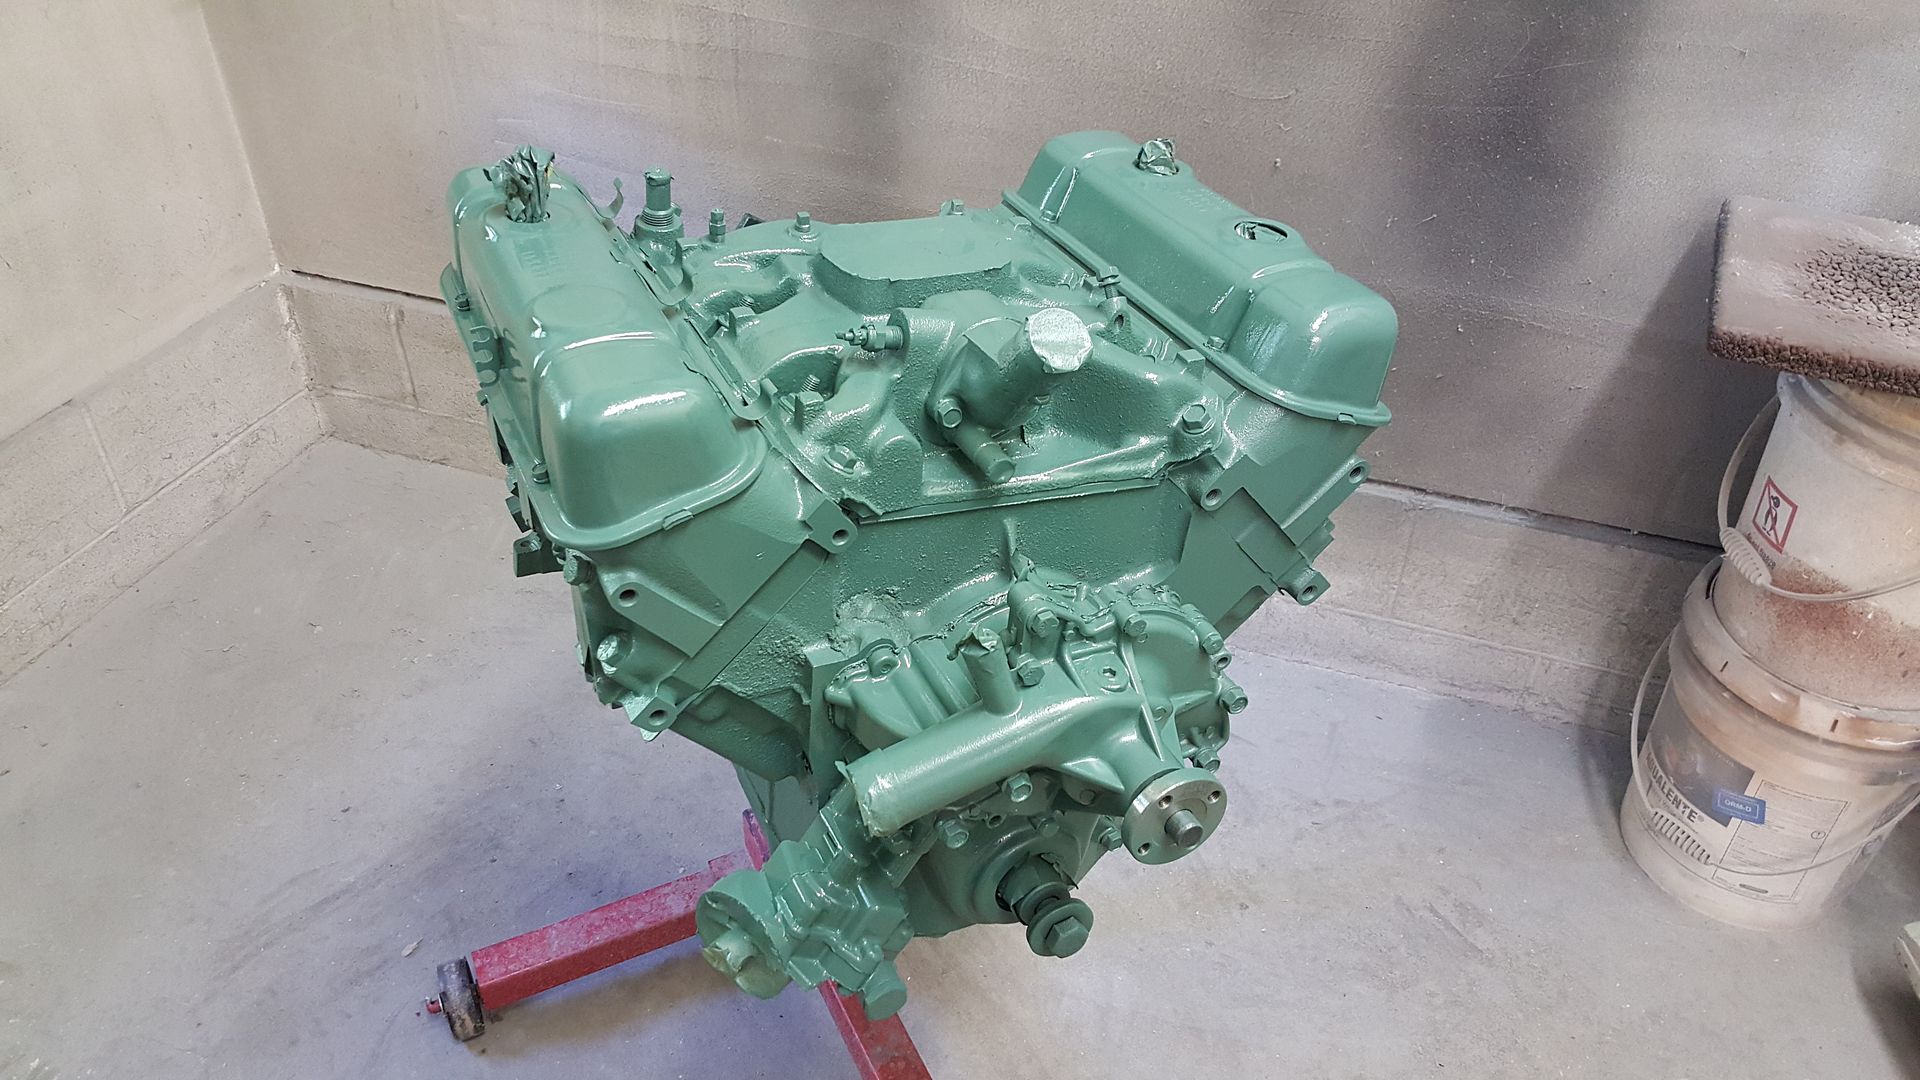
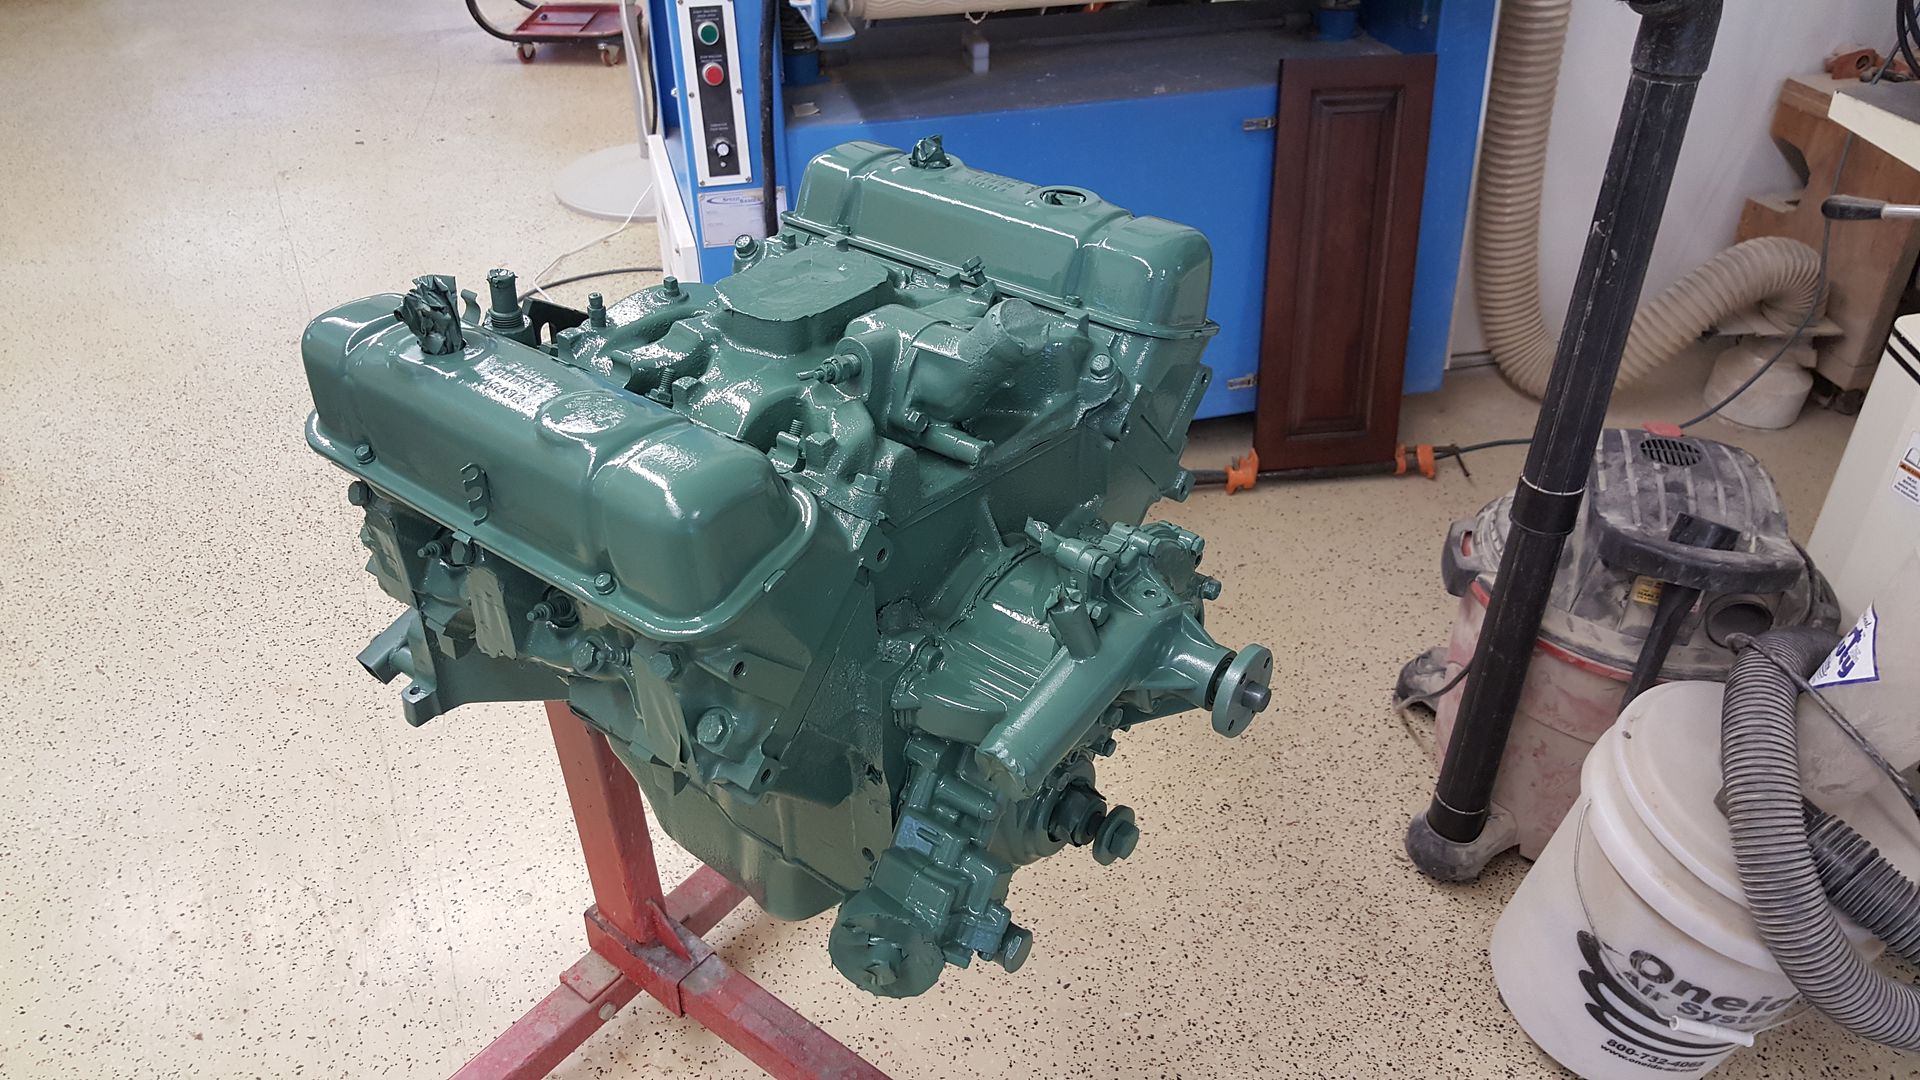
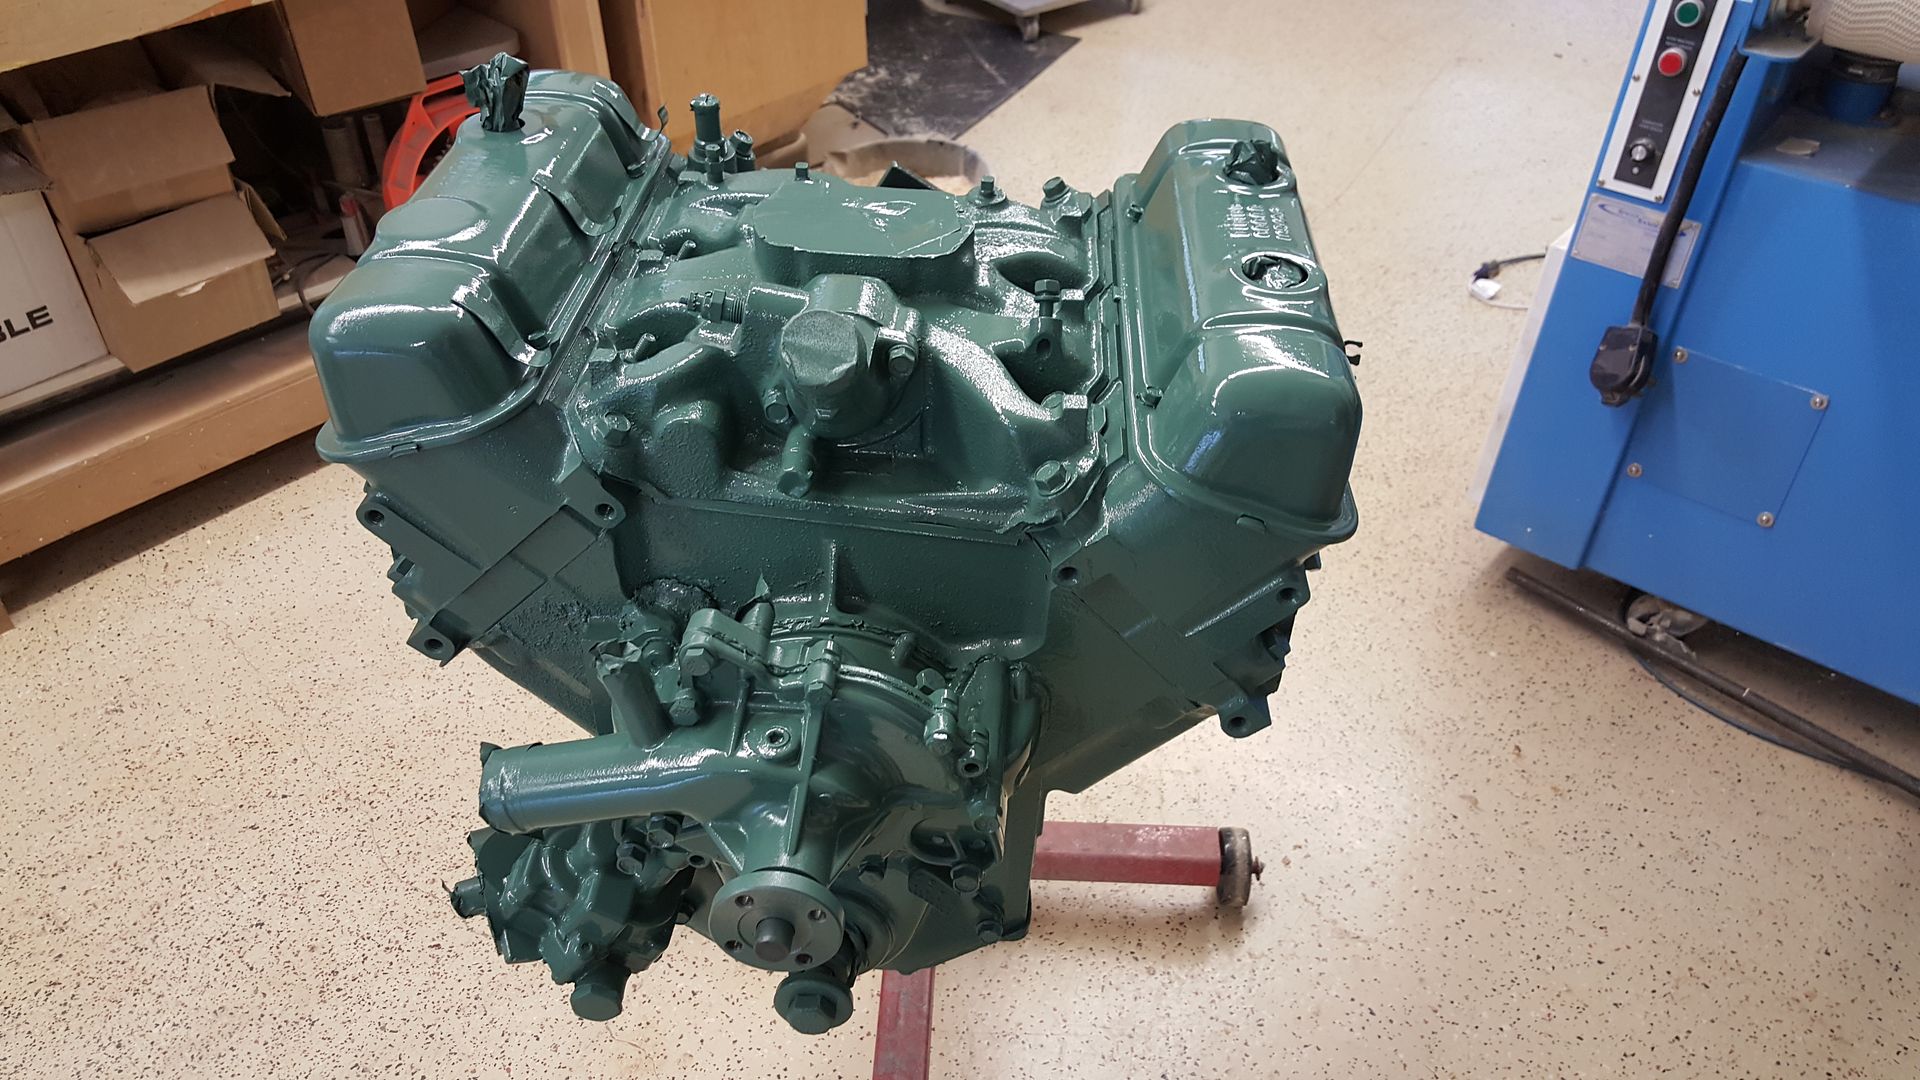
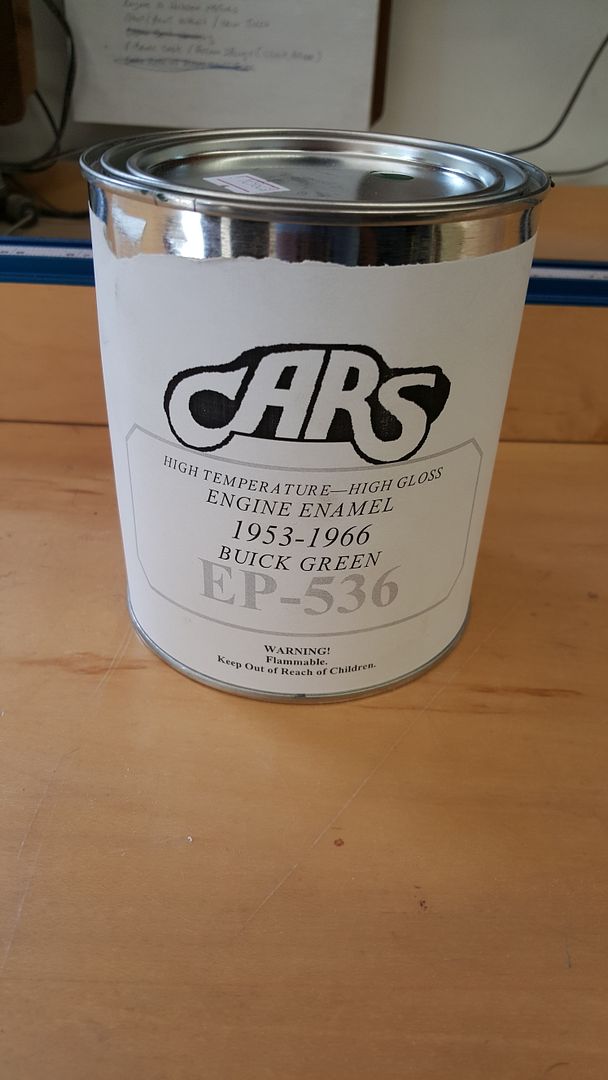
Engine paint I used
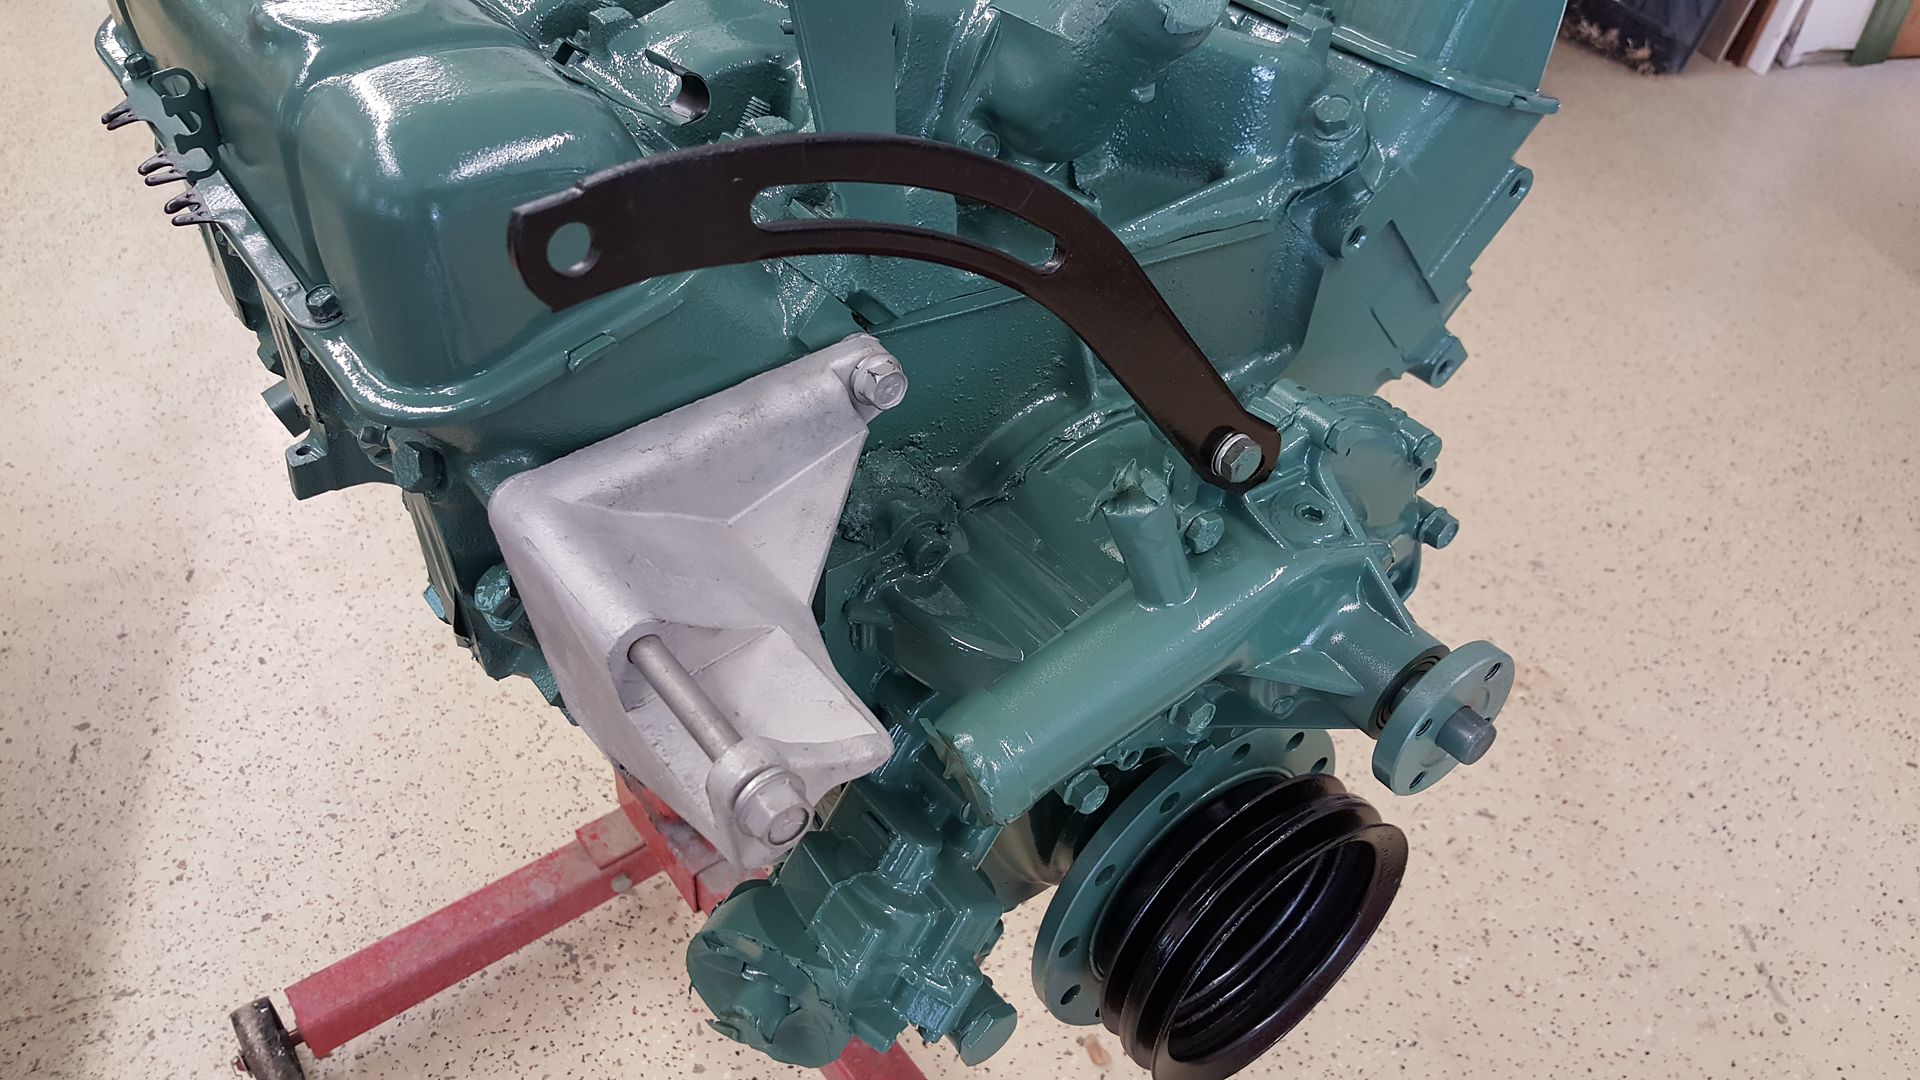
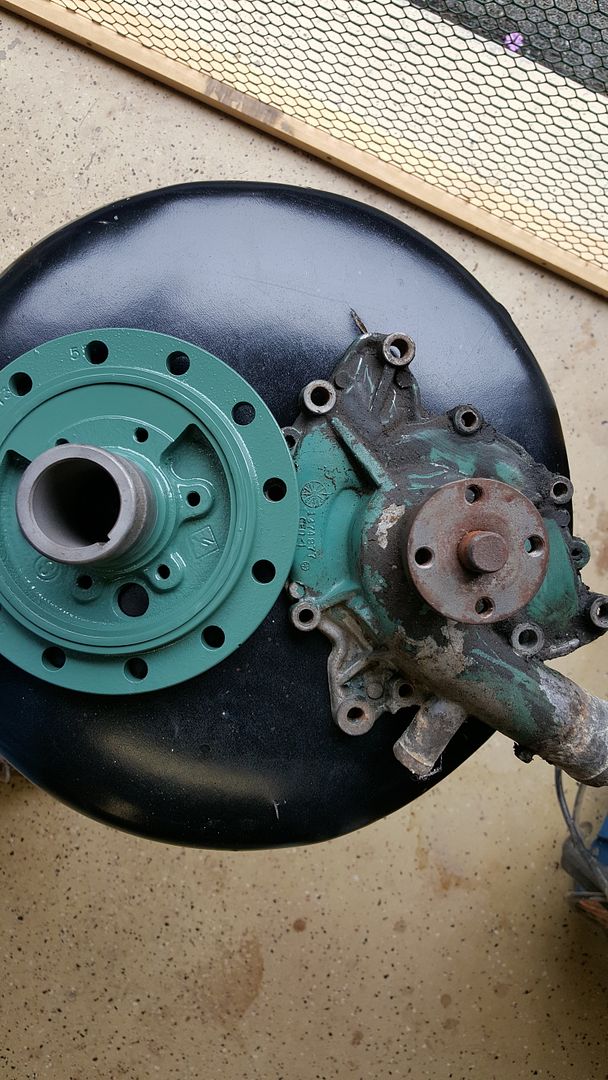
Water pump on right is original color. Pretty good match.


-
Also, waiting for new dampers from napa for timing chain. I didnt forget them
-
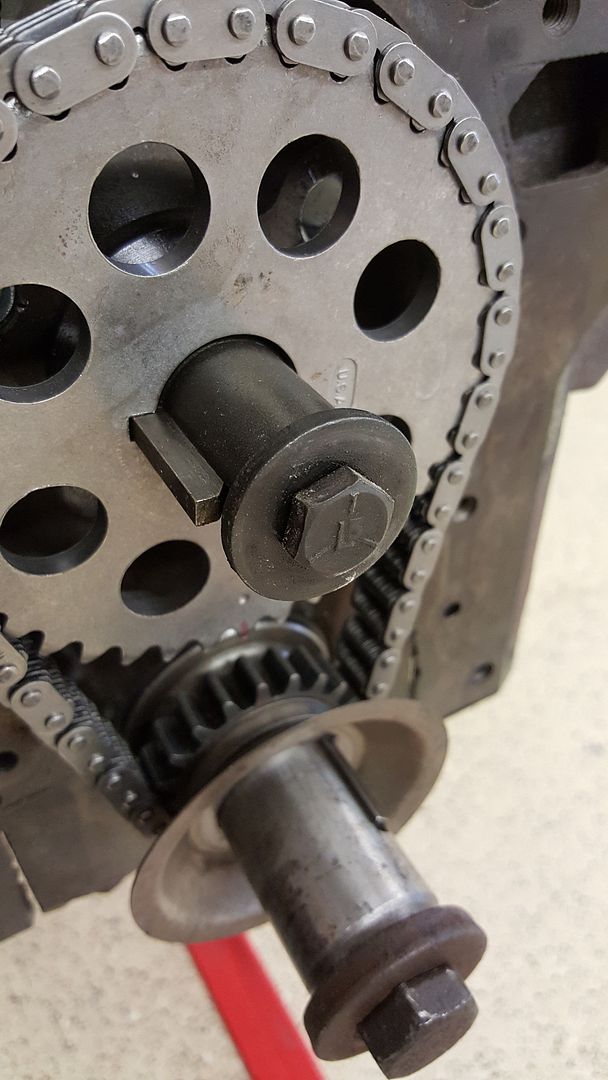
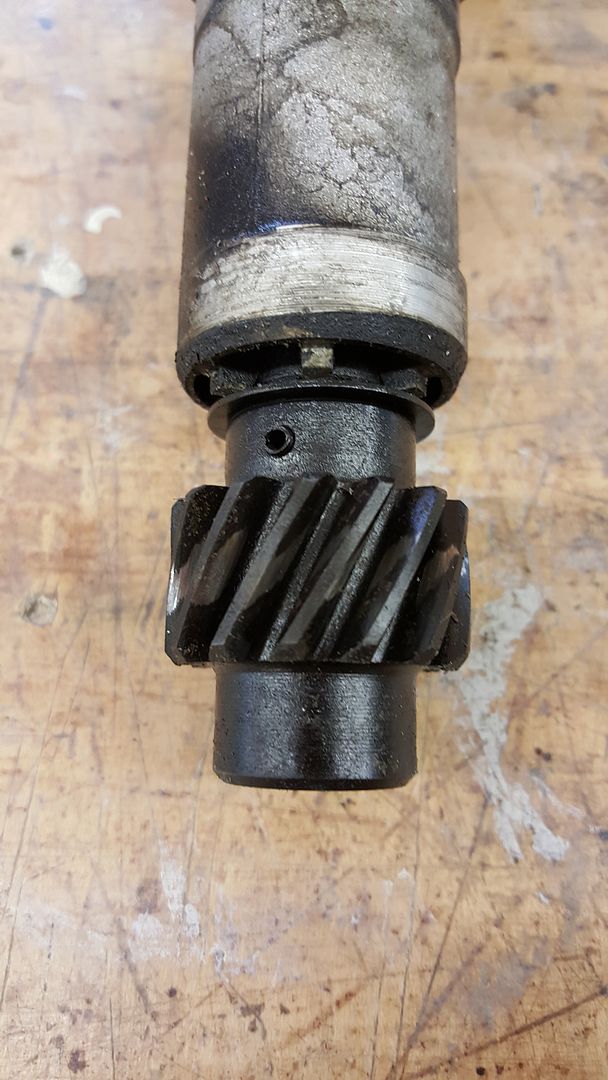
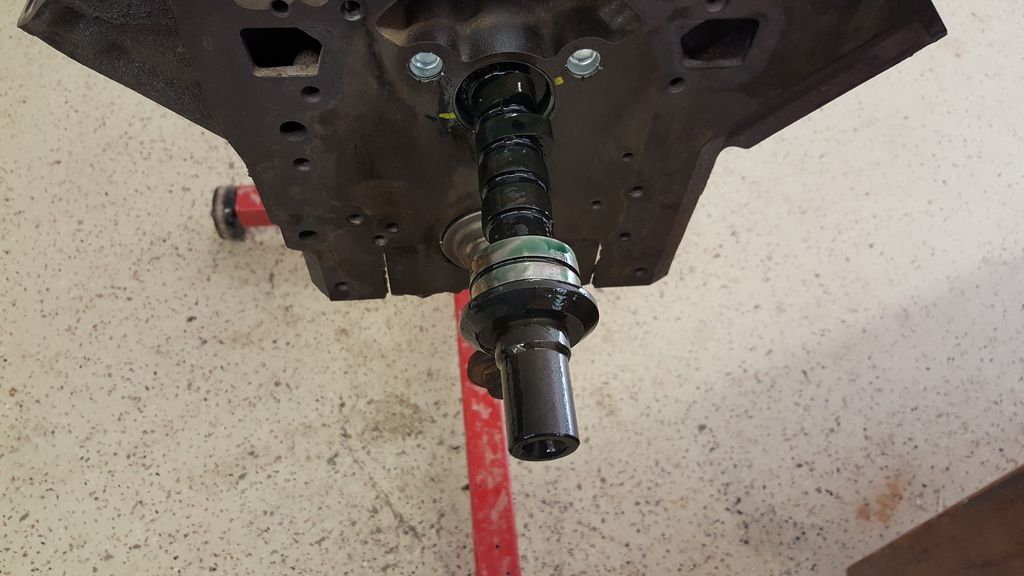
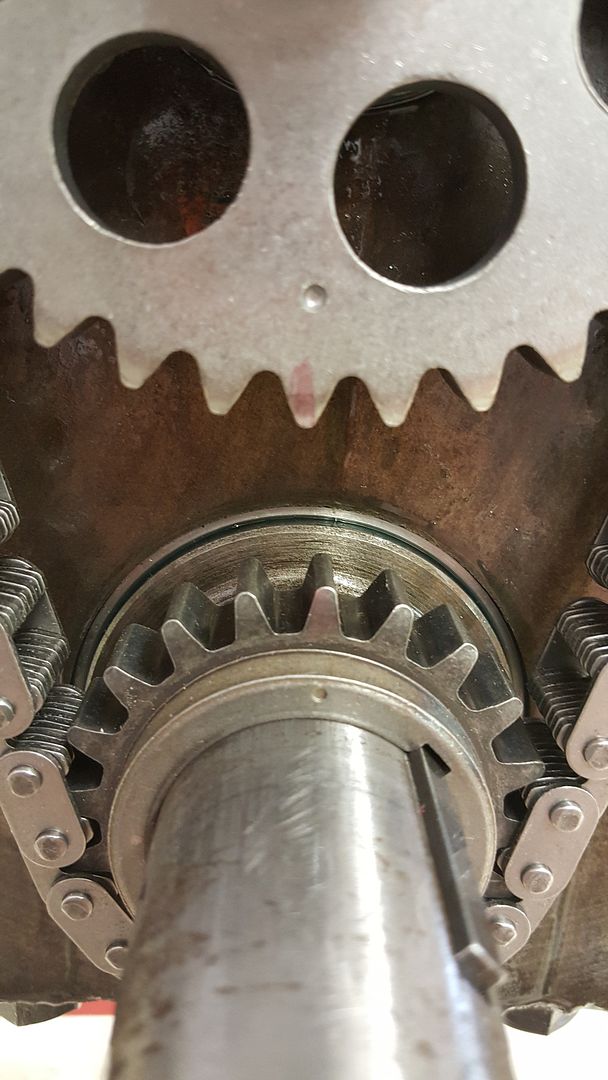
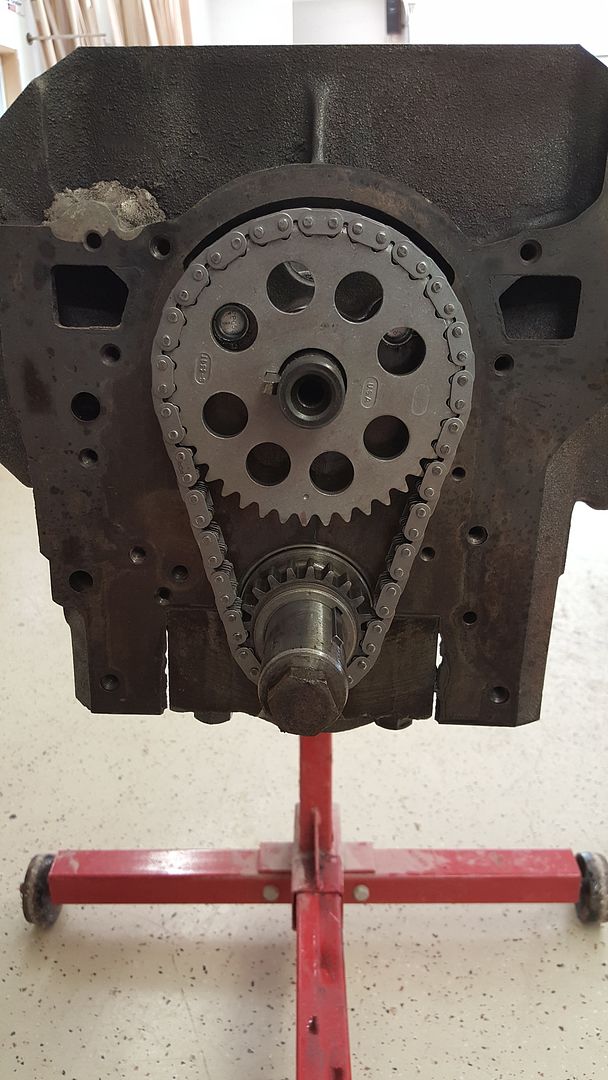
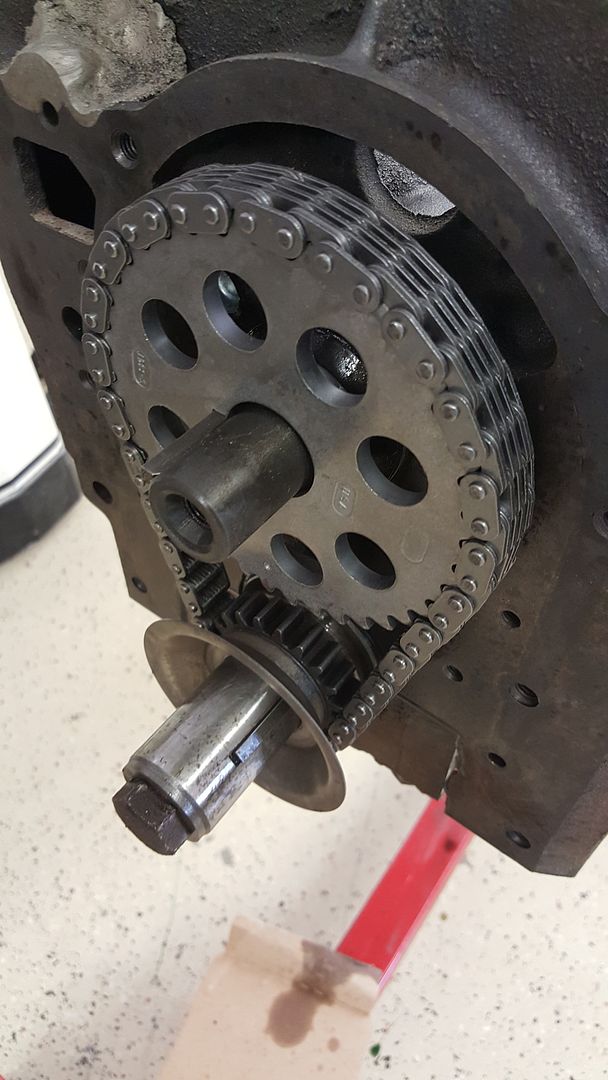
Thanks for the info Mose's to the best of my knowledge the timing cover was never off until I disassembled it. Here are the photos.
Cam bolt
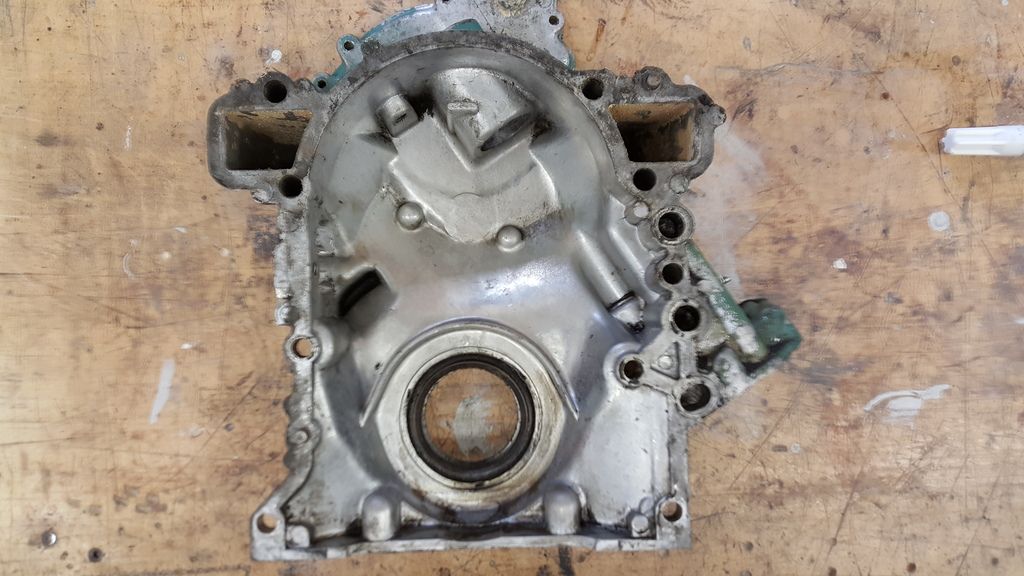
Inside of timing cover
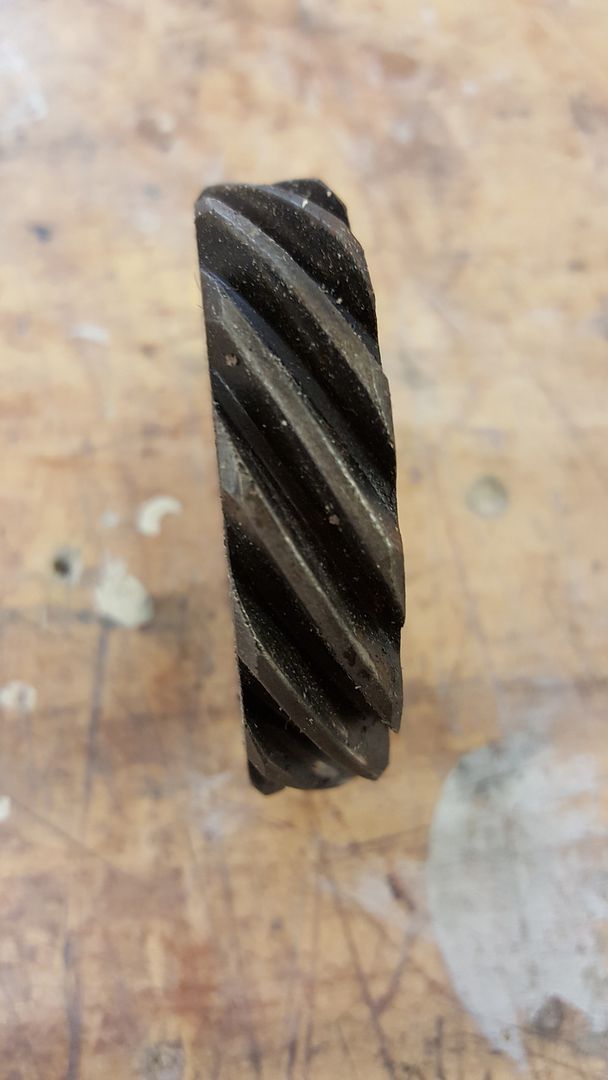
Cam/distributor gear
Distributor
-
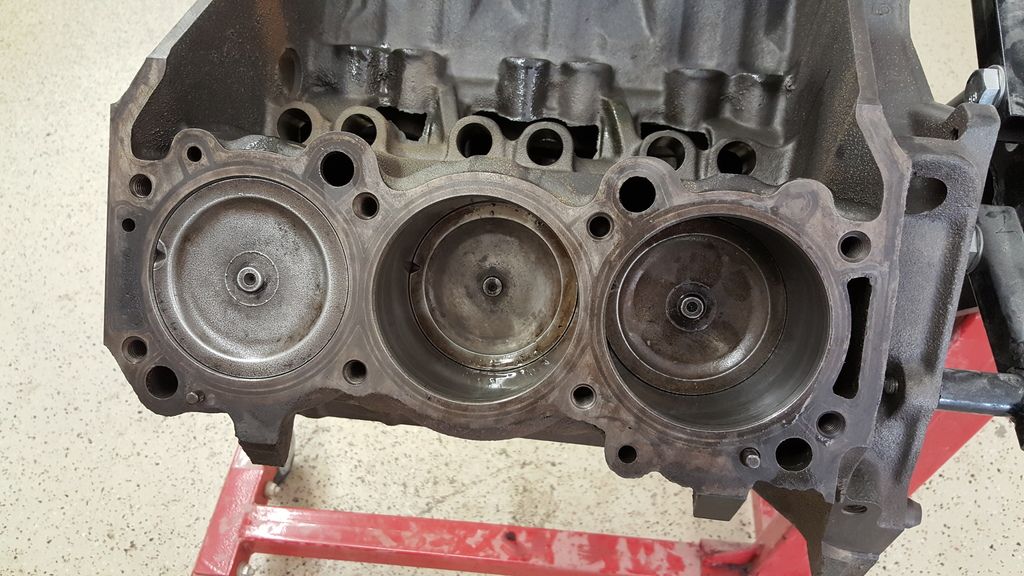
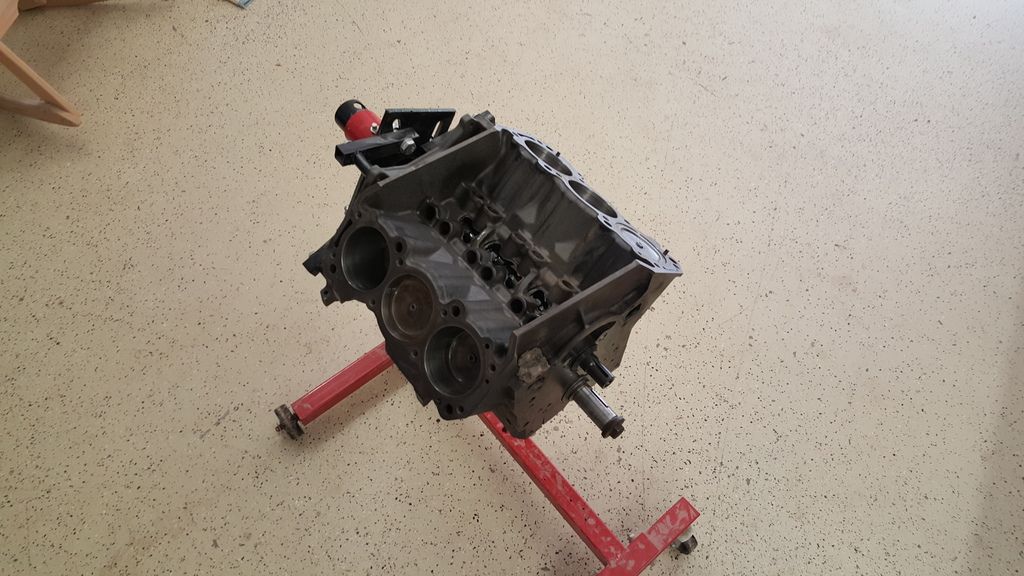
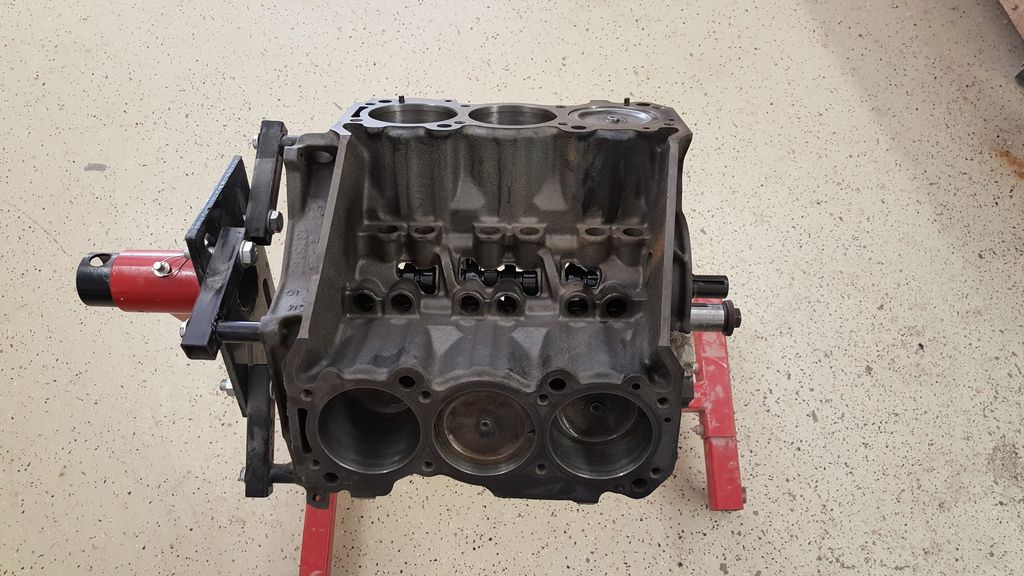
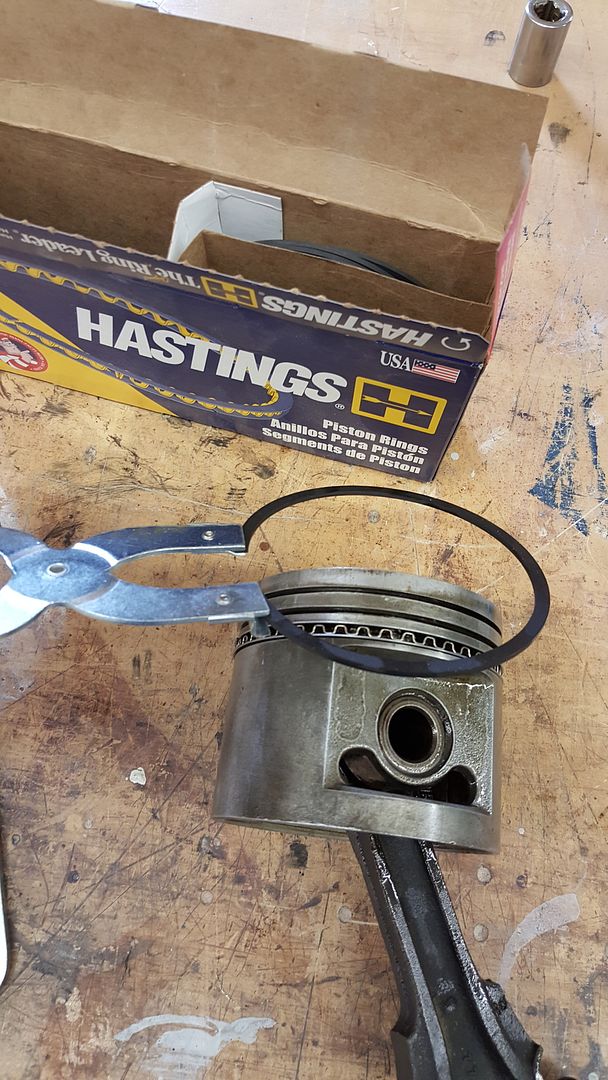
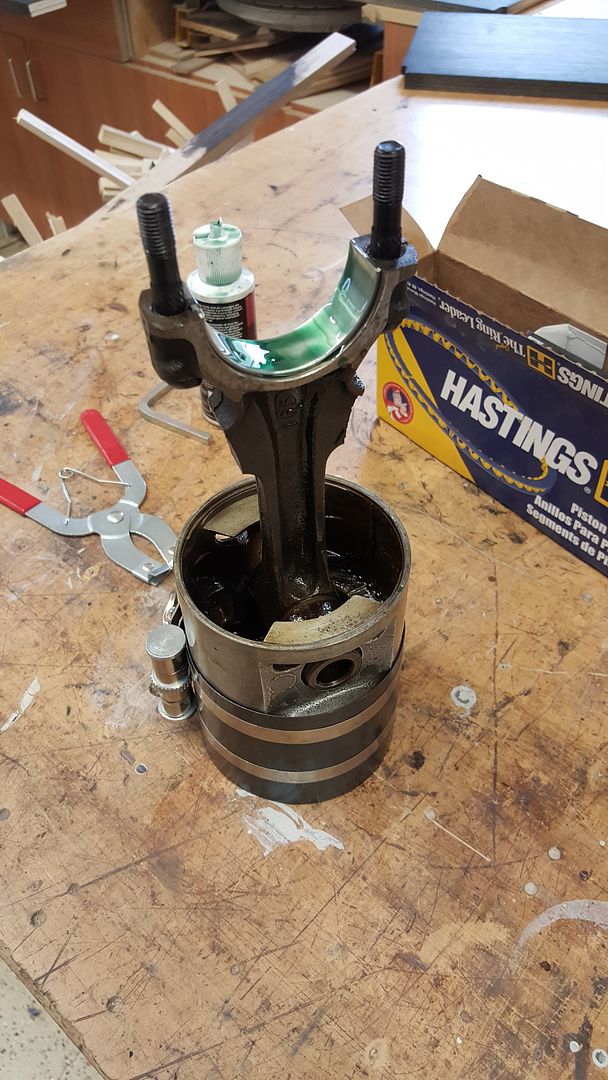
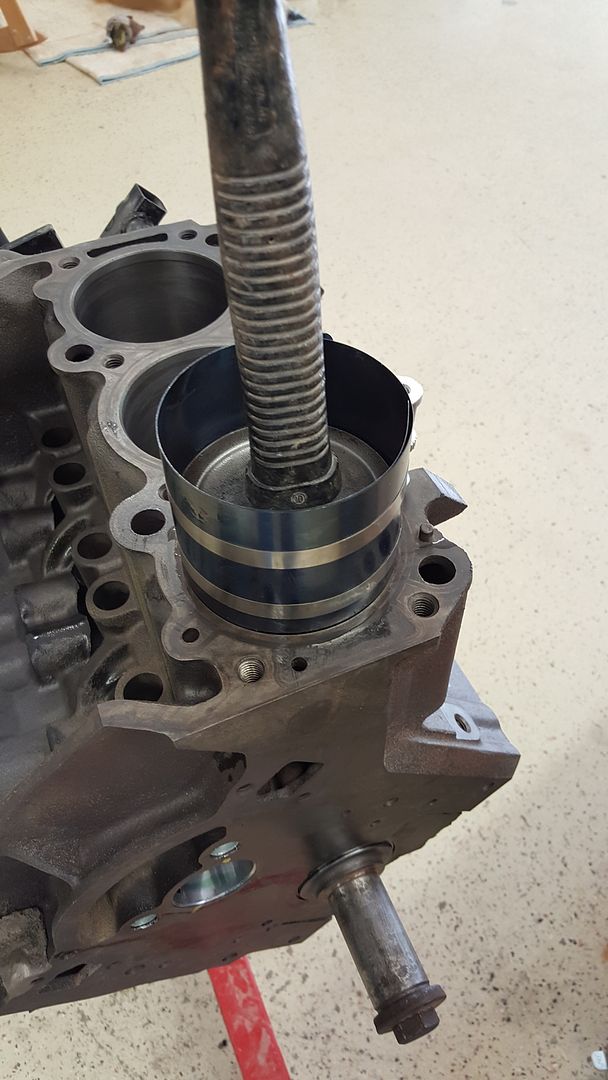
Pistons are in

Waiting for the new dampers from Napa to come in
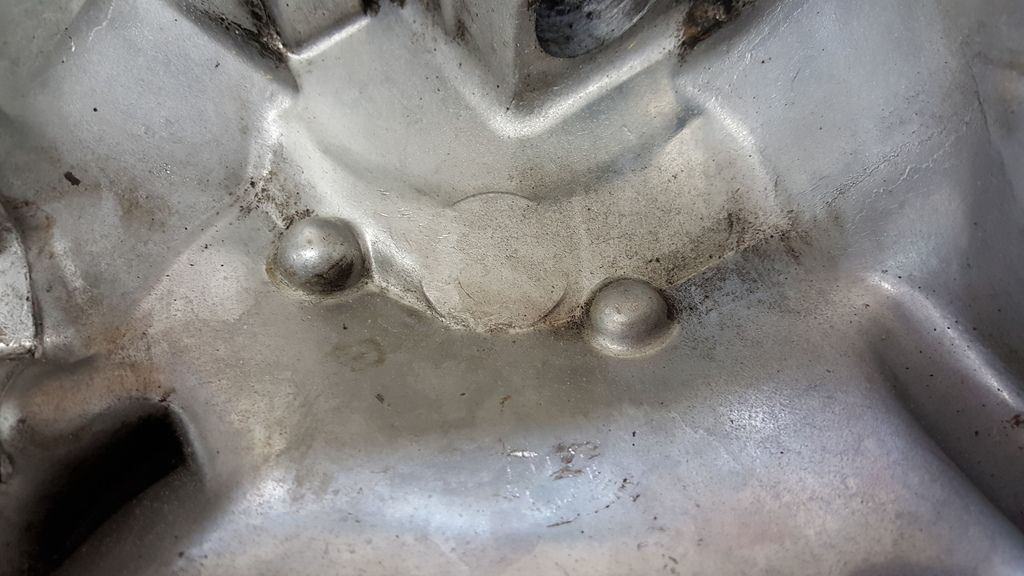
A couple of questions. There was no cam thrust button on this engine when I took the timing cover off, I dont believe there ever was due to no marks or wear on the inside of the case. Where they discontinued at some point around my yr ? (67)
Also your thoughts on soaking the lifters in oil vs not ? factory service manual says not to soak them.
Thanks
-
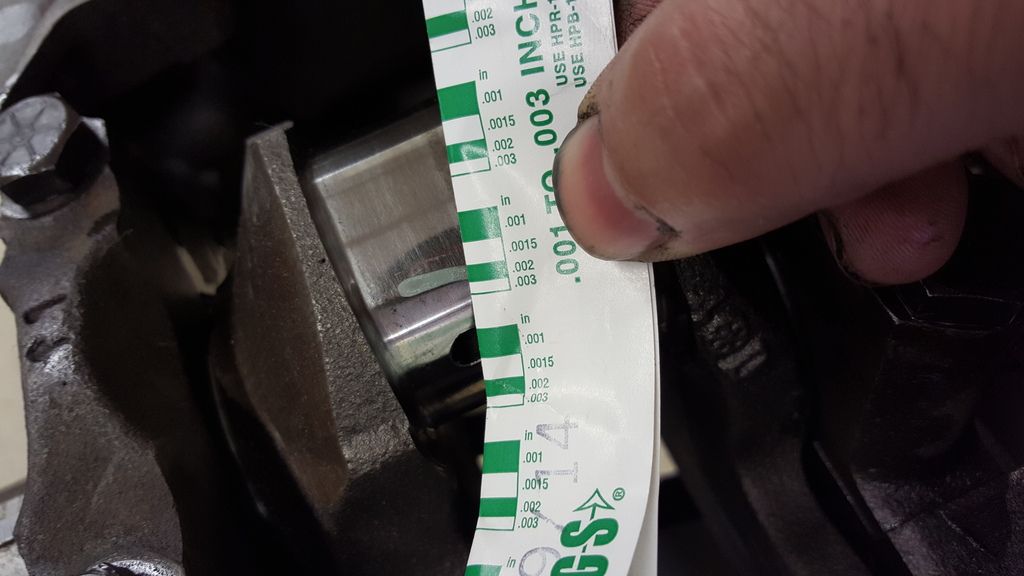
I decided on sticking with a new rope seal, Some progress photos
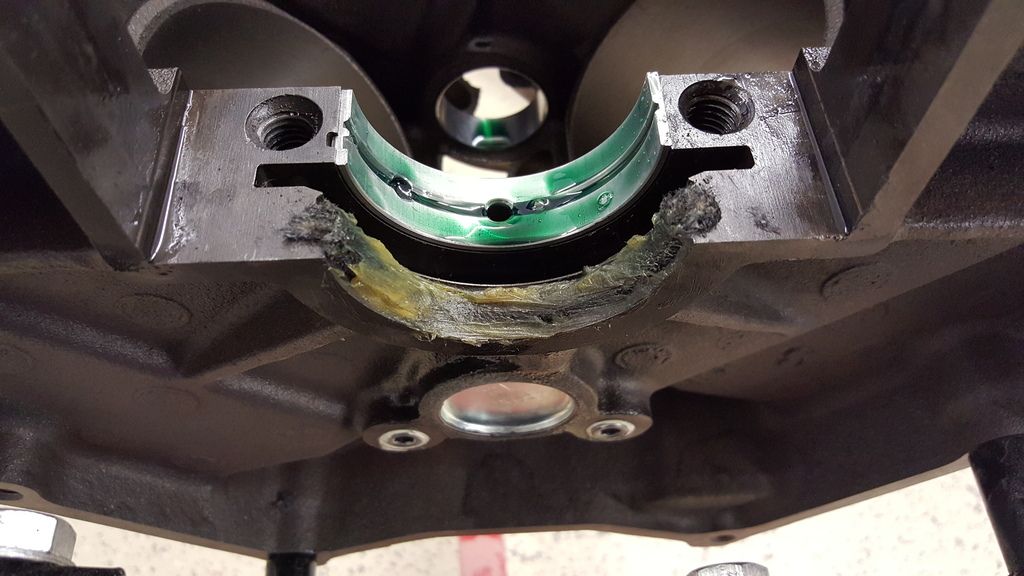
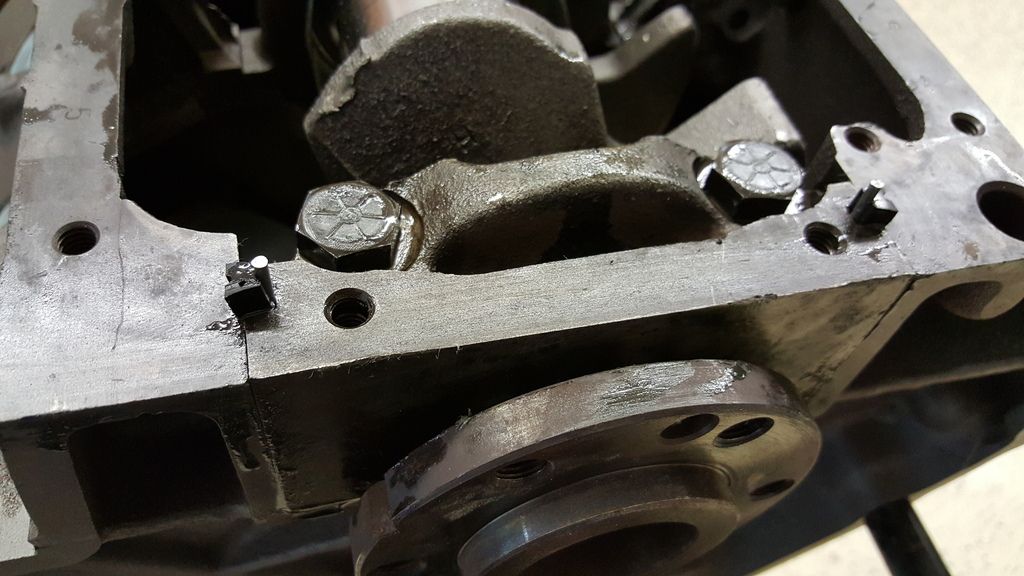
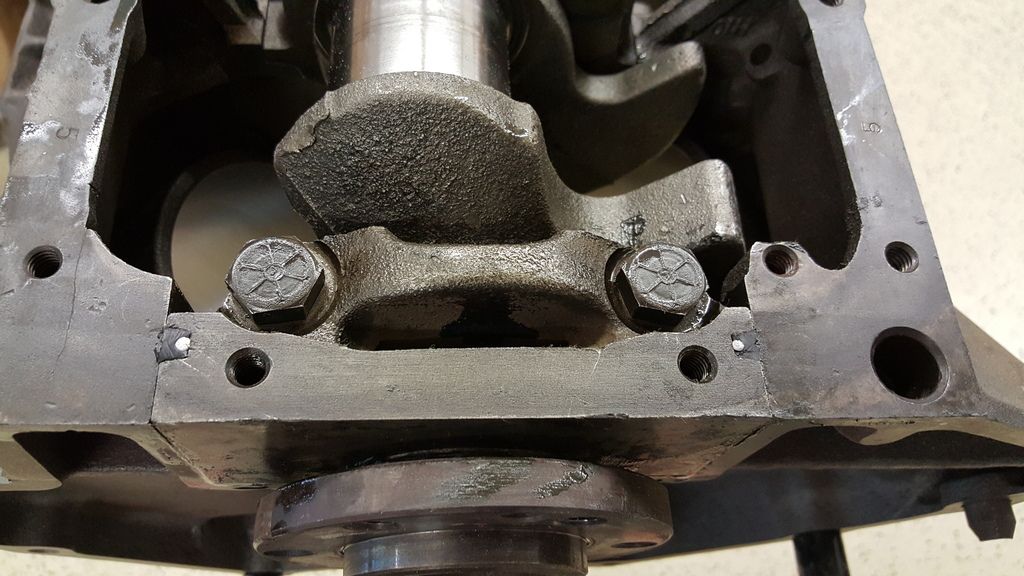
All the clearances were right on the money
Purchased the right tools on ebay
-
I like staying original so this is the rope seal i ordered. If you notice the side seals have 2 different length pins. Do both pins go into each side ? The directions show one pin each seal but both edges of each seal has the groove for the pins.
-
Hey Mose's,
finally back at it, wondering what your thoughts are on the rear main seal. I really frayed the ends of the rope seal trying to cut it so I went and ordered a new one. Now I'm thinking I should have gone with the Neoprene one. Thoughts?
-
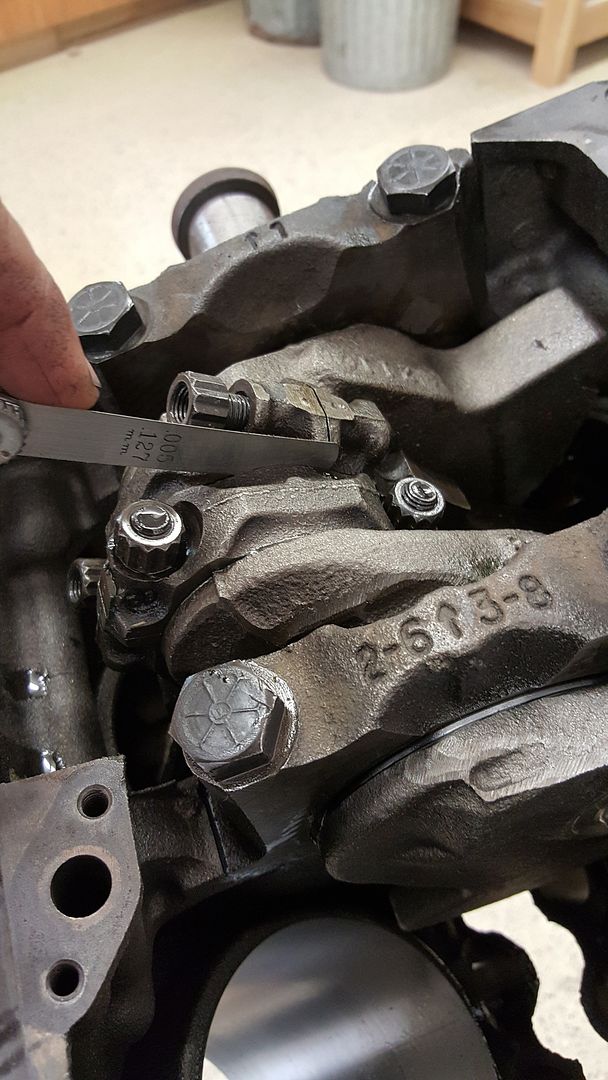
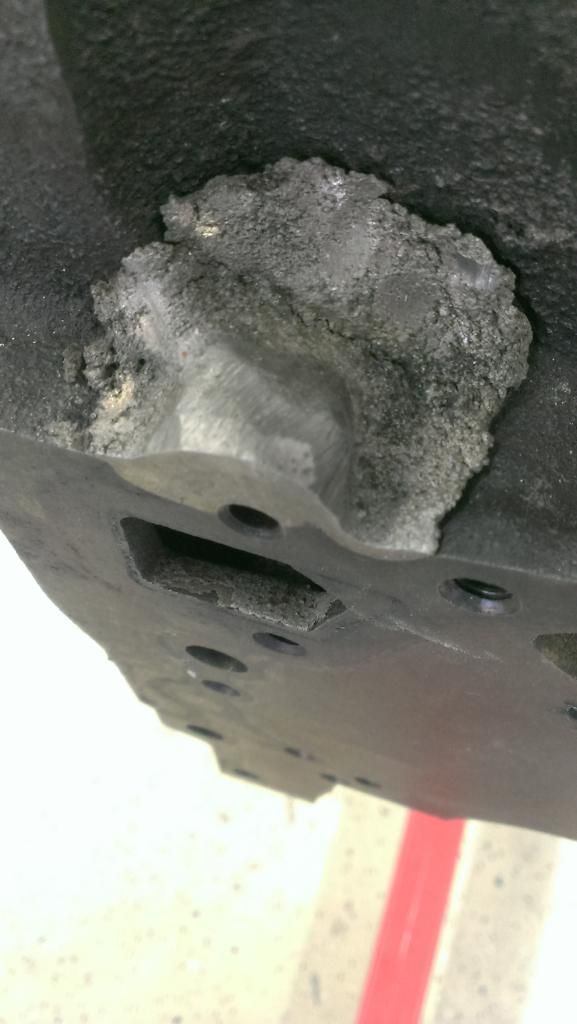
Finally talked to machine shop, they said that repair was under all the grease so apparently it was done in the factory
-
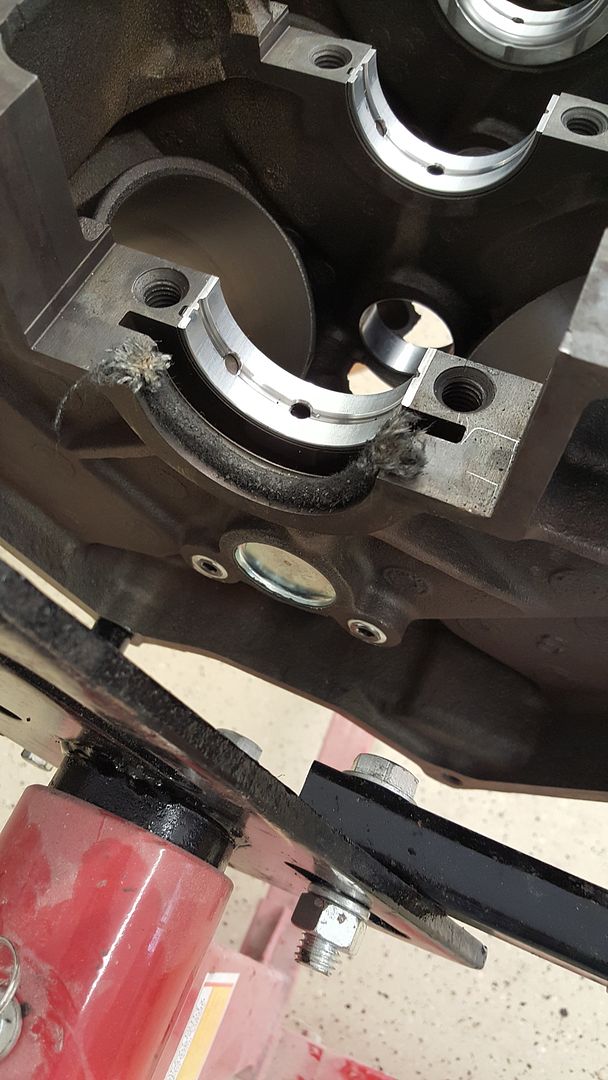
Here is a better picture. It is for a dowel pin, I will dig it out of the parts and see if it fits ok. It looks to be a cast iron weld to me. Also I have read that I should remove oil galley plugs and wash the block with hot soapy water. The machine shop said it was not necessary because it was hot tanked and clean. your thoughts.
-
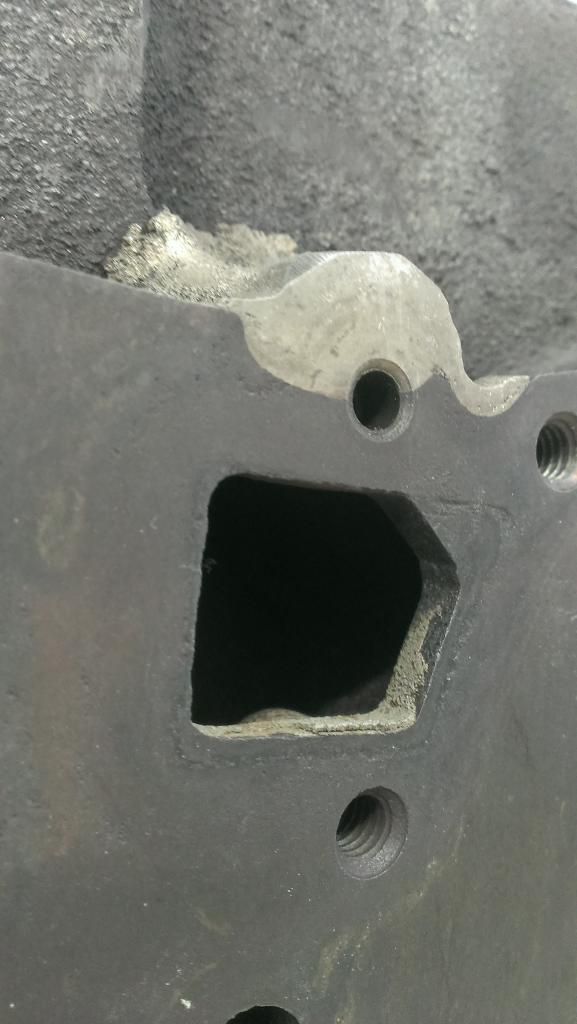
I dont see anymore damage. Not sure what they did to damage it, no one was there when I picked it up. The hole is not threaded. I wish the repair looked better though
-
Hey Moses,
Picked up the machined parts. Should get to it soon.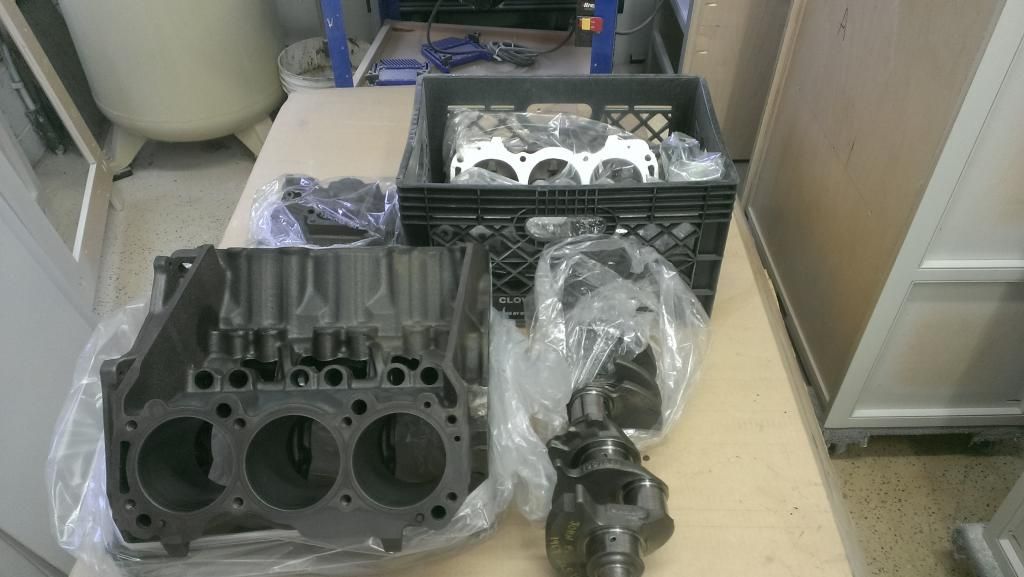
Looks like the machine shop had a mishap ?
-
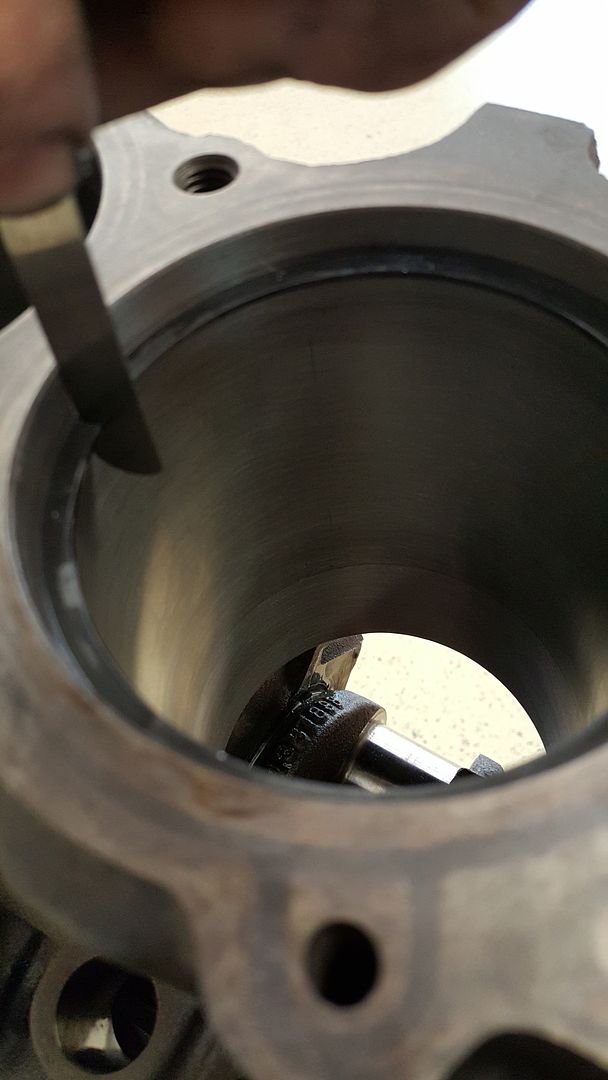
Finally back at it. All the engine parts are dropped off at the machine shop, so i started cleaning up the pistons.
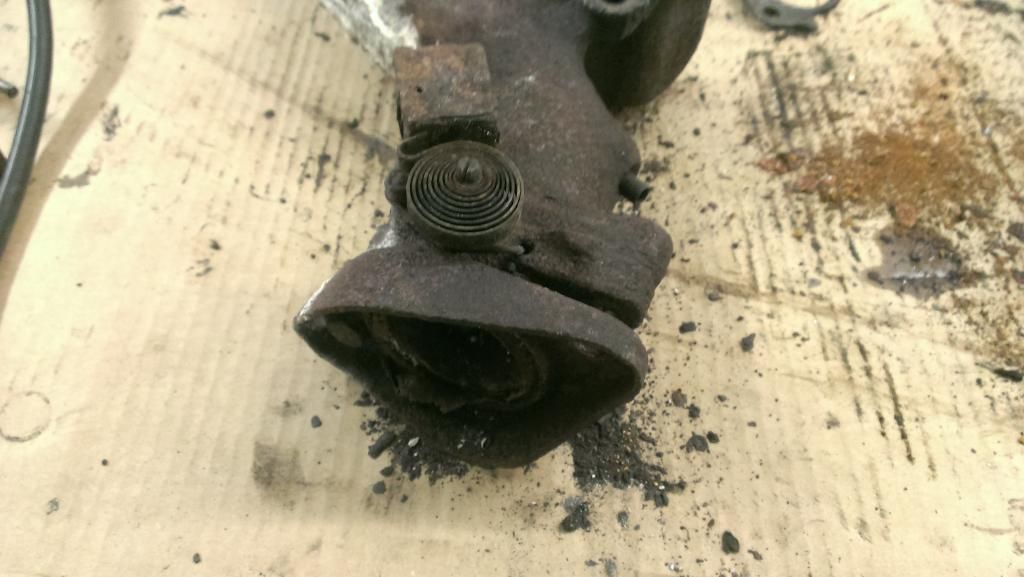
Im seeing that this heat riser is one of those obsolete parts you can't find.
-
Hey Moses,
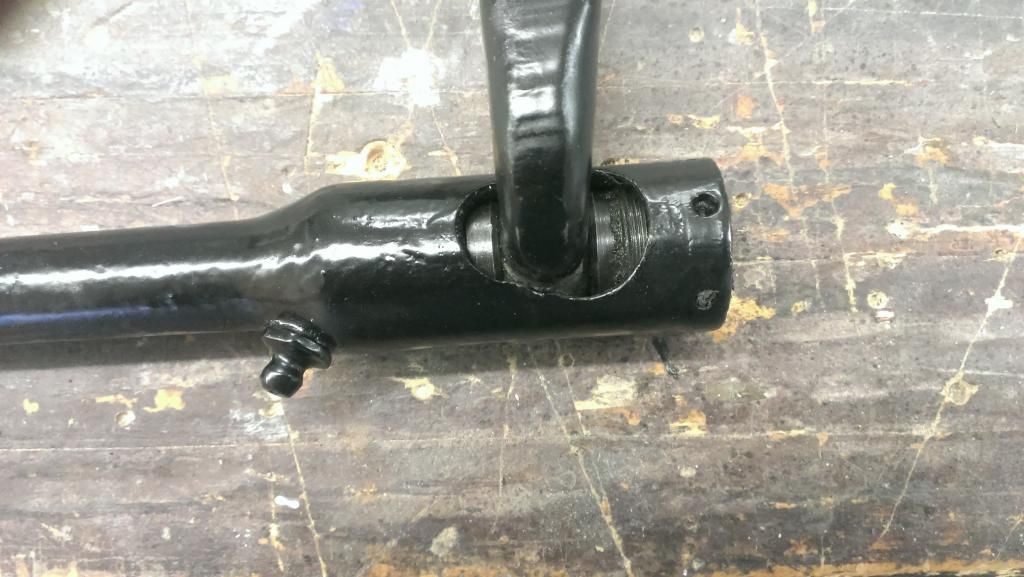
I am using a rebuild kit for my drag link. Using your book as well as the factory service manual as a reference, It say the steering gear side of the drag link should have the short plug and the spring between the ball seat and the end plug, however on my Jeep it is reversed, and when I turn it around like your book and the manual says the grease fittings will not be accessible as one will be facing frame and other facing bottom of tub. I know the drag link has never been removed. Any thoughts ?
Original photos before removal.
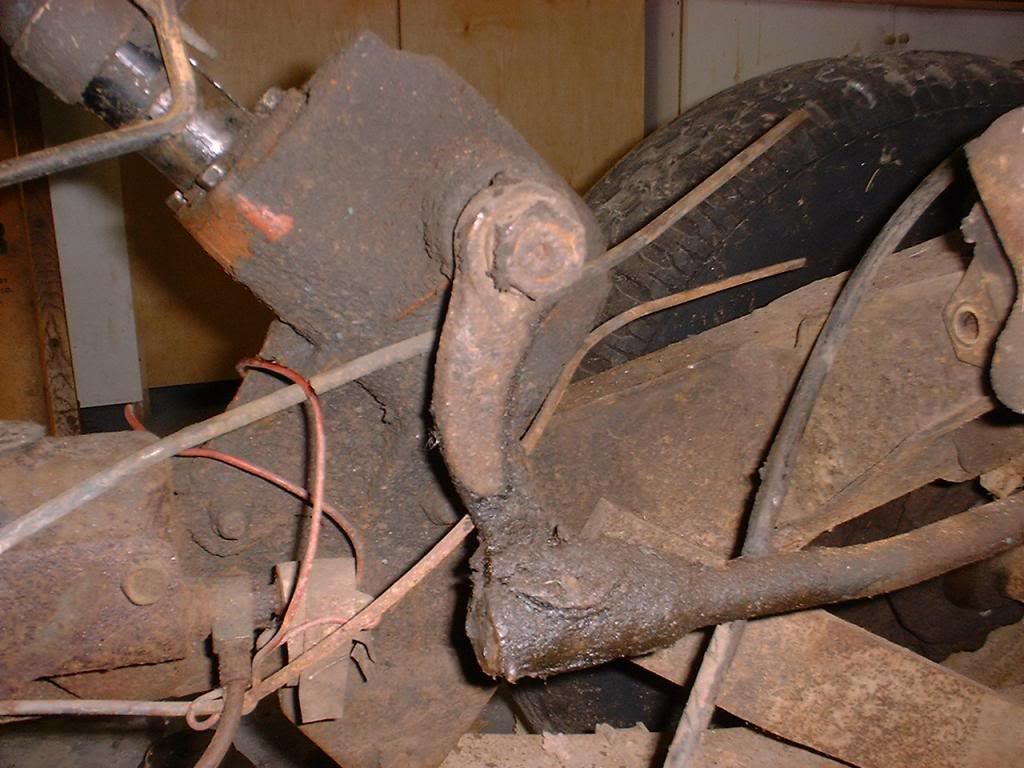

I also have 4 of these in the new kit. original only used 2 ?
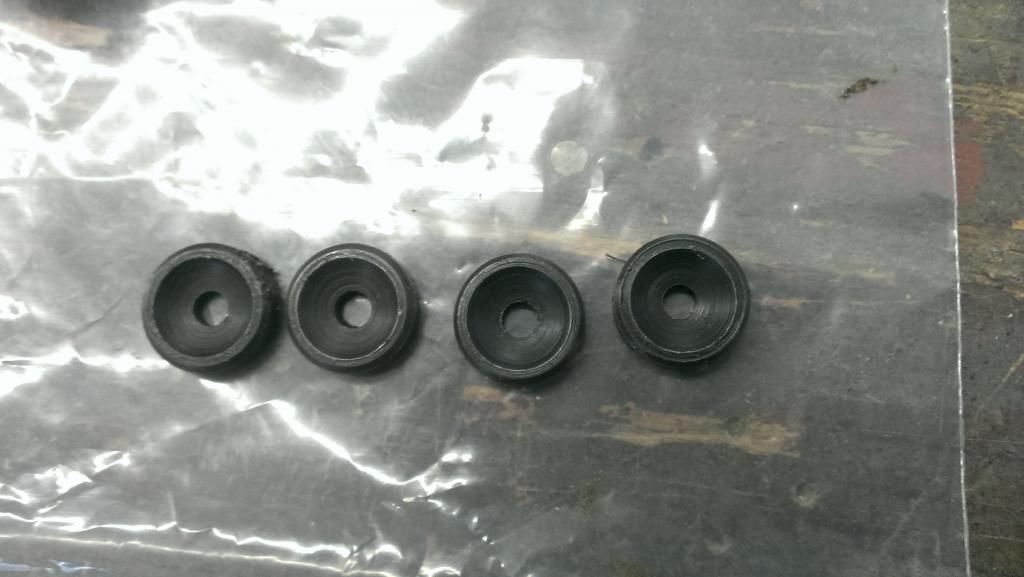
New springs are taller than original
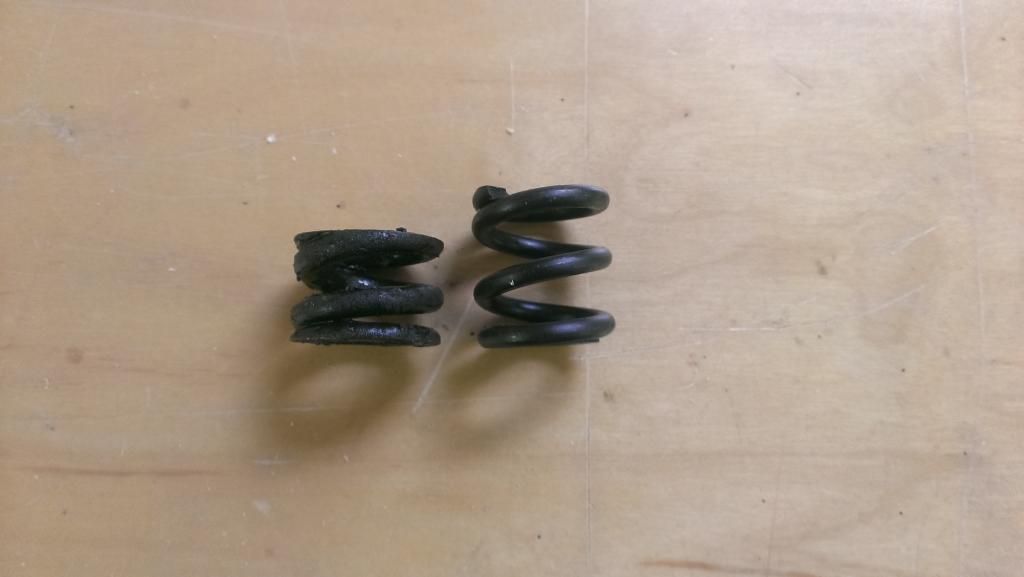
I did a dry fit the way it was originally. Does this look correct ?
-
Give me a shaft diameter and thread pitch, JohnF. A photo of the nut and locking hardware would help, too. I can provide a torque setting, looks similar to a Warn/Saturn overdrive shaft...Let's confirm. This needs to be tight, we'll see how tight.
Wow, ZEP is "chemical" all right! The fine print...
Moses
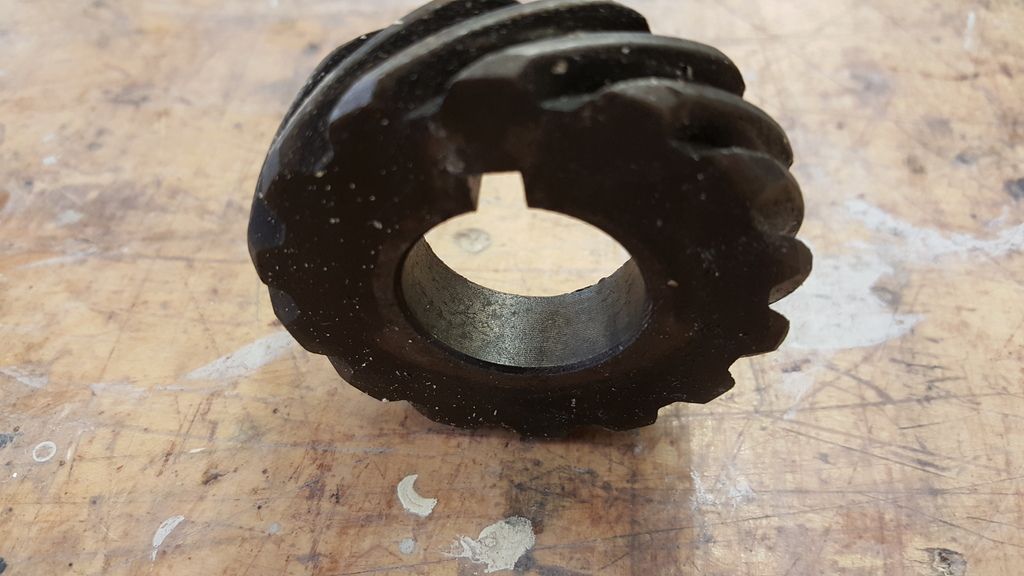
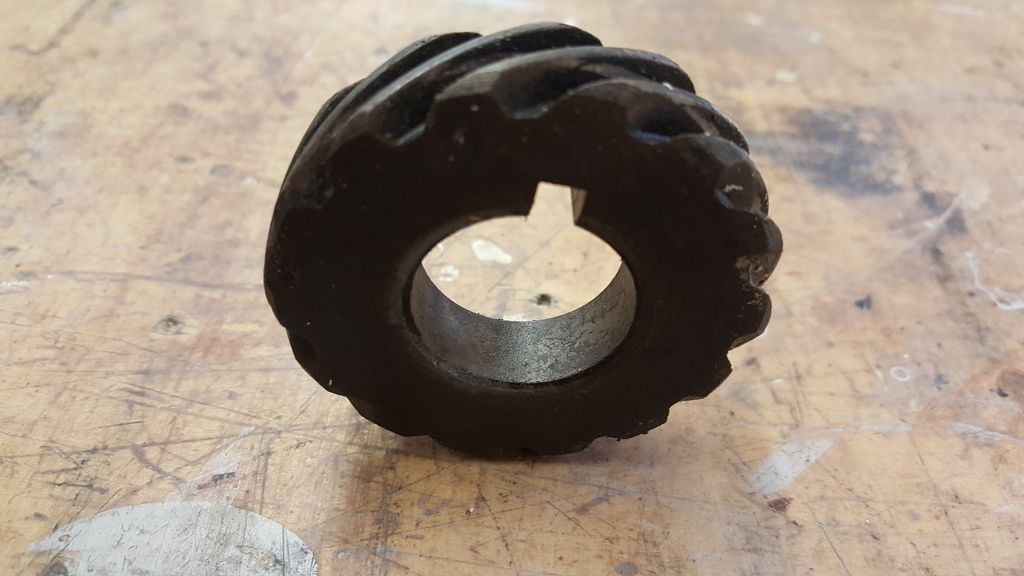
The size is 5/8" 18 I don't have the original nut so I had to get a standard nut. It is locked in with a cotter pin. I believe this sprocket pushes against the pto bearing ? will being so tight hurt the bearing ?
-
Moses,
Do you know what this shaft nut should be torqued at for the PTO ?
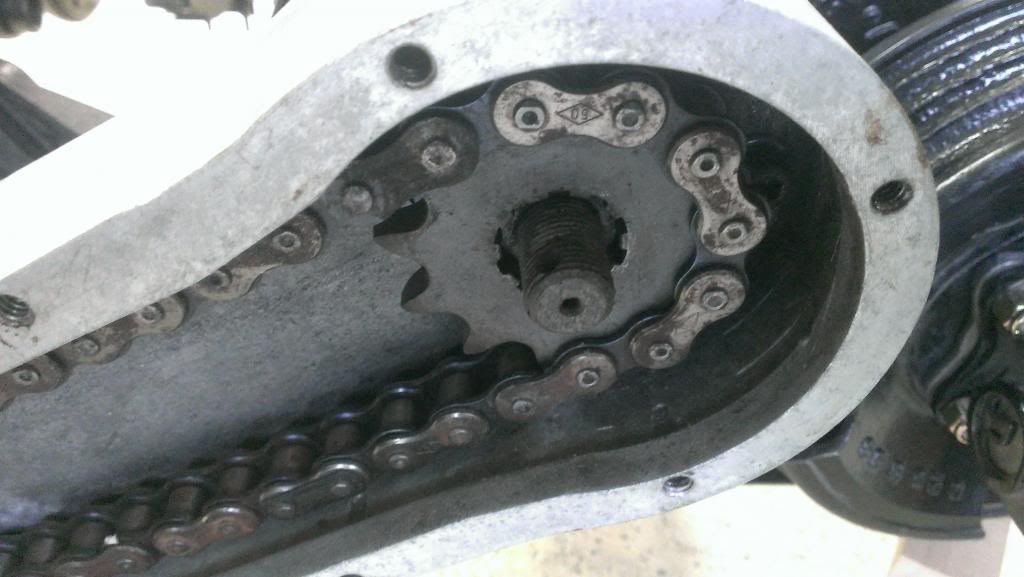
What happens when you soak aluminum hubs in Zep purple degreaser. Next time i will read the warnings

-
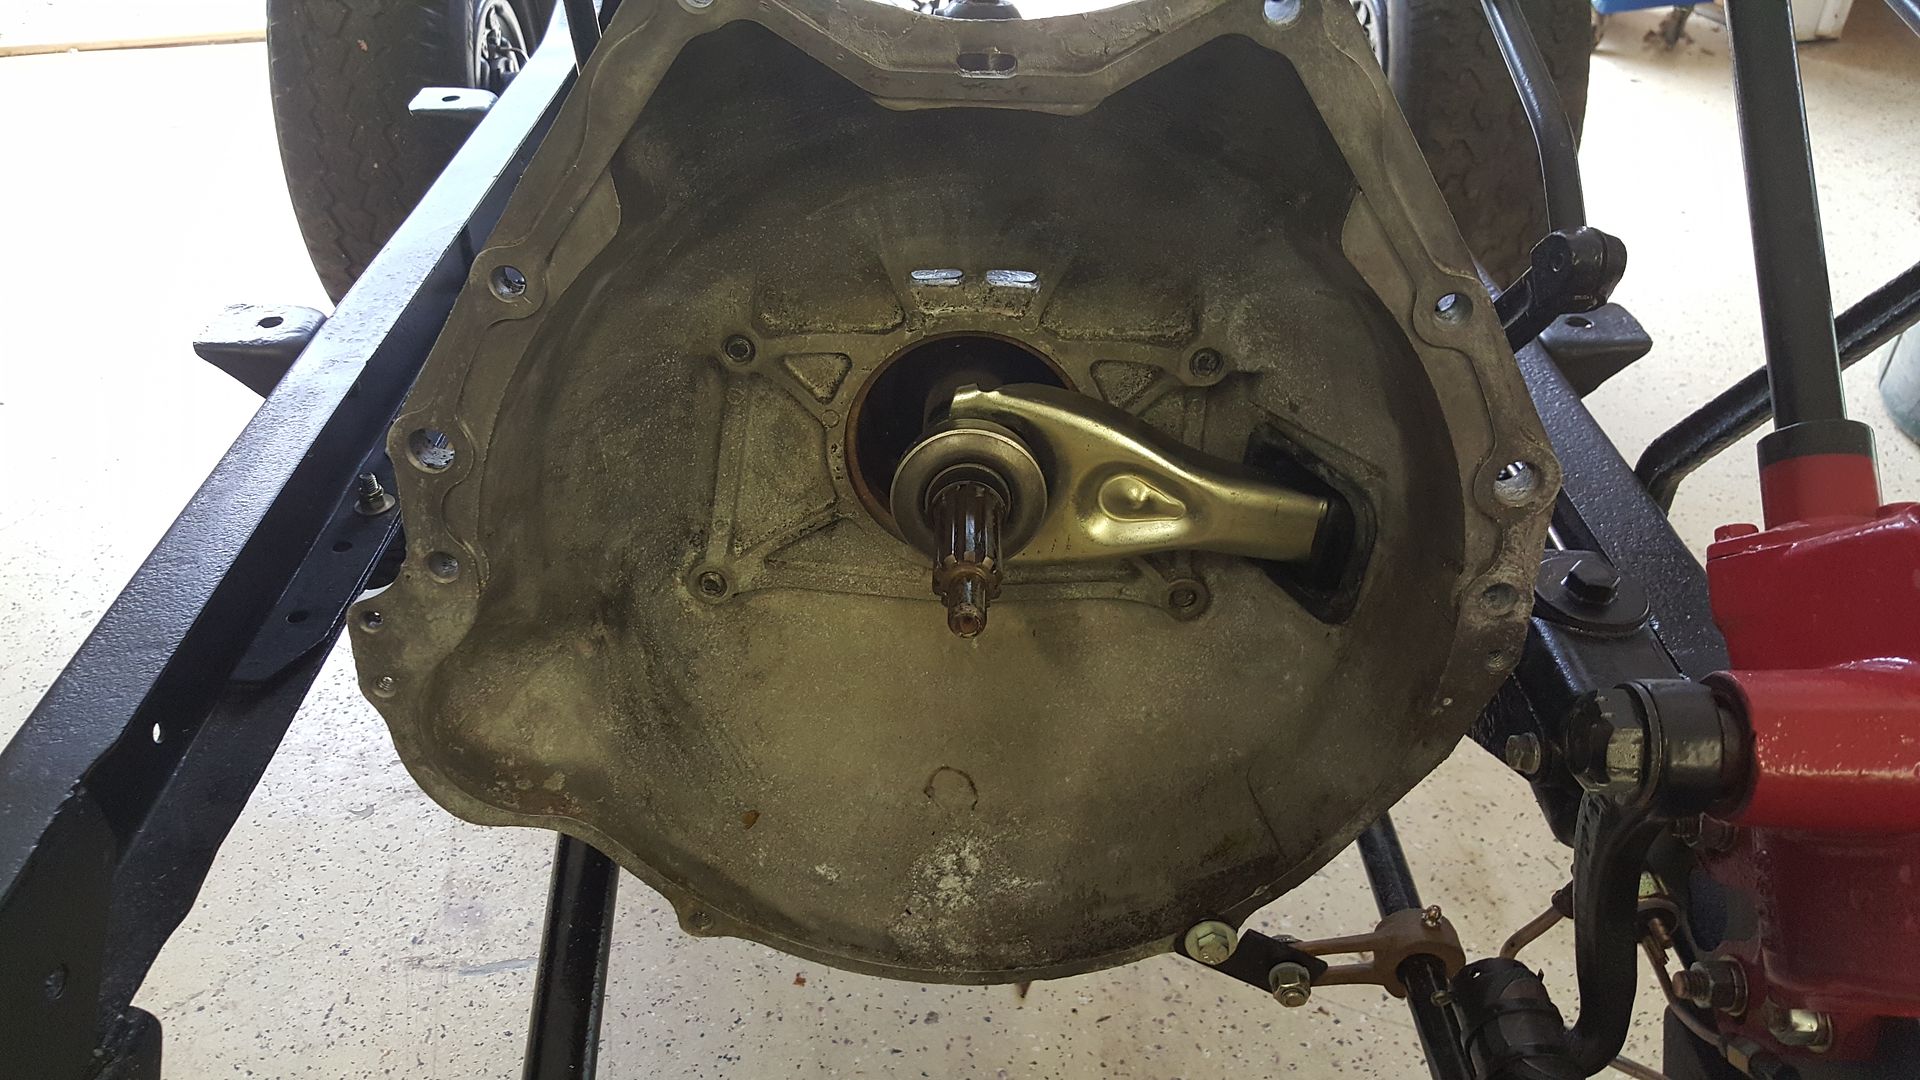
I got the transmission and transfer case mounted, I was told I should mount it to the engine when its done before installing on the chassis to line everything up ? oh well, only a few bolts. Good to see it on though


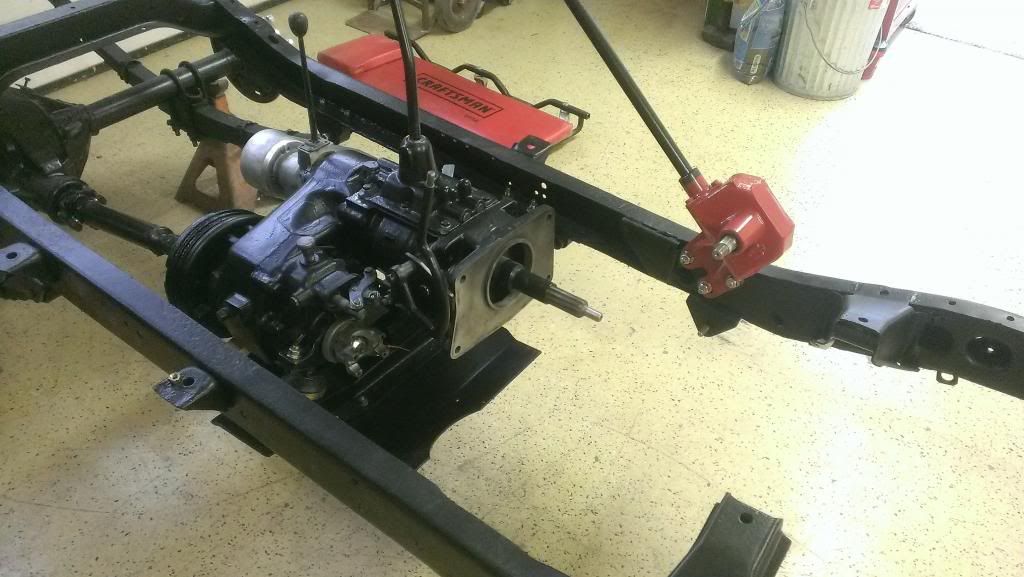
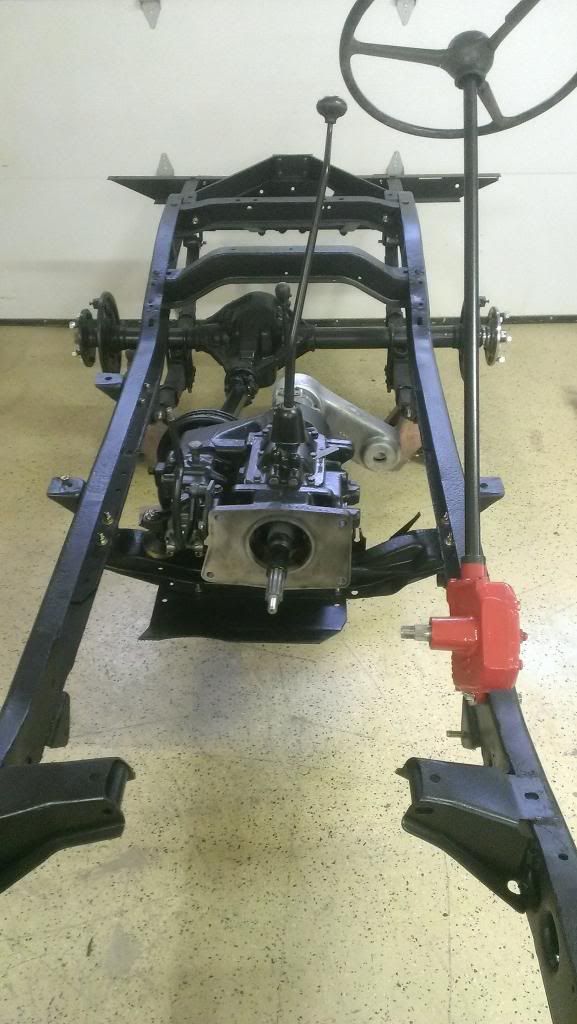
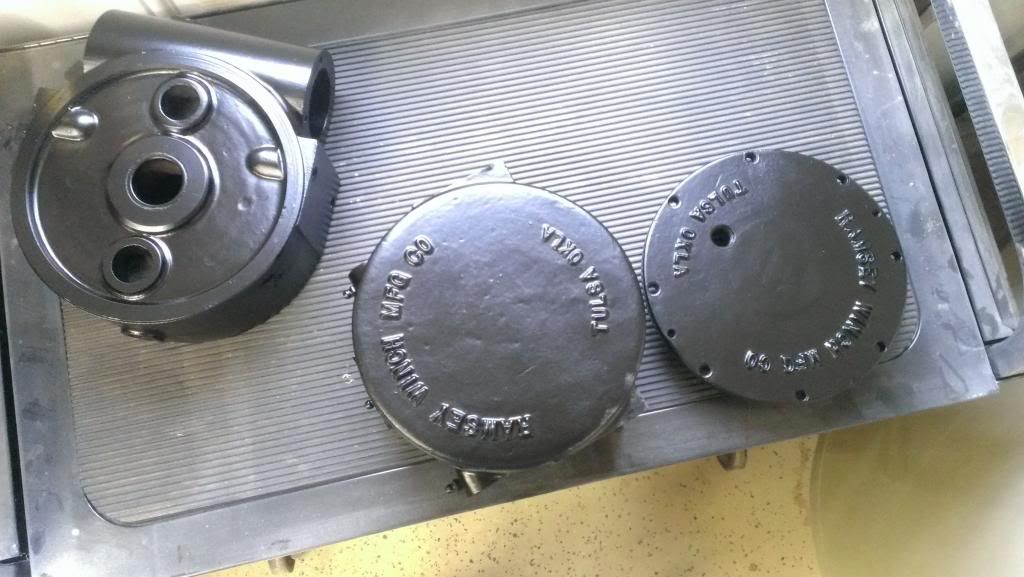
Painted the winch housing too.
-
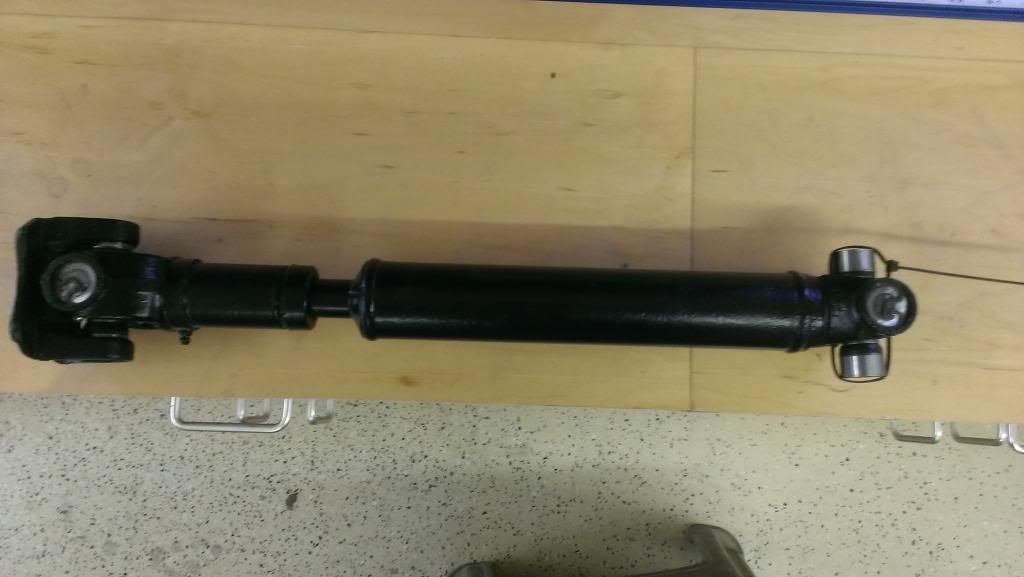
Got the draw bar on today and new u joints in rear shaft

-
Glad you worked this out, JohnF. If you can find a home for the 2A/3A springs, freshly rebuilt, that would be great.
Do we need a classified section at these forums for moving members' equipment and parts like these springs?
Moses
I would love to see that. I have a bunch of parts to sell


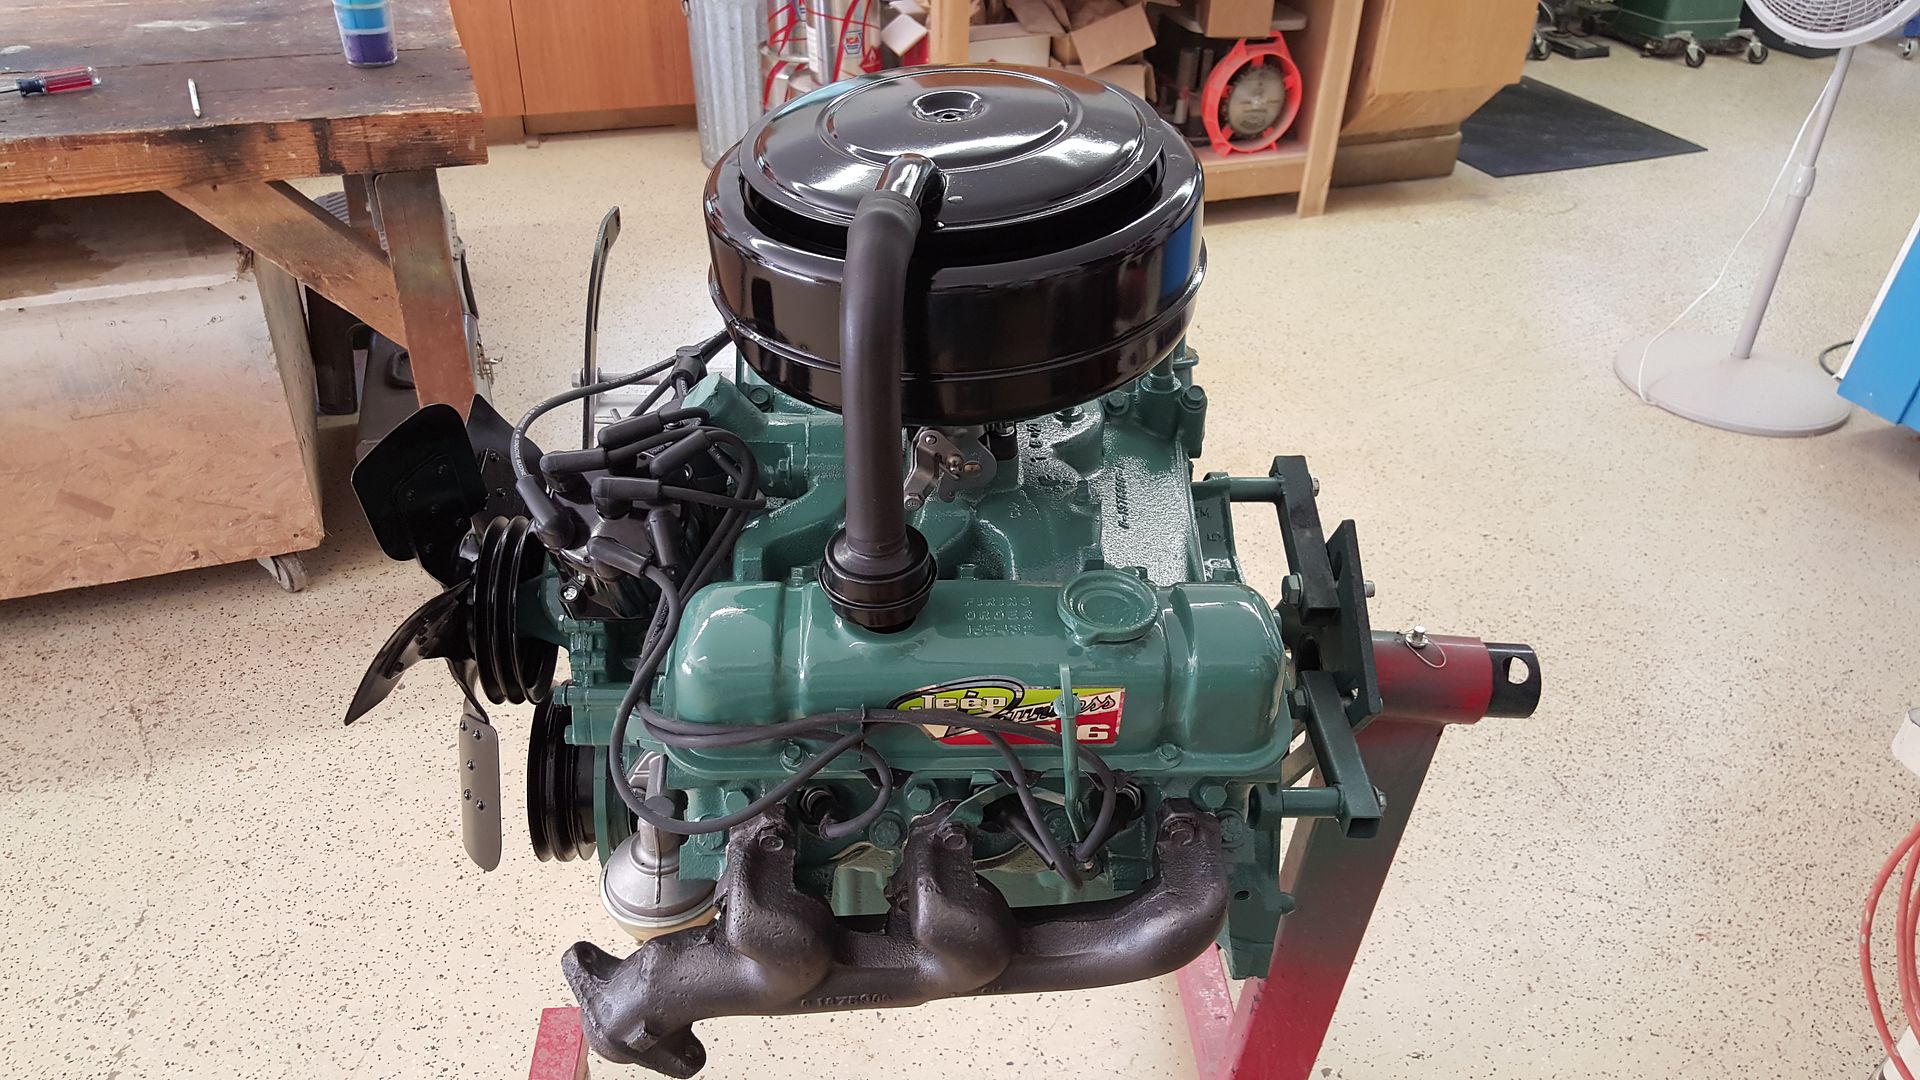
Jeep CJ 'Dauntless' Buick 225 V-6 Rebuild
in Vintage Jeep® Vehicles 1941-71
Posted
The stickers came from ebay, just search "dauntless decals " the overhaul kits for the motor I had the machine shop get for me. It was $550.00 for the kit, cam and gasket set.
Here is my build on earlycj5
http://www.earlycj5.com/xf_cj5/index.php?threads/my-67-cj5-build.106728/